REVIEW · LOMBOK
Hiking Rinjani Volcano To Crater rim Senaru 2 Days, Group – Syam Trekker
Book on Viator →Operated by Syam Trekker · Bookable on Viator
Two days to Rinjani’s crater rim. This trek packs sunrise views, a rainforest approach, and camp right where the scenery hits hardest—while keeping the group small. I like the six-person max setup because it helps you hike at a steady rhythm instead of getting shuffled.
My two favorite parts are the simple, well-timed moments and the fact that your overnight setup is handled for you. You get a tea-and-biscuits stop at Post 2 (Montong SATAS shelter, 1,500 m) and a proper break with lunch at Pos 3 (Mondokan Lolak, 2,000 m). And when it’s time to camp at the crater rim, Syam Trekker includes sleeping mats (5 cm), sleeping bags, and even toilet tents plus a pillow—so you’re not just “surviving,” you’re resting.
One thing to consider: you’re climbing and descending fast over big height differences in only 2 days, and the tour is described as suitable for moderate physical fitness. If you’re not confident on steep, uneven trails, start training now—or pick a slower alternative.
In This Review
- Key things that make this Senaru crater rim trek worth your time
- Mt. Rinjani to Senaru crater rim: what the experience feels like
- Day 1: Senaru start, forest trails, and arriving at the rim for sunset
- The walk through tropical forest (and why it matters)
- Post 2 Montong SATAS shelter: tea and biscuits at 1,500 m
- Pos 3 Mondokan Lolak at 2,000 m: lunch and a real pause
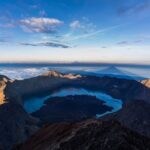
- The climb to Senaru crater rim (2,641 m) and the big reward
- Camp setup is handled for you
- Day 2: sunrise, rainforest descent, and finishing in Senaru village
- The descent: what you should expect
- Ending in Senaru village
- Guides and porters: the difference between a hike and an okay hike
- Price and value: what $217 really covers
- Logistics that can make or break your trek day
- Small group, big impact
- Start time and how you should plan your morning
- Weather and altitude: the two real constraints
- Who this trek is best for (and who should think twice)
- Should you book Syam Trekker’s 2-day Senaru crater rim hike?
- FAQ
- How long is the Mt. Rinjani hike to Senaru crater rim?
- What is the group size limit?
- What time do I start, and where do I meet?
- What are the main stops on the route?
- What is included in the price?
- What should I bring since it is not included?
- Is this trek suitable for me if I’m moderately fit?
- Does weather affect the trek?
Key things that make this Senaru crater rim trek worth your time
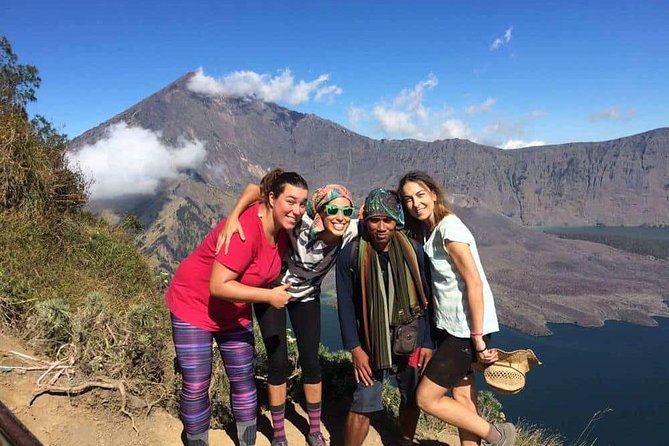
- Small group (max 6 people) so you keep your own pace on the way up and down
- Camp at the Senaru crater rim (2,641 m) for sunset and a sunrise the next morning
- Post-2 tea break at 1,500 m plus lunch at Pos 3 (2,000 m) to keep energy steady
- Included camping gear (tents, sleeping mats, sleeping bags, toilet tents, pillow)
- Professional porters + English-speaking guides to handle equipment and help with safety and navigation
Mt. Rinjani to Senaru crater rim: what the experience feels like
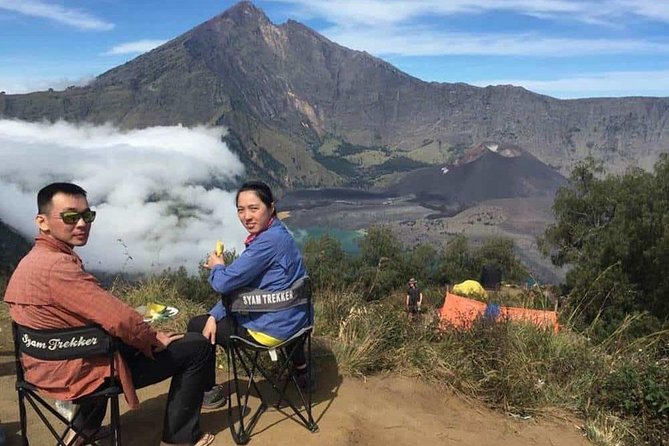
This is a hike built for views, but also for momentum. You start from the Senaru area and spend Day 1 moving from dense tropical forest to higher camps, then setting up at the crater rim to catch sunset. Day 2 begins with sunrise, then you drop back down through rainforest to Senaru village.
What makes it especially appealing is that it doesn’t treat the climb like a race. With a group capped at six, your guide can pace you based on how you feel, not how fast the slowest person in a big group can manage. And because porters carry camping and food, you can focus on walking and adjusting your effort.
The overall altitude goal is serious—Mt. Rinjani reaches 12,224 feet (3,726 meters)—but this specific route is designed around achievable segments. You’ll pass through key stops (1,500 m → 2,000 m → 2,641 m) before you’re fully committed to the rim.
Day 1: Senaru start, forest trails, and arriving at the rim for sunset
Your day begins at the Senaru trail area. The meeting point is Syam Trekker’s office in Senaru, with a stated start time of 7:00 am. The route description also mentions walking starting around 8:00, so expect a short buffer for check-in, gear prep, and getting organized.
The walk through tropical forest (and why it matters)
The first section is through dense tropical forest with active bird life and butterflies, plus plenty of plant variety. This matters more than it sounds. When you’re hiking early, shaded trail and natural cooling help you settle into your breathing and foot rhythm before you hit the taller climbs.
Post 2 Montong SATAS shelter: tea and biscuits at 1,500 m
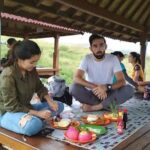
At about Post 2 (Montong SATAS shelter, 1,500 m), you’ll stop for a cup of tea with biscuits. This is the kind of break that keeps a Day 1 trek from turning into pure grind. It’s a chance to drink something warm, snack without thinking too hard, and reset without losing too much time.
Pos 3 Mondokan Lolak at 2,000 m: lunch and a real pause
After the Post 2 break, you continue for roughly 2 hours to Pos 3 Mondokan Lolak (2,000 m). Here you get another break and lunch. I like how this is spaced: you’re not only stopping when you’re exhausted. Instead, you fuel before the final push toward the crater rim.
The lunch stop is also a practical check. It helps you see how your body is handling the altitude and steepness. If you need to slow your pace, adjust your layers, or take longer between steps, your guide can work with you here.
The climb to Senaru crater rim (2,641 m) and the big reward
After lunch at Pos 3, the route shifts into a more direct climb to Senaru crater rim (2,641 m), for about 2 hours. You arrive, settle, and then get your sunset moment.
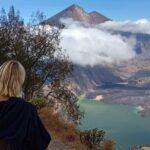
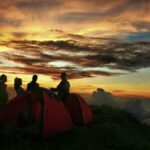
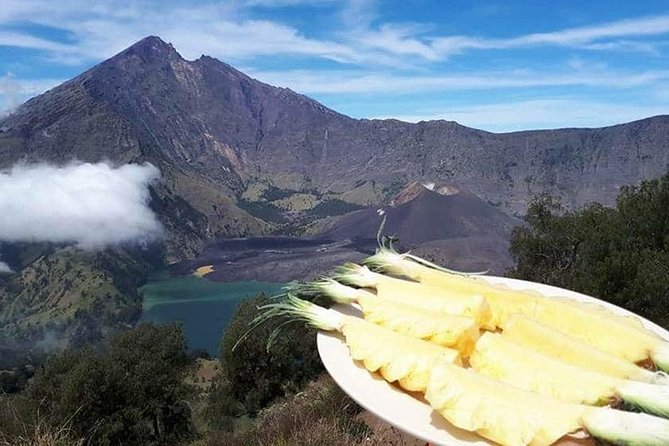
From camp at the rim, you’re set up for some of the most memorable scenery on the whole trip. The trek description calls out sunset over Mount Agung in Bali, plus smoke from a new volcano on the edge of the lake. Even if you’ve seen volcano views before, the combination of height, sky color, and distance makes it feel different.
Camp setup is handled for you
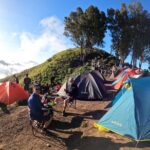
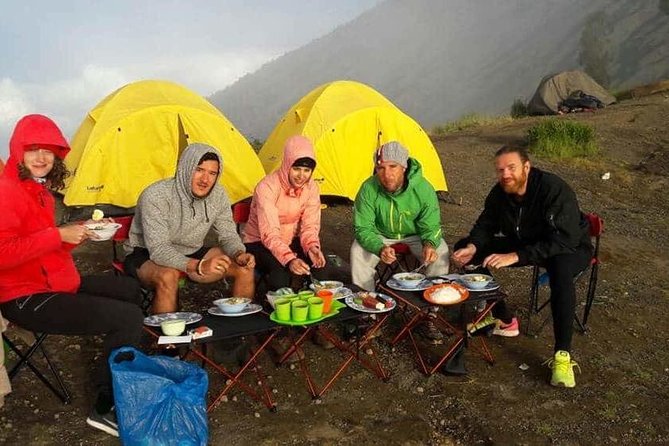
Camping is included, and the gear list is specific: tents, sleeping mats 5 cm thick, sleeping bags, a camping chair, toilet tents, and a pillow. That’s a big deal on Rinjani-style treks. A thin mat can ruin the next day, and a cold night can force you to spend energy just trying to stay comfortable.
Day 2: sunrise, rainforest descent, and finishing in Senaru village
Day 2 starts with breakfast, timed for a sunrise. Then you leave the crater rim behind and descend through rainforest back to Senaru village.
The descent: what you should expect
The descent takes about 5 hours, with lunch along the way. This is where good footwear and careful foot placement pay off. Even when you feel strong at altitude, downhill can be harder on knees and ankles because every step is a controlled brake.
The route is described as rainforest, which usually means humidity and softer ground underfoot. That’s nice for cooling your body, but it also means you’ll want to pay attention to footing—especially during breaks when you’re tempted to rush.
Ending in Senaru village
You arrive at Senaru village and the service ends there. From a planning standpoint, this is helpful: you’re not doing a second long trek loop or adding another transfer day. You finish where most people want to be after two hard days: back at ground level, ready to eat real food and relax.
Guides and porters: the difference between a hike and an okay hike
Syam Trekker includes an experienced English-speaking guide and professional porters. This matters because the “work” behind a volcano trek is not just walking. It’s route decisions, safety management, timing meals, and getting camp set up so you’re not scrambling after dark.
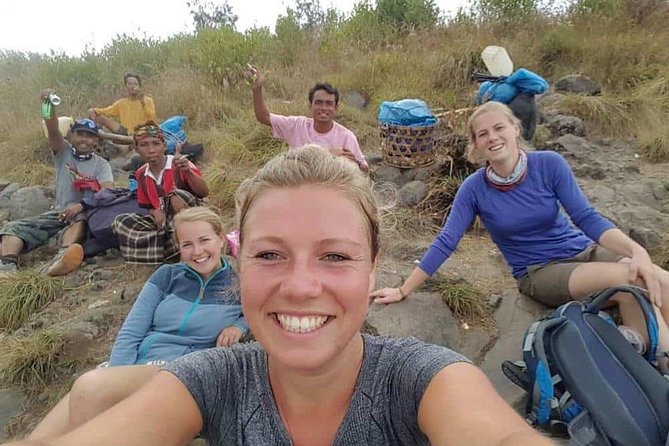
In the feedback for this operator, several guide names come up—Rahmin, Amin, Awal, Ari, and Anto. I can’t tell you which guide you’ll get on your exact date, but the names appearing across different treks points to an established team culture rather than a random one-off. People also highlight guides who stay patient and keep morale up, even when someone needs a slower push toward the summit.
Porters show up again and again in the positive details. Strong porters mean you’re not hauling a heavy pack while also climbing fast to the crater rim. That directly affects how you feel on Day 1 and how stable your energy is at sunset.
Price and value: what $217 really covers
At $217 per person, this trek isn’t the cheapest way to hike Rinjani. But it also isn’t a “pay for yourself and hope for the best” setup.
Here’s what’s explicitly included:
- Entrance fee to Mount Rinjani National Park
- Camping gear: tents, sleeping mats (5 cm), sleeping bags, toilet tents, pillow, plus camping chair
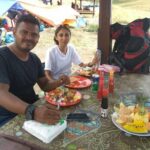
- Meals: 3 meals a day, plus snacks and fruits
- Hydration: 3 liters of mineral water per day and drinks during the trek
- English-speaking guide and professional porters
- Travel insurance
Then there’s what isn’t included: personal expenses and tipping for guide and porter.
So the value equation is pretty clear. You’re paying for the operational side of a tough hike—gear, food, park access, and people who know the route. If you tried to do this without a proper team, you’d still need a way to cover park fees, arrange camp equipment, and manage safe logistics for your group. In other words, this price looks more like a managed trekking service than a DIY adventure.
Logistics that can make or break your trek day
Two details deserve attention before you go.
Small group, big impact
A maximum group size of six is rare for a route this intense. In practice, it usually means fewer traffic jams on narrow sections and more flexibility during breaks. It also makes it easier for your guide to check in and adjust pace.
Start time and how you should plan your morning
The activity lists a 7:00 am start time at Syam Trekker’s Senaru office. The walking portion begins around 8:00 in the route description. To keep stress low, plan to be there early enough to check in, handle any last-minute gear needs, and not rush into the first hours.
Also note: confirmation is received at booking, and you’ll get a mobile ticket. That’s convenient if you don’t want to handle printed documents.
Weather and altitude: the two real constraints
This experience requires good weather. If conditions are poor, the plan may be canceled and you’ll be offered another date or a full refund. That’s not a minor detail on Rinjani. Cloud, wind, and rain can change visibility and trail conditions fast, especially near crater areas.
On altitude, the trek description highlights 12,224 feet (3,726 meters) for Mount Rinjani overall, with your rim camp at 2,641 m on this specific route. Even if you’re not living at the top height the whole time, you’re still moving through significant elevation in short time. If you’re coming from sea level, take the first hours seriously and don’t force pace just to keep up.
Who this trek is best for (and who should think twice)
This route is listed as having moderate physical fitness requirements, and that aligns with the two-day format. You’ll do a forest approach, a climb to the crater rim, a night at altitude, then a rainforest descent that takes about five hours.
You’ll likely love it if you want:
- A volcano-sunset and sunrise camp experience
- A guided hike with porters and full camp setup
- A small-group pace where you’re not shoved into a single speed
You might want a different option if you:
- Know you struggle with steep descents (Day 2 is still a long walk)
- Feel uncomfortable with altitude changes over a short window
- Don’t have flexibility for weather-related rescheduling
Should you book Syam Trekker’s 2-day Senaru crater rim hike?
I’d book it if your priority is a true crater-rim camp experience without extra hassle. The included gear is detailed, the group size is small, and the schedule is designed around sunrise and sunset—so you’re not just hiking for the sake of hiking.
I’d hesitate only if you’re not ready for two intense days and a long downhill. Also, check that you can be flexible around weather, since poor conditions can cancel the trek.
If you want a practical, well-run Rinjani challenge that keeps you safe and fed while you chase the views, this is a strong pick.
FAQ
How long is the Mt. Rinjani hike to Senaru crater rim?
It lasts about 2 days.
What is the group size limit?
The tour has a maximum of 6 travelers.
What time do I start, and where do I meet?
You meet at Syam Trekker’s office in Senaru, with a start time of 7:00 am.
What are the main stops on the route?
You pass Post 2 Montong SATAS shelter (1,500 m), Pos 3 Mondokan Lolak (2,000 m), and then reach Senaru crater rim (2,641 m) for sunset and overnight camp before descending to Senaru village.
What is included in the price?
The tour includes camping gear (tents, sleeping mats 5 cm thick, sleeping bags, camping chair, toilet tents and pillow), an English-speaking guide and professional porters, 3 meals a day plus snacks and fruits, 3 liters of mineral water per day, travel insurance, and the national park entrance fee.
What should I bring since it is not included?
The tour lists personal expenses and tipping as not included. Bring whatever personal items you need for the trek, since those aren’t covered.
Is this trek suitable for me if I’m moderately fit?
It’s described as suitable for travelers with moderate physical fitness.
Does weather affect the trek?
Yes. The experience requires good weather, and if it’s canceled due to poor weather, you’ll be offered a different date or a full refund.