REVIEW · LOMBOK
Mount Rinjani Hiking to summit( 2 Days 1 Night )
Book on Viator →Operated by lombok trekking info · Bookable on Viator
Rinjani sunrise starts at 3 a.m. That’s what makes this Mount Rinjani hike via Sembalun so compelling: you camp high on the crater rim, then go for the top at night to catch morning light. I also really like the English-speaking guide plus a team of porters that keeps your hiking load realistic. The trade-off is the schedule and altitude—expect very early wake-ups, cold hours, and a hard push up to 3,726 m.
You start with a hotel pickup in either Senaru or Sembalun around 7:00, then begin trekking near 8:00 from Sembalun village. Day 1 eases you into the climb through open meadow and several “post” stops, before you finish with a long steep pull to the crater rim at 2,639 m.
On Day 2, the morning is timed for sunrise: you’re up around 2:00 for a hot drink and light breakfast, start the summit climb at 3:00, and reach the top around 6:00. It’s a private tour for your group, and the $170 price covers a lot of heavy lifting—just remember the national park entrance fee is extra, and the trek requires good weather.
In This Review
- Quick hits from Sembalun to the 3,726 m summit
- Entering The Trailhead: Sembalun Village and the 2 Days, 1 Night Rhythm
- Day 1: Meadow to Posts, Then the Steep Climb to 2,639 m
- Camping on the Crater Rim: Sleep, Hot Drinks, and Sunrise Timing
- Day 2 Summit Push to 3,726 m: The Hard Part, Built for Sunrise
- Porters, Tents, Food, and the Real Meaning of Included
- Price and Logistics: What You’re Paying For, and What’s Extra
- What to Bring: Cold Layers, Rain Gear, and Proper Footwear
- Who This 2D1N Rinjani Summit Hike Fits Best
- Should You Book This Mount Rinjani 2 Days 1 Night Summit Trek?
- FAQ
- What elevation does the Mount Rinjani summit trek reach?
- What time are pickups and trekking starts?
- What time do you start the summit climb on the second day?
- Is the national park entrance fee included?
- What’s included in the camping setup and food?
- What should I bring since some items aren’t included?
Quick hits from Sembalun to the 3,726 m summit
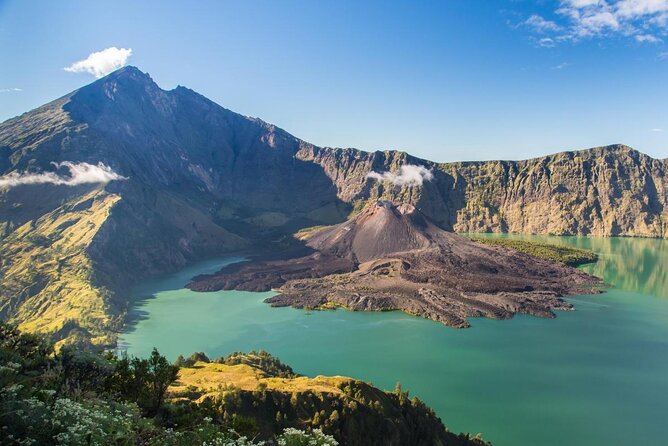
- Crater rim camping at 2,639 m gives you sunset and sunrise options before the summit push
- Pre-dawn 3:00 a.m. climb is the practical way to time your summit for that 6:00 a.m. sunrise arrival
- Porters handle the bulky gear (tents, cooking equipment, camping setup), so you carry less
- English-speaking guide leadership helps you pace the stops at Post 1, 2, and 3 without guesswork
- Food and 3 liters of mineral water per person per day reduces the “what do we eat?” stress on the trail
- An example guide name you may hear is Jon, noted for helping hikers feel at ease
Entering The Trailhead: Sembalun Village and the 2 Days, 1 Night Rhythm
The whole trek is built around rhythm: go up gradually on Day 1, sleep high, then move fast on Day 2. Starting from Sembalun village matters because it sets you on a route that walks you up in stages—meadow first, then higher posts, then the crater rim push.
The day structure is also why this itinerary works for a lot of people. You’re not thrown directly into a steep wall from the first step. Instead, you’ll hit Post 1 at about 1,300 m, Post 2 around 1,500 m, and Post 3 near 1,800 m, with a lunch stop at the higher point. That staged pacing helps you adjust, even if you’re not an ultra-trail athlete.
Pickup timing is another small detail that changes the experience. You’re collected from your hotel in Senaru or Sembalun at 7:00, then trekking begins about 8:00. That gives you time to get your water bottles filled, sort layers, and not start stressed. If you’re staying off the main road, this pickup is a real value because it saves time and confusion.
Day 1: Meadow to Posts, Then the Steep Climb to 2,639 m
Day 1 is where you earn your camp view. You’ll begin with a gentle climb through open meadow—far less punishing than the final ascent. After about two hours, you reach Post 1 (roughly 1,300 m). Then it’s another 40 minutes to Post 2 (around 1,500 m).
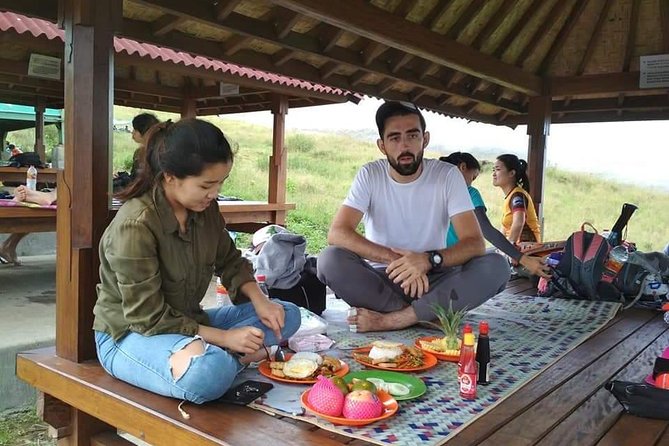
At Post 2, you stop for lunch. This is one of those moments you should treat like a mini reset: eat something solid, drink what you can, and let your body calm down before the next push. After lunch, you continue to Post 3 around 1,800 m, where you’ll rest again before heading for the crater rim.
The crater rim is 2,639 m, and that last section takes about three hours, including a prolonged steep climb. This is the part where good trekking technique pays off—short steps, steady breathing, and no sprinting just because you feel okay at the start. You’re doing real altitude work here, so pacing is everything.
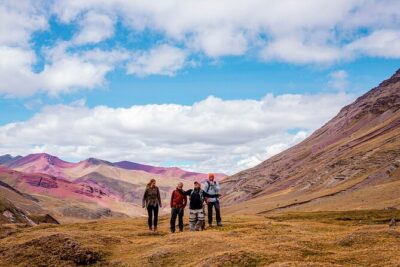
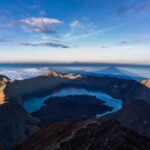
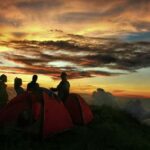
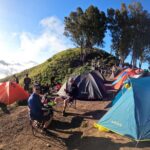
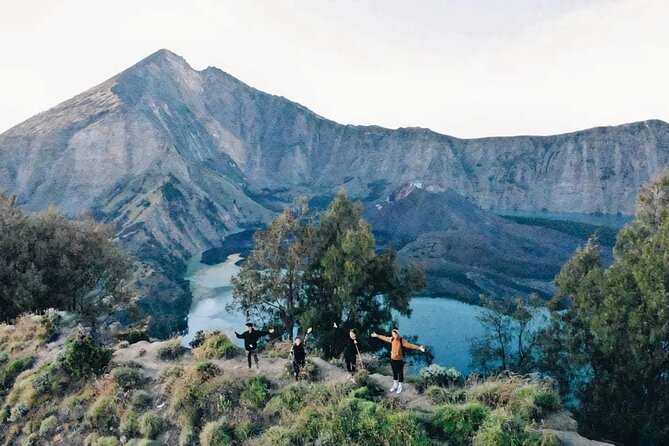
Once you arrive, you camp right on the rim. The best part isn’t just “we’re high.” It’s that you can watch sunrise and sunset from the crater rim, with wide views across Lombok and beyond. The air can feel sharp at that height, even if the trail lower down feels warm.
Main drawback for Day 1: the final steep pull can feel longer than expected. If you go out too fast early, you’ll pay for it on the rim climb. Go slow early and you’ll enjoy the top more.
Camping on the Crater Rim: Sleep, Hot Drinks, and Sunrise Timing
Camping is part of the experience, not just logistics. You’ll be at 2,639 m overnight, which means colder temperatures and windy stretches are more likely than what you’d expect at sea level. The included sleep setup helps: you get sleeping bags, a mattress, and a pillow, plus the tents and even a toilet tent with paper.
When you’re planning your evening, think like a mountain camper. Eat what you can, keep warm, and don’t treat “sleep” as optional. Day 2 is timed around a very early start, and if you lose too much rest, the summit push feels harder than it has to.
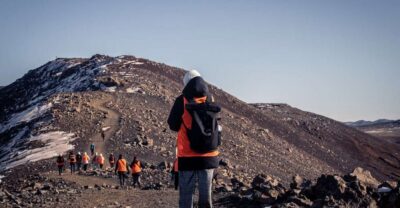
Even if you’re not a night-owl, the plan is very specific: you wake around 2:00 under the cover of darkness for a hot drink and a light breakfast. Then the summit climb starts at 3:00. That means you need your layers easy to grab, and you’ll want to be ready to move quickly once the group calls it.
One practical note: you’ll likely encounter a guide who keeps the group calm and organized. In past outings, a guide named Jon has been singled out for helping hikers feel at ease and supported throughout the trek. You should still be ready to follow instructions and keep your own pace—but it’s comforting to know this trip is guided in a steady, human way.
Day 2 Summit Push to 3,726 m: The Hard Part, Built for Sunrise
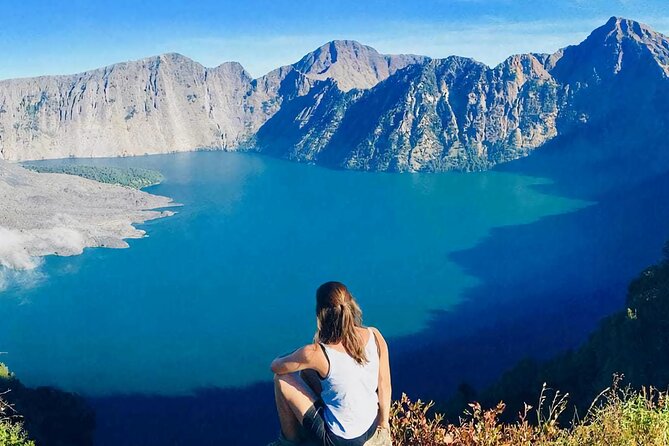
The summit day is early for a reason: you’re targeting a sunrise arrival around 6:00 a.m. Starting from the camp area at 2:639 m, you climb to 3,726 m—an increase of roughly 1,087 m in one day, with the trail steep in sections.
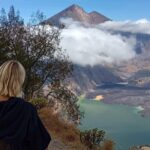
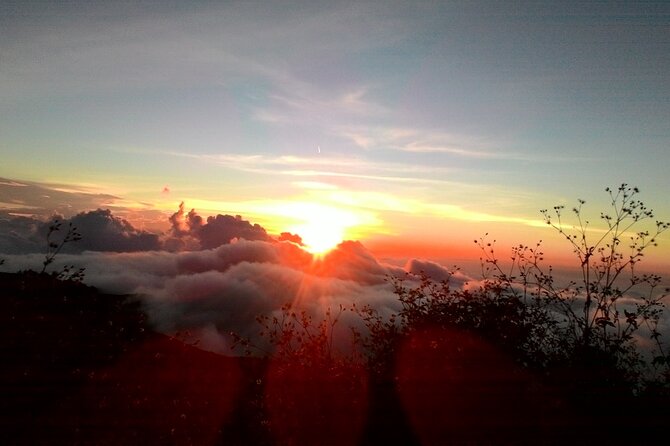
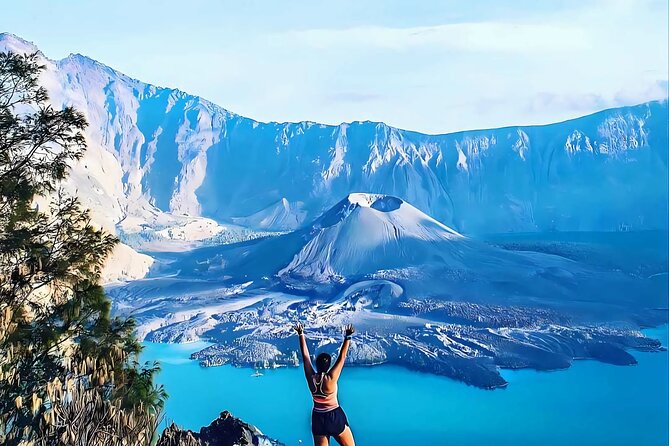
You’ll reach the summit at 6:00 a.m. and that’s when you get the big reward: a sunrise and panoramic views across Lombok island, Mount Bali, Mount Tambora in Sumbawa, and Segara Anak Lake. That list matters because it’s not vague sightseeing. The summit timing is set so you’re not just standing on a peak—you’re watching the light change across multiple islands and volcanic scenery.
After the summit, you descend to the camp site in about two hours for breakfast. This part is often mentally easier than the climb, because you know you already did the hardest work. Still, descent can be tough on knees and thighs, especially after a pre-dawn climb. Take your time. Don’t rush just because the worst is behind you.
Then you continue descending to Sembalun village, which takes about five hours. That’s a long walk after already being awake and climbing for hours. Your legs may feel fine at the start, then tighten up later. Bring enough water planning into your mindset so you don’t get dehydrated in the later descent.
Main consideration for Day 2: you’ll be up very early and moving in the cold-dark stretch. If you’re the type who hates waking up at night, this trek will test you.
Porters, Tents, Food, and the Real Meaning of Included
The $170 price covers more than “a guide and a hike.” It includes:
- An experienced English-speaking guide
- Professional porters
- Tent, toilet tent (with paper), plus sleeping bags, mattress, and pillow
- Porters carrying cooking gear and camping equipment
- Food and drinking water on the trek: 3 liters of mineral water per day per person
- Pickup in your hotel area in Senaru or Sembalun
That combination is the real value. A summit hike has a lot of moving parts—sleep system, cooking setup, water needs, and carrying gear. Having porters handle the bulk of equipment means you’re hiking, not managing camp logistics with a heavy pack.
In one example setup mentioned for a small group, hikers were paired with one guide and multiple porters, where porters carried tent and food. You may see a similar ratio, and the key point stays the same: you shouldn’t need to carry cooking and camping gear.
There is one important “not included” detail to understand clearly. An extra porter for your own luggage isn’t included. If you’re traveling with extra bags you don’t want to carry, you should plan ahead so your personal items are reasonable for the hike.
Also, water is provided—3 liters of mineral mineral water per day per person. That’s a big relief because you’re at high altitude where dehydration can sneak up on you. You still want to drink consistently, not just when you feel thirsty.
Price and Logistics: What You’re Paying For, and What’s Extra
At $170 per person for 2 days and 1 night, you’re paying for guided summit leadership plus the camping setup and porter support. The price doesn’t sound cheap until you price out what’s included—tents, sleeping gear, food, a lot of carried equipment, and pickup from the Senaru or Sembalun area.
The extra cost you should budget is the national park entrance fee. It’s listed as IDR 250,000 per day per person, which effectively means IDR 500,000 for two trekking days. You’ll want to set aside that cash so there’s no last-minute scramble at the start.
Weather is another logistics reality. This experience requires good weather. If it’s canceled due to poor weather, you’ll be offered a different date or a full refund. So when you’re traveling on tight time, aim for flexibility. Book this when you can shift plans if the mountain decides to stay socked in.
Value-check tip: if you’re the kind of traveler who hates arranging camping gear and arranging porters, this package is doing the work for you. If you already have everything and you’re comfortable organizing logistics, you may not feel as much “value,” but the included setup is still a plus for most people.
What to Bring: Cold Layers, Rain Gear, and Proper Footwear
This trek asks for sensible mountain clothing, and the “not included” list tells you what to plan for:
- Trekking shoes
- Rain jacket
- Long pants
- Gloves
Those items aren’t optional-style suggestions. At higher altitude, mornings can feel cold, and weather can change quickly. Even on a clear day, pre-dawn conditions on Day 2 can be chilly enough that you’ll feel it in your hands and extremities.
In past outings, hikers have mentioned access to free walking sticks and warm coat rentals. That’s not listed as part of the standard inclusions, so treat it as something you might be able to do rather than a guarantee. Still, if you like having gear support, ask in advance what’s available on the ground.
Also, think about how you’ll carry your personal items. The porters are carrying the cooking gear and camping equipment, but your personal kit is still on you. Pack to move comfortably and quickly—especially for the Day 2 pre-dawn start.
Who This 2D1N Rinjani Summit Hike Fits Best
This is a hike that most people can participate in, but it’s not a casual stroll. You’re climbing from about 1,156 m up to a crater rim at 2,639 m, then to a summit at 3,726 m. You’ll also have a long descent back to Sembalun.
If you want a guided summit attempt with camping handled for you, this fits well. It’s also a good choice if you like structured pacing: Post 1, Post 2, Post 3, then the crater rim; breakfast stops; a timed summit arrival for sunrise.
It also works if you’re traveling in a small group and want a private experience. This is listed as private, so your group stays together.
If you’re sensitive to very early mornings or you don’t handle cold well, you’ll want to plan your layers carefully and be honest about your energy level. That pre-dawn schedule is part of the deal.
Should You Book This Mount Rinjani 2 Days 1 Night Summit Trek?
I’d book this if you want a properly guided, high-value summit trek where camping and meals are handled and you’re aiming for sunrise. The combination of crater rim camping, a timed summit arrival, English-speaking guidance, and porter support makes it feel less like “survive the mountain” and more like “do the mountain, well.”
Skip it or reconsider if you don’t want early wake-ups, you hate cold mornings, or you’re traveling on non-flexible dates. Weather can delay the plan, and this experience won’t run on “hope and vibes.”
If you do book, give yourself a realistic expectation: this is a real climb. Then lean into the payoff—sunrise views from the summit and a night on the crater rim that you’ll remember long after your phone battery dies.
FAQ
What elevation does the Mount Rinjani summit trek reach?
You start around 1,156 m above sea level and climb to the crater rim at about 2,639 m on Day 1. The summit is listed at 3,726 m, reached around 6:00 a.m. on Day 2.
What time are pickups and trekking starts?
Pickup starts around 7:00 a.m. from your hotel in Senaru or Sembalun. Trekking begins around 8:00 a.m. in Sembalun village.
What time do you start the summit climb on the second day?
You wake around 2:00 a.m. for a hot drink and light breakfast, then start heading to the summit at 3:00 a.m.
Is the national park entrance fee included?
No. The national park entrance fee is listed as IDR 250,000 per day per person, which you should budget for across the trekking days (IDR 500,000 for two days).
What’s included in the camping setup and food?
You get tent, toilet tent with paper, sleeping bags, mattress, and pillow. The trek includes food plus drinking water—listed as 3 liters of mineral water per day per person.
What should I bring since some items aren’t included?
You’ll need to bring trekking shoes, a rain jacket, long pants, and gloves. An extra porter for your personal luggage is also not included.