REVIEW · LOMBOK
2D-1N Hiking Rinjani To Rim Senaru – Dewa Trekking
Book on Viator →Operated by Dewa Trekking · Bookable on Viator
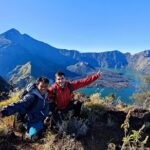
Two days, one volcano, big skies. I like this private Rinjani crater-rim hike because it’s built around the payoff moments: sunset and sunrise from about 2,641 m above sea level. You also get a team model that makes the hard parts feel more manageable—an English-speaking guide plus porters who carry cooking and camping gear. The main catch to plan around is gear and comfort limits: trekking shoes, a head lamp, and some weather layers (like rain protection) aren’t included, and the climb gets steep as you rise.
Senaru is where the trail starts to feel real. The program brings you from a practical arrival night in Senaru into a Day 1 push through dense tropical forest that gradually turns into grassland, with rest stops along the way. Day 2 keeps the rhythm light but still physical, as you hike back down with breakfast and breaks before you’re transferred onward around 1pm.
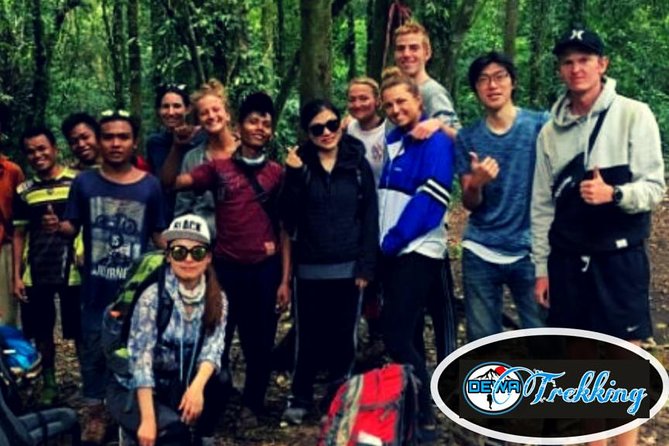
If you want a hike that feels personal, this fits. It’s a private tour, so it’s just your group, not a mixed crowd. And reviews consistently flag friendly, capable guides (names like Dean and Seki, Windy, Din, Rodi, and Ady/Adi show up), plus porters who take their job seriously—so you’re not wrestling your own camping setup while you’re trying to breathe at altitude.
In This Review
- Key things that make this hike worth your time
- Rinjani to Rim in plain terms: what this trip actually is
- How the arrival night in Senaru helps you start strong
- Day 1: the climb from tropical forest toward the rim
- Camp at the crater rim: what you’re provided (and what you must bring)
- Day 2 sunrise and the return to Senaru
- Guides and porters: the service that makes the difference
- Price ($237) and value: where the money goes
- What to pack so the hike feels manageable
- Who this Rinjani rim trek suits best
- Should you book Dewa Trekking’s 2D-1N Rim Senaru hike?
- FAQ
- How long is the Mt. Rinjani to Rim Senaru (2D-1N) trip?
- What altitude do you start at in Senaru, and what altitude is the crater rim?
- Is pickup and transfer included?
- Do you provide accommodation before the trek?
- Is food and drinking water included during the hike?
- What camping gear is included for the night at the rim?
- What gear is not included that I should plan to bring?
- Is this a private tour?
- What cancellation window is offered?
Key things that make this hike worth your time
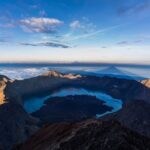
- Sunset and sunrise from the crater rim near 2,641 m, with views over Mt. Rinjani and the lake
- Private group setup so your pace and needs matter more
- English-speaking guide and professional porters, with porters carrying cooking and camping equipment
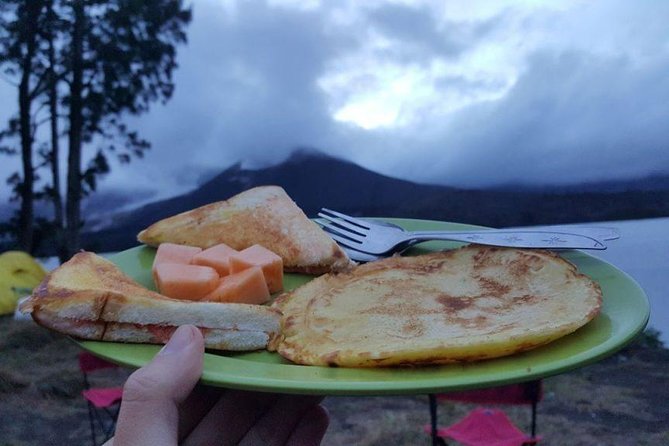
- Food and water included, with 3 litre mineral water per person per day
- Tent + sleeping gear provided, including sleeping bags, mattress, pillow, and a toilet tent setup
- Classic trail progression, from forest to grassland and then a steep climb toward the rim
Rinjani to Rim in plain terms: what this trip actually is
This is a 2D-1N program from Senaru up to Rinjani’s crater rim (Senaru route), then back down. You start around 601 m above sea level in Senaru, climb to about 2,641 m for an overnight rim camp, then descend back to Senaru the next day.
The structure is simple on purpose. Day 1 is the big ascent with planned pauses and a longer lunch break mid-route. Day 2 focuses on the sunrise moment, then a steady return hike with another longer lunch stop before you arrive back in Senaru.
The value here is that a lot of the logistics are handled for you. You’re not just buying a ticket for walking uphill—you’re getting guide support, park entry, camp and toilet setup, and water and meals across the trek. For $237, that’s often where the savings come from if you’d otherwise be renting gear or hiring help separately.
How the arrival night in Senaru helps you start strong
Your “Day 0” is built around getting you to Senaru and giving you an actual night to settle. Pickup happens somewhere on Lombok island, then you transfer to Senaru, check in at a hotel, and sleep.
That night matters more than it sounds. You’re not starting the trek straight off a long travel day. You’re also getting time to register your expectations and make sure you have what you need in your day pack (which you’ll bring yourself).
One practical thing: the “start time” listed is 12:00 am, which usually signals a very early wake-up for the real day’s work. So treat this as an early-departure program. If you’re the type who hates rushing, plan for a sleep schedule that lets you handle it.
Day 1: the climb from tropical forest toward the rim
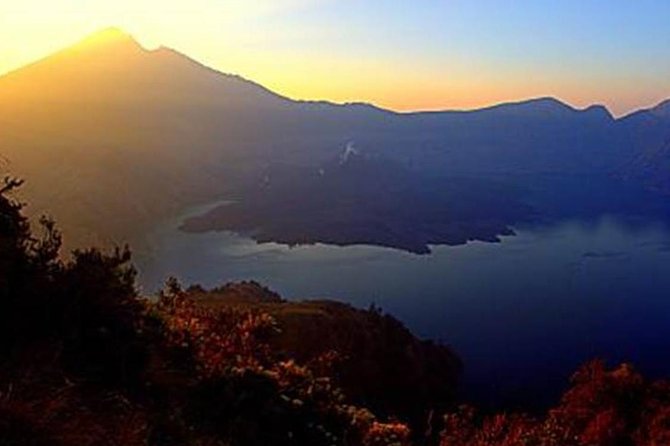
Day 1 starts after an early breakfast. You register at the Rinjani Trek Centre, then the trail begins through dense tropical forest. This part is often where your body learns the rhythm: steady steps, short breaks, and focus on breathing instead of speed.
You’ll stop at Pos 1 and Pos 2 for rest breaks and snacks. Those pauses are useful because they help you manage effort on a day that gradually gets steeper. At Pos 3 (around 2,000 m), you take a longer lunch break before continuing toward the crater rim.
As you climb higher, the environment shifts. Forest gives way to grassland, and the trail becomes increasingly steep. That change is a real signal for what’s coming next: more exposed sections and more of a “work uphill” feeling. This is exactly where having porters carrying camping and cooking gear is a big deal—you’re not weighed down with extra kit while your legs do the heavy lifting.
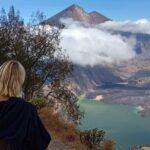
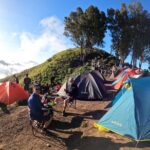
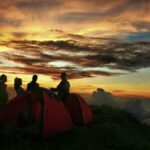
Then comes camp at Senaru Crater Rim, about 2,641 m. This is where the program’s best selling point lands: sunset views over Mt. Rinjani, the lake, and a small volcanic cone inside the crater. In other words, you earn the view with your own two legs, and the timing is built in.
Camp at the crater rim: what you’re provided (and what you must bring)
You sleep overnight in a tent at the crater rim. The included gear list is solid:
- Tent
- Toilet tent and paper
- Sleeping bags
- Mattress and pillow
That means you can pack lighter than you would on a DIY trek. It also means your night comfort depends more on layering and temperature readiness—because the provided gear doesn’t replace good weather clothes.
Here’s the key drawback to factor in: items that really matter on an active volcano hike aren’t included. The trip does not include a head lamp/hand torch, trekking shoes, rain jacket, long pants, or gloves. So if you show up without those, your camp experience can get less pleasant fast.
Also, you’ll want a small bag/daily pack for your essentials. The program covers camp setup, but you still need a place for your personal items during the hike.
Day 2 sunrise and the return to Senaru
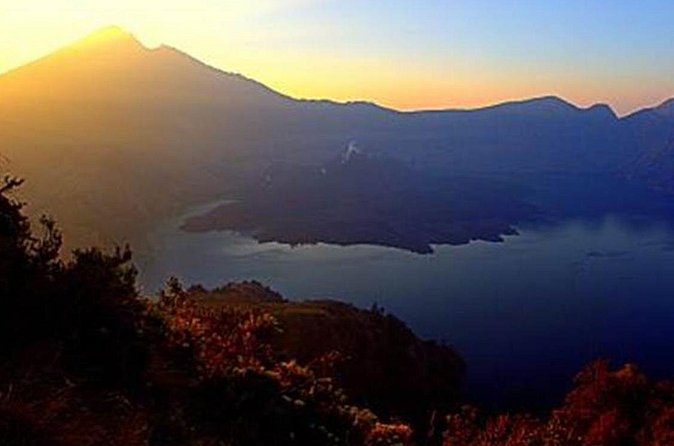
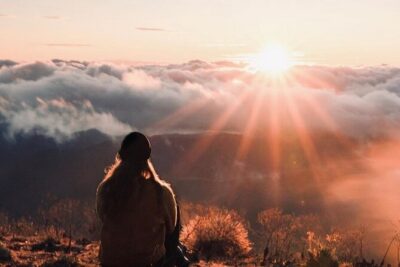
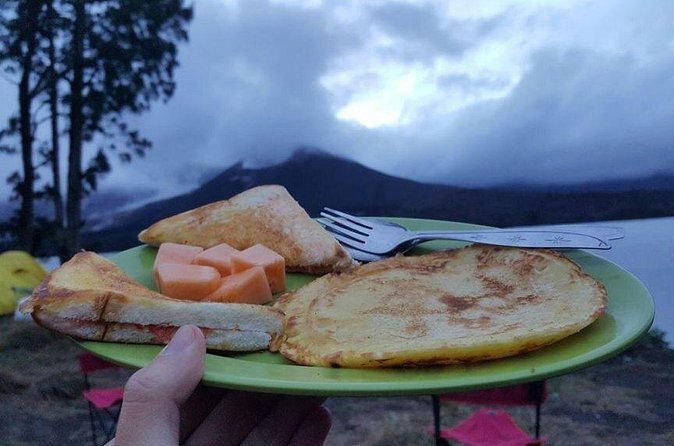
Day 2 begins with sunrise and a leisurely breakfast. That’s not just nice branding. When you’re up near the crater rim, sunrise becomes the emotional reward for the previous day’s climb, and it’s scheduled before you descend.
After breakfast, you start the return trek. The pace is still hiking—just with breaks and food built in. You’ll pause for several rest and snack breaks, with Pos 2 serving as the longer lunch stop.
You should expect to arrive in Senaru around 1pm. From there, you get transferred to your next destination. That timing is helpful if you’re continuing your Lombok or Gili plans the same day, because you’re not stuck hiking until late afternoon.
Guides and porters: the service that makes the difference
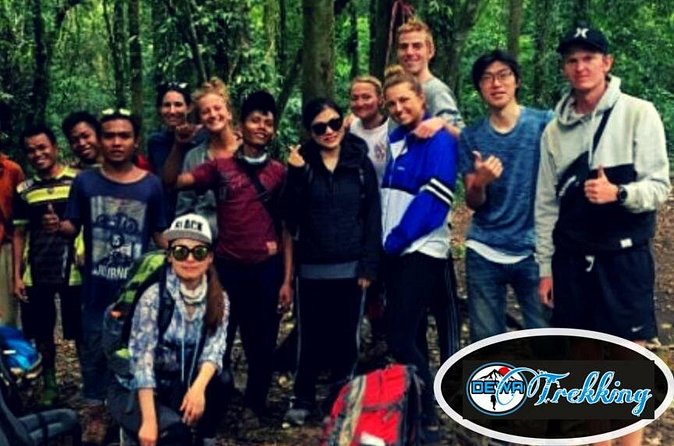
This trip runs on people, not gadgets. What stands out from the praised experiences is how guides support both the physical and mental sides of a hard climb.
I like that the program includes an experienced English-speaking guide plus professional porters. Porters carry cooking gear and camping equipment, which keeps the hike focused on the trail—not camp logistics. One review praised porters for being courageous with the load, and multiple notes point to delicious meals being prepared during the trek.
Names I saw praised include Dean and Seki, as well as Windy, Din, Rodi, and Ady/Adi. Even if you don’t get the same guide, the pattern is consistent: friendly, helpful guidance, plus teamwork that helps you handle the ups and downs.
Also, check how you prefer to be guided. Some people want quiet and steady. Others want a guide who talks and keeps mood up. Reviews suggest the team approach can include humor and encouragement, which can matter when the trail turns steep.
Price ($237) and value: where the money goes
Let’s talk value in a realistic way. $237 is not cheap, but it can be good value because the included package reduces the usual hidden costs:
Included value points:
- Pickup before and transfers after the trek
- Night accommodation in Senaru before the hike
- Guide, plus porters who handle cooking and camping equipment
- English-speaking guide support
- Entrance fee to the national park
- Food and drinking water (3 litre mineral water per person per day)
- Camping setup: tent, toilet tent + paper, sleeping bag, mattress, and pillow
Not included (where you might add cost or plan ahead):
- Head lamp/hand torch
- Trekking shoes
- Rain jacket, long pants, gloves
- Airline ticket
- Tips for guide and porters
- Extra porter for your own luggage (if you add it)
So the smartest way to judge this price is to ask what you already own. If you’ve got proper shoes, a head lamp, and basic rain/warm layers, you’ll likely feel you’re buying the service: guide + porters + food + camp. If you need to buy a bunch of gear last minute, your total spend rises, and the value shifts.
What to pack so the hike feels manageable
The trek gives you camp and meals, but you still carry your personal needs. Based on what’s not included, I’d pack with these priorities:
- Head lamp or torch (don’t gamble on phone light)
- Trekking shoes (trail to rim gets steep)
- Rain jacket
- Long pants
- Gloves
- A small daily pack for essentials
If you’re camera-minded, bring your camera. The crater rim sunset and sunrise are the kind of moments you’ll want to remember, and the views are part of the reason people choose this route.
Who this Rinjani rim trek suits best
This fits best if you want:
- A challenging hike with a clear “destination reward” at the crater rim
- A private-group experience rather than a bus-and-queue style hike
- Built-in support: English-speaking guidance, porters for camp gear, and set food and water
The program calls for moderate physical fitness. That’s an important phrase. This isn’t marketed as an easy stroll, and it’s not designed for ultra-beginners. If you can handle steep walking with breaks, you’ll likely enjoy it more than you dread it.
If you’re traveling as a couple or a small group, the private setup is a real plus. If you’re going as a family or with mixed fitness levels, the private nature can help your guide tailor pacing—just remember the terrain still has a steep stretch after the forest section.
Should you book Dewa Trekking’s 2D-1N Rim Senaru hike?
If you want a well-supported volcano trek with camp gear and water handled, I think it’s a strong choice. The biggest reasons to book are simple: the rim sunset and sunrise timing, and the practical inclusion list (food, water, park fee, guide, porters, and sleeping setup).
I’d skip or reconsider if you’re missing key gear and you’re not willing to buy it before you go—especially a head lamp and appropriate footwear. This hike will punish sloppy preparation more than it punishes mediocre fitness.
If you do book, I’d also align your expectations with the structure: early mornings, steep sections on Day 1, and about 1pm return to Senaru on Day 2. Do that, and you’ll be rewarded with the kind of Rinjani crater experience that feels earned, not bought.
FAQ
How long is the Mt. Rinjani to Rim Senaru (2D-1N) trip?
The program is described as 3 days approximately, with a Day 0 arrival transfer to Senaru, Day 1 hiking to the crater rim, and Day 2 sunrise and return to Senaru.
What altitude do you start at in Senaru, and what altitude is the crater rim?
You start from Senaru at about 601 m above sea level, and you hike up to the crater rim at about 2,641 m.
Is pickup and transfer included?
Yes. Pickup before the trek and transfers after the trek are included, and you’re also transferred to your next destination after returning to Senaru.
Do you provide accommodation before the trek?
Yes. You get a night accommodation in Senaru before the trek begins.
Is food and drinking water included during the hike?
Yes. Food and drinking water are included, with 3 litre mineral water per day per person.
What camping gear is included for the night at the rim?
Included gear covers the tent and sleeping setup: sleeping bags, mattress, and pillow, plus a toilet tent and paper.
What gear is not included that I should plan to bring?
Head lamp/hand torch, a small bag/daily pack, and trekking shoes are not included. Rain jacket, long pants, and gloves are also not included.
Is this a private tour?
Yes. It’s listed as a private tour/activity, meaning only your group participates.
What cancellation window is offered?
Free cancellation is available. You can cancel up to 24 hours in advance for a full refund.