REVIEW · RIO DE JANEIRO
Rio de Janeiro: Pedra da Gávea – guided hike with best views
Book on GetYourGuide →Operated by saira ecotour · Bookable on GetYourGuide
Pedra da Gávea is a hike that earns its wow. I like the combination of expert safety support and the 360° summit views from one of Rio’s most demanding coastal cliffs. One key drawback: this is not a beginner hike, and the trail includes steep, technical sections that ask for real physical fitness and comfort with heights.
This guided format helps you move efficiently and confidently, especially when the route turns technical. In a small group (limited to 6), you also get more attention from the guide team in the tricky parts. If you’re the type who gets nervous near drop-offs, be honest with yourself before you go.
In This Review
- Why Pedra da Gávea Feels Like a Real Rio Achievement
- Fitness Check: 7 km, steep sections, and that technical climb
- Meeting at Point da Meire: where the hike starts and why it helps
- Into the Atlantic Forest: early trekking, breaks, and wildlife time
- The Carrasqueira Climb: where safety gear turns the route manageable
- Summit Rewards: 360° coastal views and time to reset
- The Descent: keep control, don’t rush the hard-earned balance
- How the guided format makes the hard parts feel safer
- Photo and video package: worth it, if you like memories that look good
- What’s included vs. what you must plan yourself
- What to bring (and what not to bring) for a smoother hike
- Price and value: what you’re really paying for
- Who should book Pedra da Gávea, and who should choose a different day
- Quick booking checklist before you commit
- Should you book this hike or skip it?
- FAQ
- How long is the Pedra da Gávea guided hike?
- How far is the hike?
- Is Pedra da Gávea recommended for beginners?
- What’s included in the price?
- What should I bring?
- Where do we meet for the hike?
Why Pedra da Gávea Feels Like a Real Rio Achievement
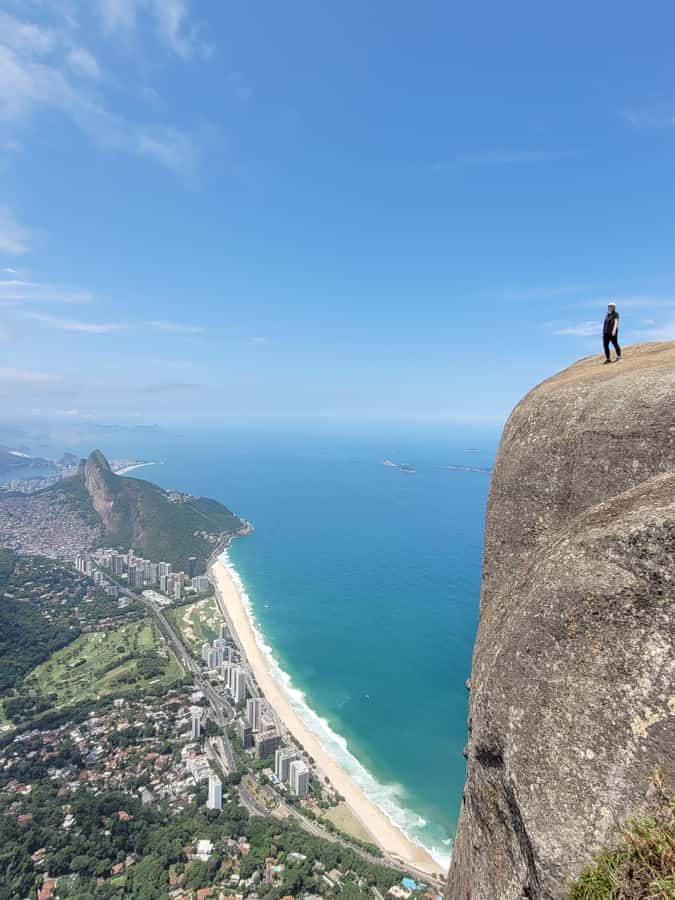
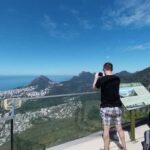
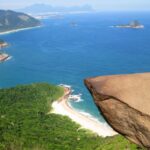
Pedra da Gávea sits above the coast and gives you that rare feeling of being both in nature and above the entire city. The payoff is huge: you’re looking out over the shoreline, the city, and the surrounding hills from a very high coastal cliff.
The hike earns its reputation because it’s not just “walk and take pictures.” You climb, you scramble, you pause to appreciate the views, and then you tackle a technical rock section with real safety gear. In the best case, the whole thing feels like a guided adventure with a clear structure: push uphill, reset, climb the hard bit, then enjoy the summit.
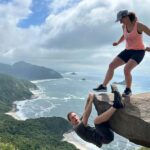
Two things I especially appreciate here are the professionalism of the guide team and the way the experience is built around capturing the moment. Multiple guides are mentioned by name in the feedback, including Ronald Bulja and Fernando, plus Edu, who seems to excel at getting impressive cliff photos. Even if you’re not a “serious photographer,” you’ll probably like having someone else handle the best angles.
Fitness Check: 7 km, steep sections, and that technical climb
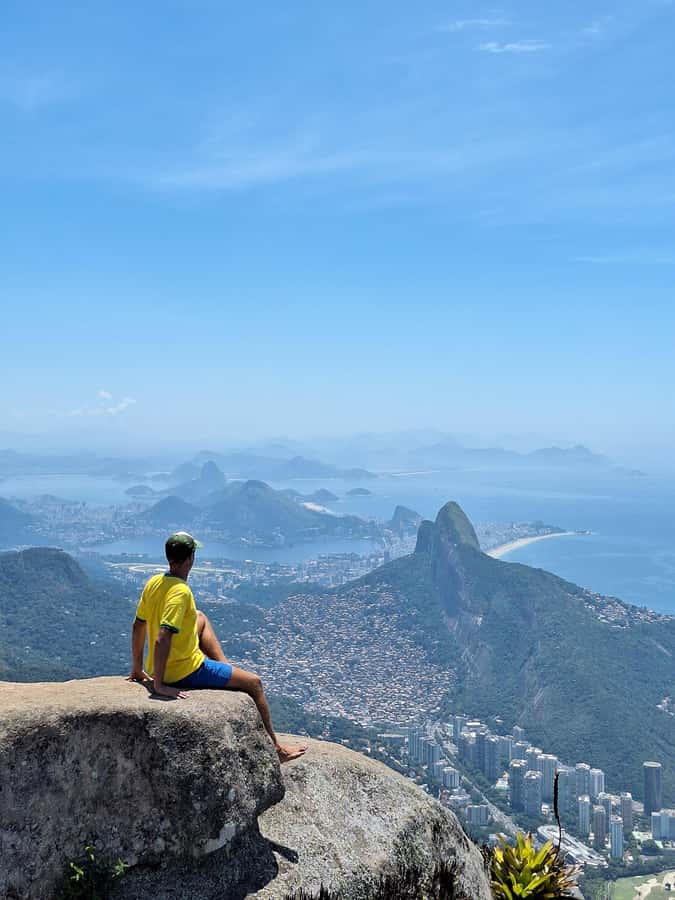
Let’s talk reality up front. This is described as the most difficult hike in the city, and it covers about 7 km round trip. Plan for about 6 to 7 hours on the trail, and don’t treat it like a casual stroll in the park.
You’ll deal with:
- Steep and demanding trail sections throughout
- A technical segment (the Carrasqueira climb) that involves rock climbing
- A route that rewards hikers who pace well and don’t rush the hard moments
It’s recommended for experienced hikers or people who are in good physical condition. If your cardio is shaky, you haven’t done climbs recently, or you’re easily spooked by heights, this will feel harder than it sounds on paper. And if you’ve had poor sleep or you drank alcohol the night before, you’re starting the hike at a disadvantage.
A quick practical note: the tour does include safety equipment (rope, harness) and an expert guide, but gear doesn’t replace fitness. You still need to hike smart, keep your balance, and follow instructions.
You can also read our reviews of more guided tours in Rio De Janeiro

Meeting at Point da Meire: where the hike starts and why it helps
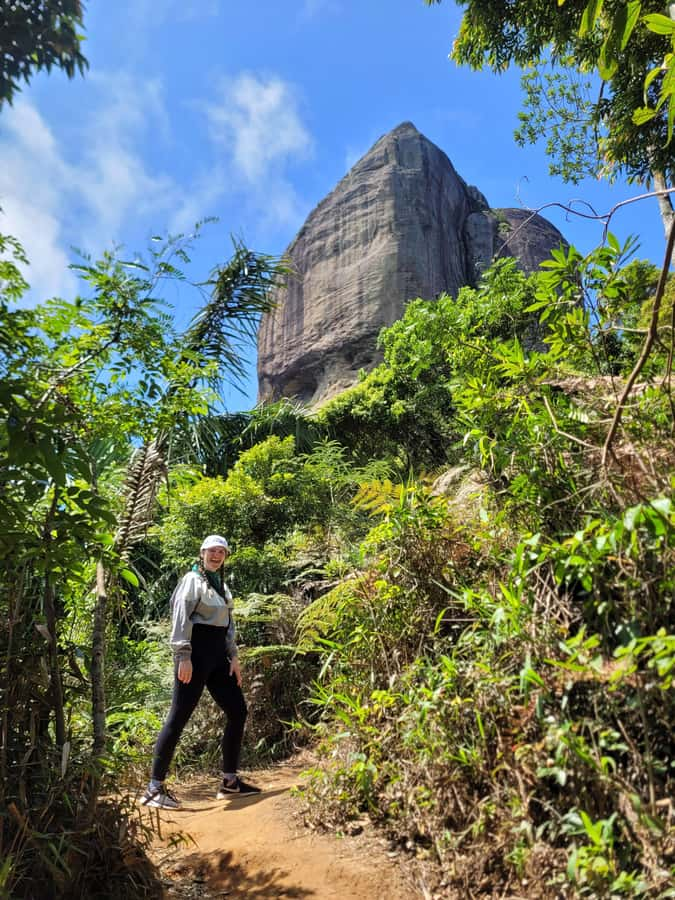
You meet at Point da Meire, a bar near the entrance of Tijuca National Park. This is a smart setup for two reasons.
First, it gives you a place to handle basics before you start. There’s a straightforward chance to buy snacks or drinks if you arrived under-prepared, plus you can usually use restroom facilities before stepping into the trail.
Second, it reduces stress. When your hike begins right at a clear starting point, you spend less energy trying to figure out logistics and more energy actually hiking.
Bring your essentials early: comfortable shoes, a hat, water, and snacks. You’ll also want insect repellent, and a small garbage bag (so you don’t end up searching for a place to dispose of wrappers).
Into the Atlantic Forest: early trekking, breaks, and wildlife time
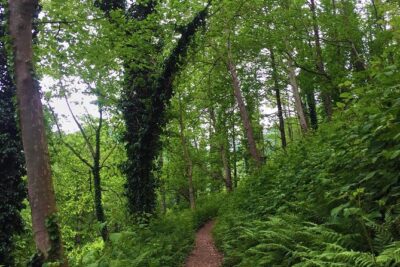
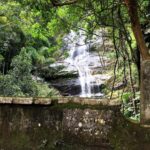
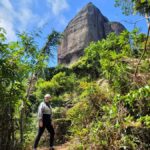
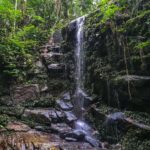
Once you’re set, the hike moves into the lush Atlantic Forest environment. This section matters because it’s where you warm up and find your rhythm. The pace isn’t just about getting distance; it’s also about managing effort so you can handle the later technical part.
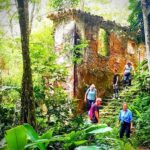
During the trek, you’ll make stops to rest and enjoy the views as the route rises. There’s also an emphasis on the natural setting, including the chance for bird watching and spotting local wildlife along the way.
Why this part is valuable: the forest segment is a breather before the climb gets serious. It’s the moment when you can slow down, breathe, and keep yourself mentally ready for the Carrasqueira technical section later. If you go too fast early, you’ll feel it when the rock starts asking for more from you.
The Carrasqueira Climb: where safety gear turns the route manageable
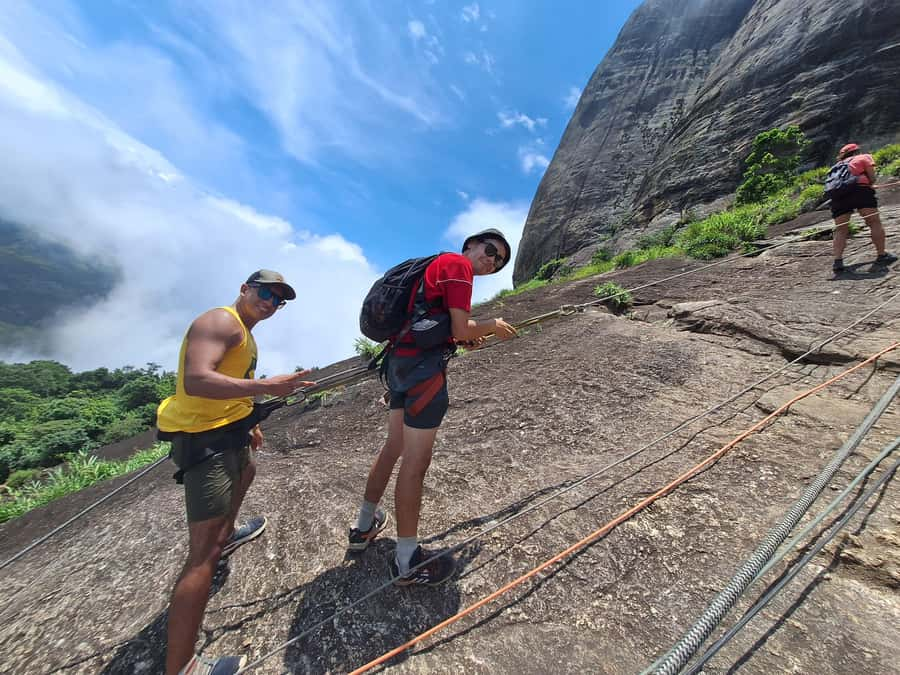
This is the signature challenge. The Carrasqueira climb is the most technical part, and you’ll engage in a short but exhilarating rock climbing segment.
Here’s the key detail: you’re provided with safety equipment including rope and harness, and your guide handles how to use it. Multiple guides are cited in feedback as being calm, careful, and practical when teaching climbing moves. One guide is described as making it easy even for first-timers, as long as they listen and stay focused.
Even with harness and rope, treat this part like a controlled lesson, not a stunt:
- Keep your body position as instructed
- Move with patience, not speed
- Don’t improvise if you’re unsure
If you’re someone who worries about the void, this is where you’ll need the most discipline. The good news is the experience is guided, and you’re not left to guess. Still, your comfort level with heights should be real, not “I think I can handle it.”
Summit Rewards: 360° coastal views and time to reset
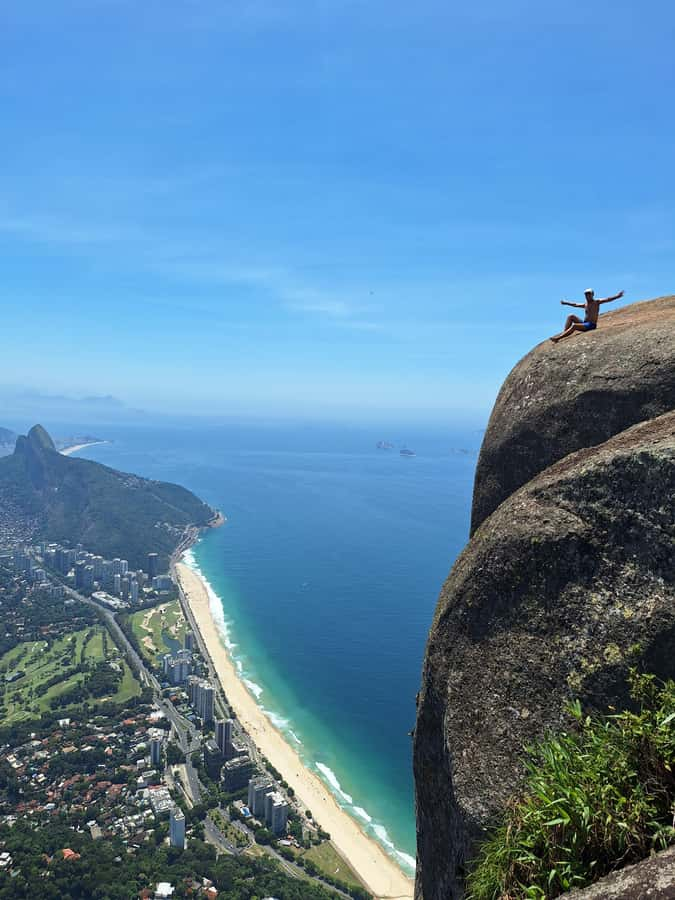
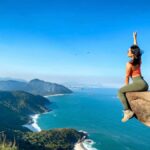
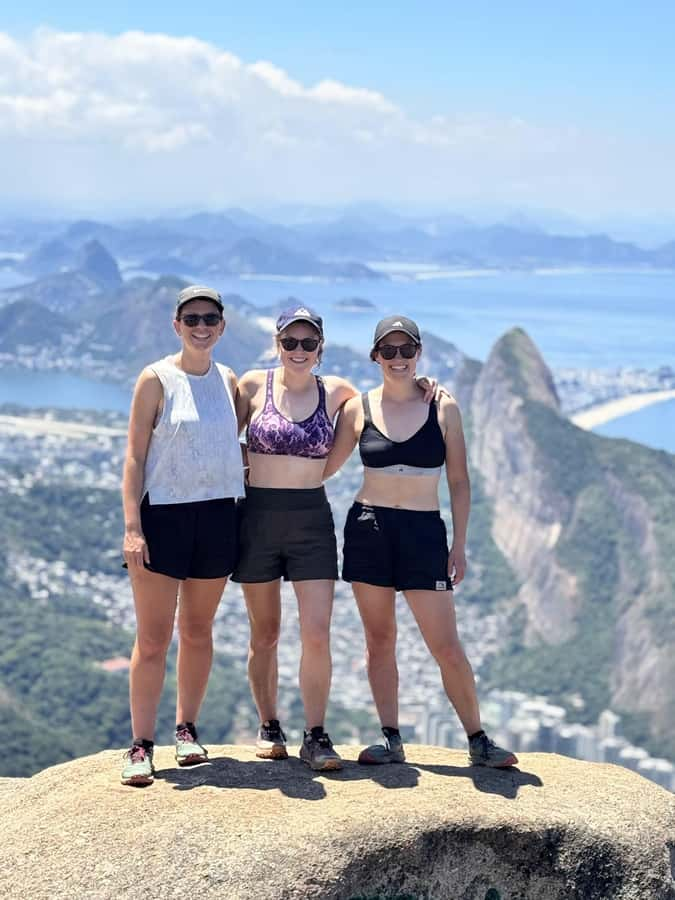
After the technical part, the hike turns into payoff mode. At the summit, you get one of Rio’s most spectacular view experiences, described as 360° views from a high coastal cliff.
This is where the whole day makes sense. The summit isn’t just a place to stand; it’s also where you can finally slow down, take in the city and shoreline from above, and breathe.
You’ll have plenty of time for:
- Photos and viewpoint time
- Relaxing
- A snack break (since food isn’t provided, bringing your own is important)
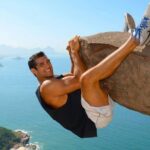
The professional photo offering also plays into this. The tour includes photos and videos from the experience, and feedback highlights guides who are willing to take cliff photos for better angles. That means you’ll likely spend less time worrying about your camera setup and more time enjoying the view.
Practical tip: bring a snack you actually want to eat, not just something generic. You’re working hard for hours, and your energy will matter.
You can also read our reviews of more hiking tours in Rio De Janeiro
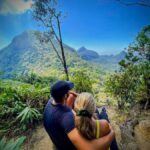
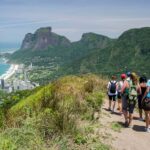
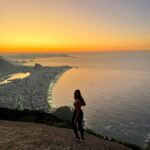
The Descent: keep control, don’t rush the hard-earned balance
The descent is part of the experience and part of the risk. After the summit, you’ll make your way back down along the trail. Even if you feel strong, rushing the descent can be where balance slips happen.
I recommend treating the return like a continuation of the climb, just in reverse:
- Watch your footing
- Stay close to the guide
- Keep your movements smooth
You’ll also re-see sections of the route from a different angle. The forest changes as you go down, and your perspective on the summit grows more clear as you approach the base.
One more reality check: even though descent feels easier on cardio, it can tire your legs in a different way. Plan to be careful with knees and ankles, and give your body permission to move slower than your ego wants.
How the guided format makes the hard parts feel safer
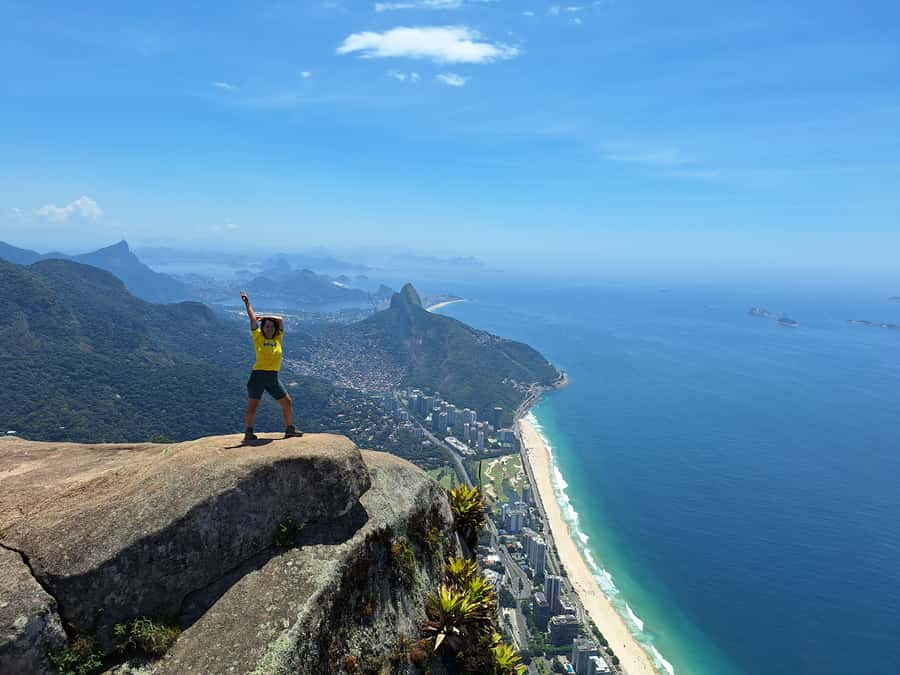
This tour’s main advantage is simple: you’re not doing Pedra da Gávea alone. With a certified, experienced guide and safety gear, you can focus on hiking well while the guide manages the technical segments.
Small group size is a big part of that. With a limit of 6 participants, the guide can adjust pacing and attention. That matters on technical terrain, where one person moving slower can affect everyone’s safety if the group gets stretched out.
The guide team is also multilingual, with Portuguese, English, Spanish, and Italian available. That helps you actually understand instructions in the moment, especially for climbing and safety steps.
From feedback, named guides like Ronald Bulja and Fernando come up as professional, patient, and attentive. One note that stood out: the guides are described as prudent and focused on client safety, including giving guidance for first-time climbing situations.
Photo and video package: worth it, if you like memories that look good
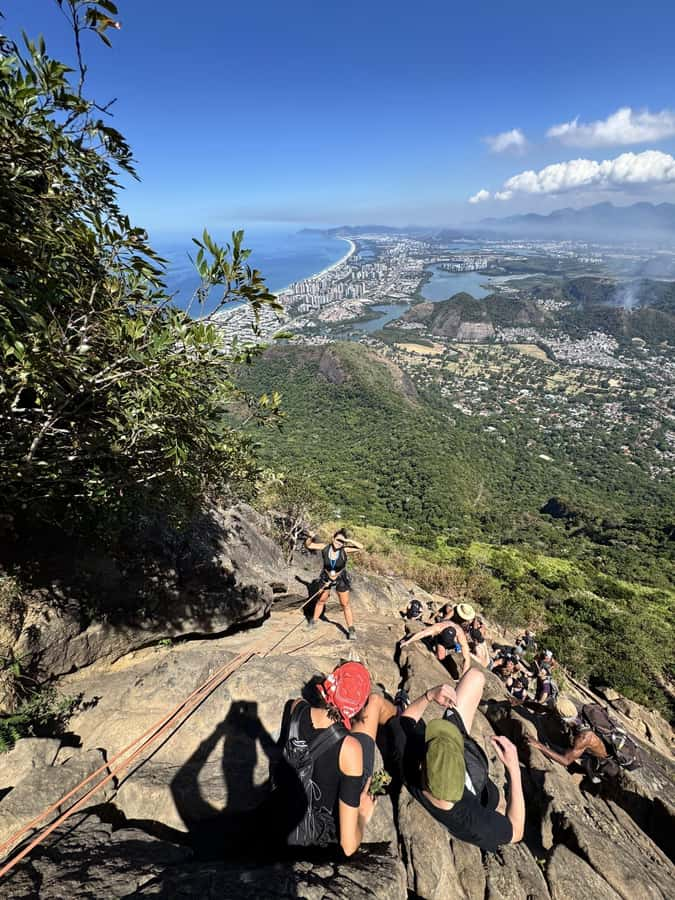
If you care about photos, this is a big selling point. The hike includes photos and videos as part of the tour.
And the quality seems to go beyond basic snapshots. There are mentions of drone work and of guides taking dramatic cliff photos. Even if you’re not sure you’ll use them all, it’s a relief to have someone else handle the “how do we get this shot?” problem when you’re dealing with uneven terrain.
Practical advice: charge your phone fully, but don’t let your camera become your main job. In a technical climb, your priority is staying steady and following the guide.
Also, photos are best when you actually enjoy the view rather than constantly checking your screen. The summit time is built for that balance.
What’s included vs. what you must plan yourself
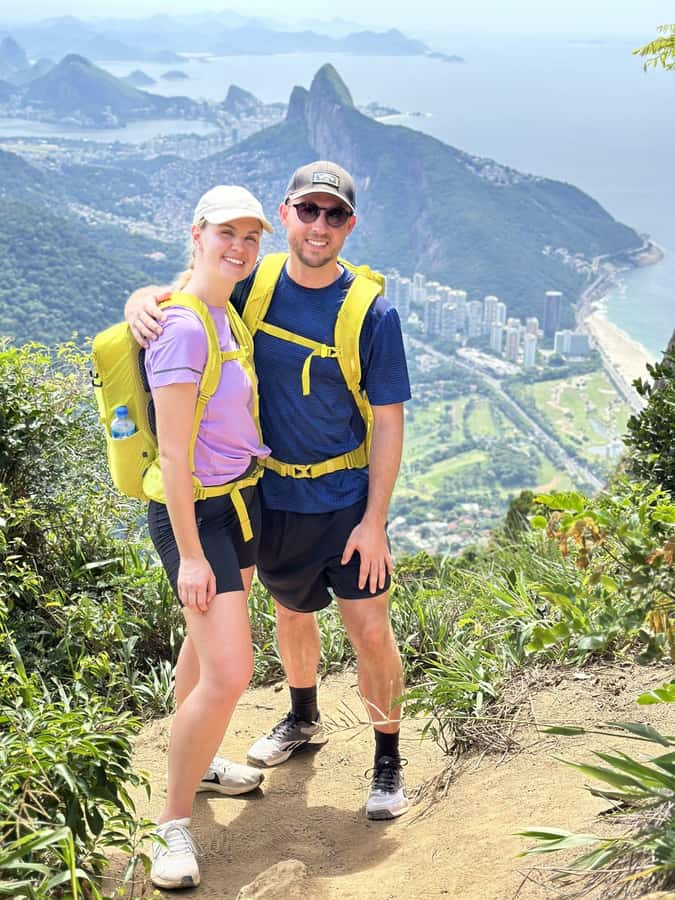
Here’s the practical breakdown so you can pack smart.
Included:
- Certified, experienced guide
- Safety equipment (rope and harness)
- Adventure insurance
- Photos and videos of the tour
Not included (you’ll need to handle this):
- Transportation to and from your accommodation (pickup/drop-off can be arranged for an extra fee)
- Meals, snacks, and beverages (bring your own)
- Personal expenses
That “bring your own food and water” item is not optional advice. You’ll be out for up to 7 hours. Pack snacks that are easy to eat and don’t melt immediately. Bring enough water for your pace, not just enough to say you have water.
What to bring (and what not to bring) for a smoother hike
Packing well turns this from stressful to manageable. The essentials listed are a good base.
Bring:
- Comfortable shoes
- Hat and sun protection
- Food, snacks, and water
- Insect repellent
- Comfortable outdoor clothing
- Garbage bag
Not allowed:
- Pets
- Luggage or large bags
- Alcohol and drugs
- Littering
- Feeding or touching animals
- Bare feet
A small, smart move: wear clothing you don’t mind getting dusty and bring a garbage bag even for small trash. It’s one of those habits that keeps the day respectful and stress-free.
Price and value: what you’re really paying for
The price is listed at $51 per person. At first glance, that’s reasonable for a guided, technical hike with safety gear and an included photo/video package.
What makes it good value isn’t just the low-to-mid price. It’s the combination:
- Certified guide support for a difficult route
- Rope and harness for the technical rock section
- Adventure insurance
- Professional capture of photos and videos
If you were to do a similar hike independently, you’d be paying for guide services somewhere else, plus you’d still need to solve the safety and equipment pieces on your own. Here, those core elements are handled, and you’re paying mostly for risk management and expertise.
So yes, it’s worth it if you match the hike’s difficulty level. If you’re not physically ready, paying for this kind of support won’t magically remove the challenge. It just means you’ll have help while you do something tough.
Who should book Pedra da Gávea, and who should choose a different day
This is best for:
- Hikers who are already comfortable with steep trails
- People in good physical condition
- Travelers who want a serious view reward, not a casual nature walk
- Anyone who appreciates having professional photos rather than DIYing the shot from a moving body on uneven rock
This is not the right choice for:
- Beginners or anyone who struggles on steep terrain
- People who can’t follow instructions quickly in a technical setting
- Anyone who knows heights make them anxious (unless you’re confident you can handle the void with guidance)
If you’re unsure, ask yourself one blunt question: can you hike for 6 to 7 hours with steep sections and a technical climb without needing to turn it into a slow, stressful scramble?
Quick booking checklist before you commit
If you decide to book, do it with intention. A few planning habits make a big difference on the day:
- Sleep well the night before
- Don’t drink alcohol before the hike
- Pack water and snacks you’ll actually eat
- Wear supportive shoes and bring insect repellent
- Arrive early enough to settle at Point da Meire
Also note the tour works with small groups and offers live guiding in multiple languages. If you need a specific language, it’s smart to check availability before you go.
Should you book this hike or skip it?
Book Pedra da Gávea if you want a Rio experience that feels earned: a real climb, real safety support, and a summit view that makes the effort feel worth it. The included safety gear, guide expertise, and photo/video package are the main reasons it’s such a strong deal for people who are ready for a challenge.
Skip it if you’re not in good shape for steep hiking or if the technical rock section would put you in panic mode. In that case, you’ll likely enjoy Rio more with a different hike that matches your comfort level.
If you’re a confident hiker and you want the kind of view people talk about long after the flight home, this one fits.
FAQ
How long is the Pedra da Gávea guided hike?
The experience runs for about 390 minutes, which is roughly 6 to 7 hours on the full route.
How far is the hike?
It’s about 7 km round trip.
Is Pedra da Gávea recommended for beginners?
No. It’s described as the most difficult hike in the city and is not recommended for beginners or people without good physical conditioning.
What’s included in the price?
You get a certified, experienced guide, safety equipment (rope and harness), adventure insurance, and photos and videos from the tour.
What should I bring?
Bring comfortable shoes, a sun hat, food, snacks, water, insect repellent, comfortable outdoor clothing, and a garbage bag.
Where do we meet for the hike?
You meet at Point da Meire, a bar near the entrance of Tijuca National Park.