REVIEW · VIK
Vik: Guided Sólheimajökull Glacier Hike
Book on GetYourGuide →Operated by Troll .is · Bookable on GetYourGuide
Glaciers feel close up here. This Sólheimajökull hike turns a scary chunk of ice into a readable place, with a certified glacier guide explaining what you’re seeing as you walk. I love the crampon-and-safety setup (including a hands-on tutorial), and I also like that the tour keeps you fueled with coffee and chocolates mid-hike. The main drawback: you’ll need decent balance and warm layers—this isn’t a stroll, and boots/rain gear aren’t fully handled for you.
One reason I keep recommending this glacier hike from the Vik area is how the guides manage real conditions on a real glacier. Guides like João, Edgar, and Tina show up with the same focus: keep the group together, move at a comfortable pace, and give clear instructions before anyone steps onto the ice.
In This Review
- Why Sólheimajökull Feels Different From Other Iceland Glacier Hikes
- What You’ll Get: Gear, Guide, and a Real Safety Briefing
- Where the Hike Starts: Tröll Expeditions Solheimajokull and the Parking Lot Meet
- The Safety Briefing and Crampon Tutorial (This Is Where Confidence Is Built)
- Crossing Sólheimajökull: Ice Formations, Crevasses, and the Stuff That Makes Photos Feel Real
- The Coffee and Chocolate Break: Small Detail, Big Energy Payoff
- How Long It Really Takes: A 3-Hour Adventure With Built-In Walking Time
- Price and Value: Why $122 Can Make Sense (If You Don’t Want to DIY It)
- What to Bring (So You Don’t Feel Cold, Clumsy, or Underprepared)
- Who This Glacier Hike Is Best For
- Notes on Guides: Different Personalities, Same Safety Mindset
- Should You Book This Sólheimajökull Glacier Hike From Vik?
Why Sólheimajökull Feels Different From Other Iceland Glacier Hikes
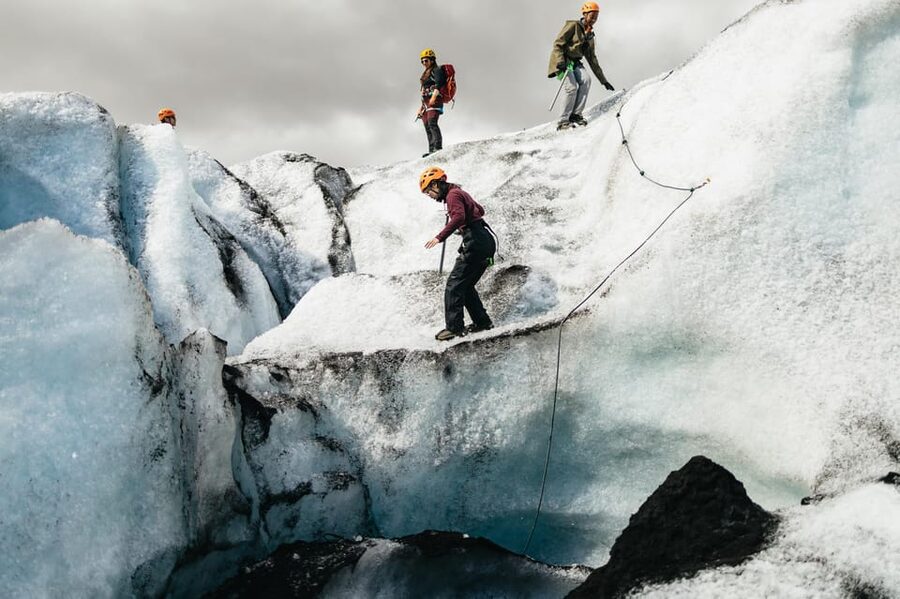
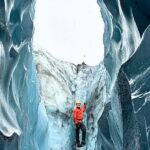
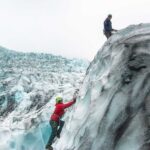
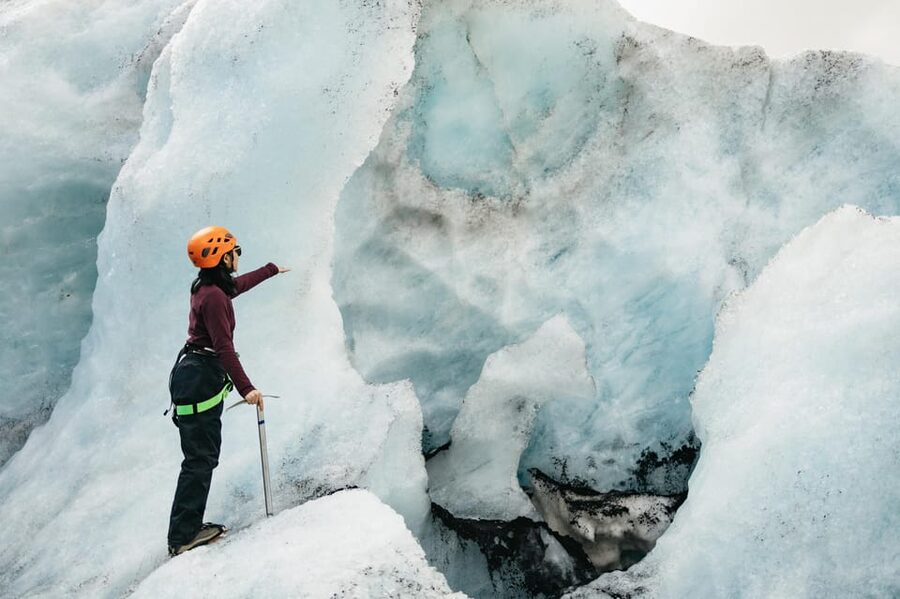
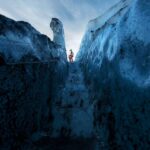
Sólheimajökull isn’t just big ice. It’s changeable ice. That’s the point. You’re walking on a living surface that forms, shifts, and cracks over time—so the ice doesn’t look like a movie set. You’ll see features that only exist because glaciers move and melt in a constant cycle: dark volcanic ash lines, ice tunnels, moulins (vertical shafts of water), and deep crevasses you learn to respect.
And that makes the guided part matter. A good glacier guide doesn’t just point at ice. They teach you how the glacier works so your photos come out with context, not just scenery. In this tour, you get that practical education right as you put on gear and start walking.
What You’ll Get: Gear, Guide, and a Real Safety Briefing
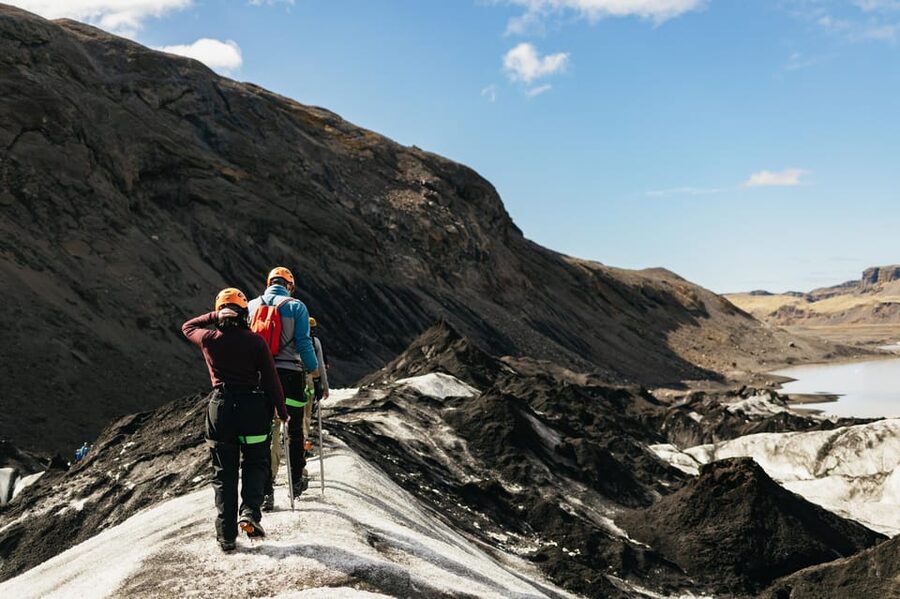
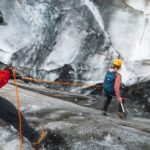
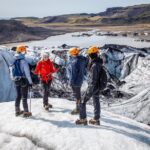
This is a gear-supported hike. You’re provided with the key glacier tools: helmet, harness, crampons, and an ice axe. On top of that, the guide gives a safety briefing and a tutorial for attaching crampons to high ankle boots (you’ll use your rental boots if you don’t have yours).
That matters because glacier walking is mostly about traction and pacing. If you’ve never worn crampons, it helps to learn how to walk in them before you’re on a slope. Many people feel more confident fast once they’ve practiced the steps and learned how to keep their weight stable.
The group experience also seems to get a lot of attention. Multiple guides are described as patient with different paces, and they make sure people aren’t rushed for photos or viewpoints. If you’re traveling solo or with family, that’s a big quality-of-life point.
You can also read our reviews of more guided tours in Vik
Where the Hike Starts: Tröll Expeditions Solheimajokull and the Parking Lot Meet
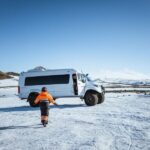
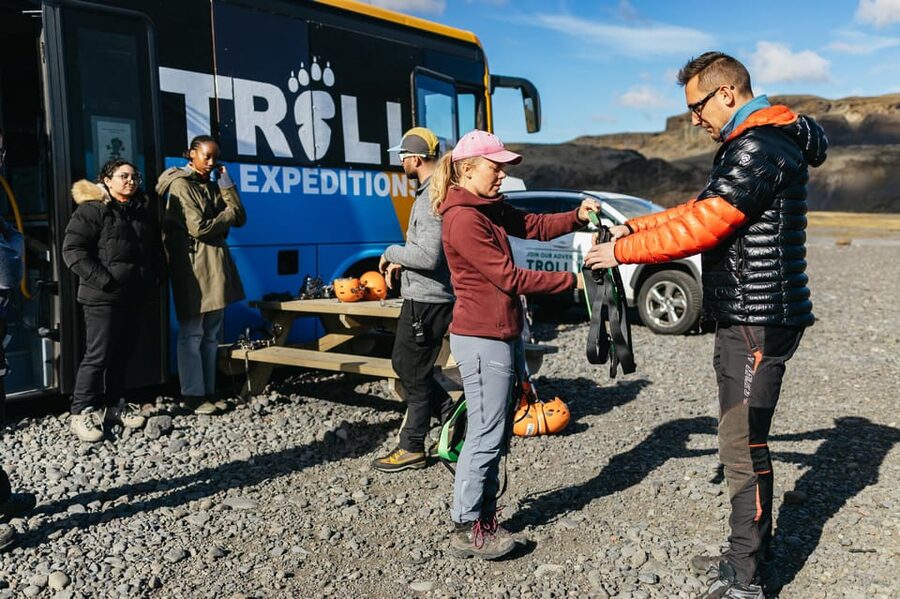
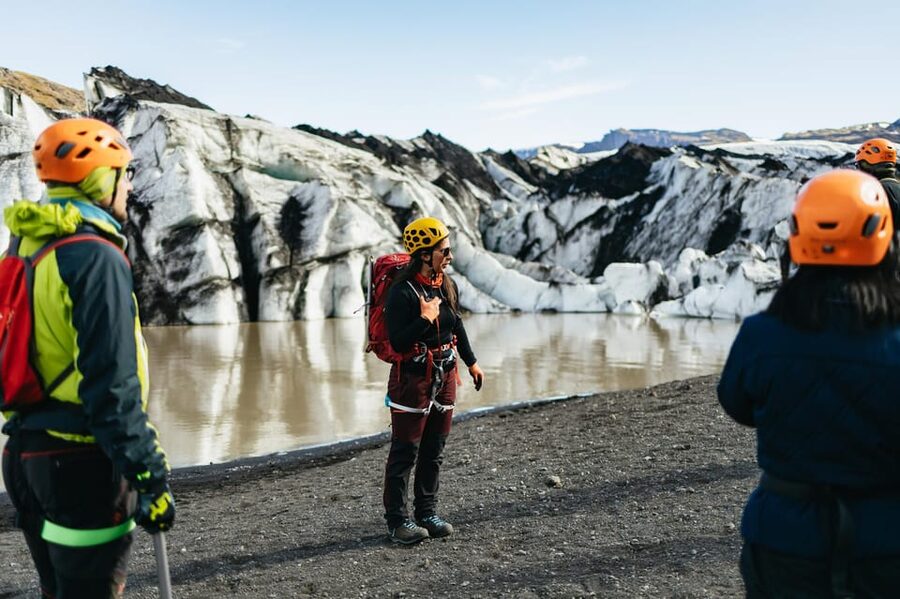
You meet at the Sólheimajökull glacier parking lot, with the activity run through Tröll Expeditions (listed as Tröll Expeditions Solheimajokull). The start is straightforward: you show up, meet the guide, get geared up, and then you walk toward the glacier.
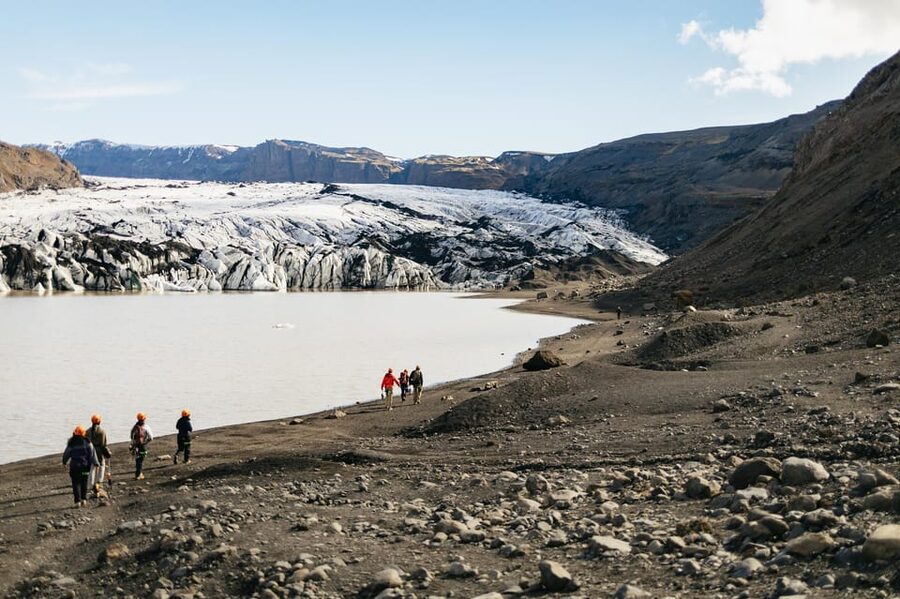
The walk from the meeting area to the ice is short—about half an hour on foot in the tour flow. This isn’t wasted time. It’s the moment to get organized, listen for safety details, and let your body warm up before crampons go on.
The Safety Briefing and Crampon Tutorial (This Is Where Confidence Is Built)
Before anyone heads onto the glacier surface, you get a safety briefing and crampon tutorial. This part is quietly the most important. Glacier hikes aren’t complicated, but they are serious, and your guide’s job is to prevent mistakes that happen when people rush.
You’ll learn how the crampons attach and how to use them with the way you walk. Then you’ll use that skill immediately as the group moves onto the ice.
If you’ve got questions about what to do when you feel unsure—where to put your feet, how to keep distance, how to handle wind or slippery spots—this is the time to ask. Guides on this route are described as patient, interactive, and focused on keeping the group together, including when conditions feel windy.
Crossing Sólheimajökull: Ice Formations, Crevasses, and the Stuff That Makes Photos Feel Real
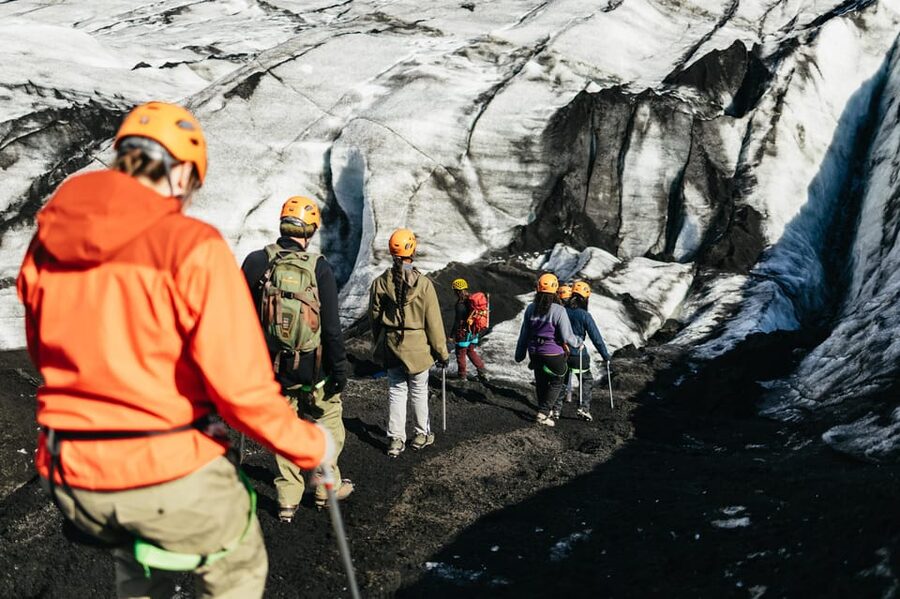
Once you step onto Sólheimajökull, the hike shifts from “equipment day” to “ice science day.”
You’ll move across the glacier with stops for viewing and explanation. The tour emphasizes formations that happen because the glacier is constantly reshaping itself:
- Ice tunnels and narrow passages: These are formed by melting and shifting water channels. They can look dramatic, and your guide will show you what you’re really looking at.
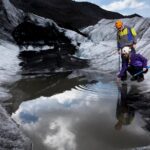
- Moulins: Those vertical shafts connect surface water to deeper ice systems. They’re a quick way to understand that glaciers aren’t static.
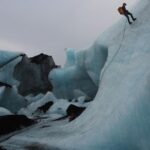
- Deep crevasses: You won’t treat these like a playground. You’ll learn how they form and why the route keeps you at a safe distance while still letting you feel the scale.
There’s also the visual contrast that makes this glacier memorable: black volcanic ash sitting against bright ice. Guides point out that contrast because it helps you read how ice and ash layers interact over time. If you love photography, this is the kind of scene where you stop thinking in simple “white ice” terms and start seeing textures.
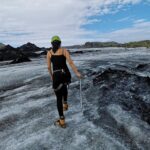
One practical note: balancing in crampons isn’t the same as hiking on a trail. You’ll want to move calmly, keep your steps deliberate, and follow the guide’s pace. The tour is often described as comfortable for a range of fitness levels, but you should still be ready for uneven ice and a slow uphill feel.
The Coffee and Chocolate Break: Small Detail, Big Energy Payoff
About partway through the glacier walk, you stop for coffee and chocolates. This is one of those touches that seems minor until you’re actually out there, moving steadily in cold air.
It gives you a morale lift and keeps energy stable, especially when you’ve been focused on balance and listening for instructions. It also creates a natural moment for the guide to point out another feature while everyone regroups.
If you’re the type who gets cold or low on energy during outdoor activities, you’ll appreciate this built-in break instead of feeling like you have to manage snacks on your own.
You can also read our reviews of more hiking tours in Vik
How Long It Really Takes: A 3-Hour Adventure With Built-In Walking Time
The total duration is listed as 3 hours. Within that, you’ll have:
- a short walk from the meeting area toward the ice,
- time for safety gear and briefing,
- about two hours of guided walking on the glacier with stops,
- and enough time to return without feeling like a sprint.
Several guides are described as good at pace-setting for different group members—important if you’re traveling with kids, older family members, or anyone who doesn’t hike much but still wants the glacier experience.
So yes, it’s active. No, it’s not long-distance hiking. It’s more like a focused “glacier lesson” you can finish while still wanting more.
Price and Value: Why $122 Can Make Sense (If You Don’t Want to DIY It)
At $122 per person, the price isn’t “cheap,” but it’s not random either. You’re paying for:
- a certified glacier guide,
- safety gear (helmet, harness, crampons, ice axe),
- and the instruction that helps you use that gear properly.
If you tried to do this on your own, the cost would jump fast—gear rental, transport coordination, and the real risk factor of not knowing where the safe routes and hazards are. For most visitors, paying for a guided route is what turns “I want to see a glacier” into “I can actually do it safely and understand what I’m seeing.”
Also, the coffee and chocolates are included. It’s a small line item, but in Iceland cold conditions, it adds up to a nicer experience.
The only value warning I’d give you: boots aren’t included (they’re available for rent), and rain gear isn’t included. If you show up underpacked, you’ll spend extra. Bring warm layers and gloves, and you’ll feel like the price covers the experience you came for.
What to Bring (So You Don’t Feel Cold, Clumsy, or Underprepared)
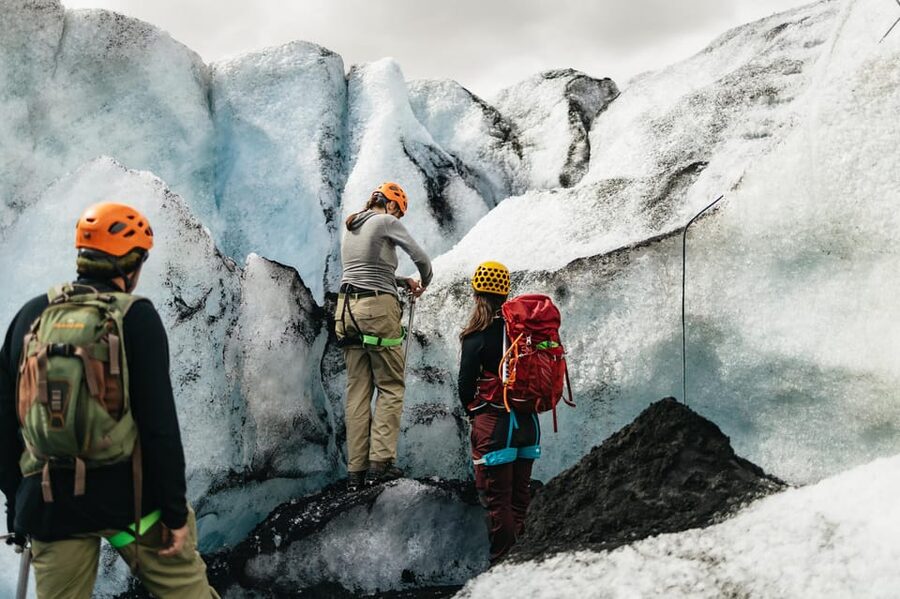
The tour data says to bring:
- warm clothing
- a hat
- hiking shoes
- gloves
If you have hiking boots with good ankle support, that can help with crampon fit—though the tour handles crampon attachment once boots are in place. If you don’t have appropriate boots, plan on renting them on-site.
Also think about wind. Some guides are described as careful when high winds pop up, but the glacier environment still gets chilly. Layering is the move: warmer than you think you need, and gloves you can actually keep on while you adjust gear.
Who This Glacier Hike Is Best For
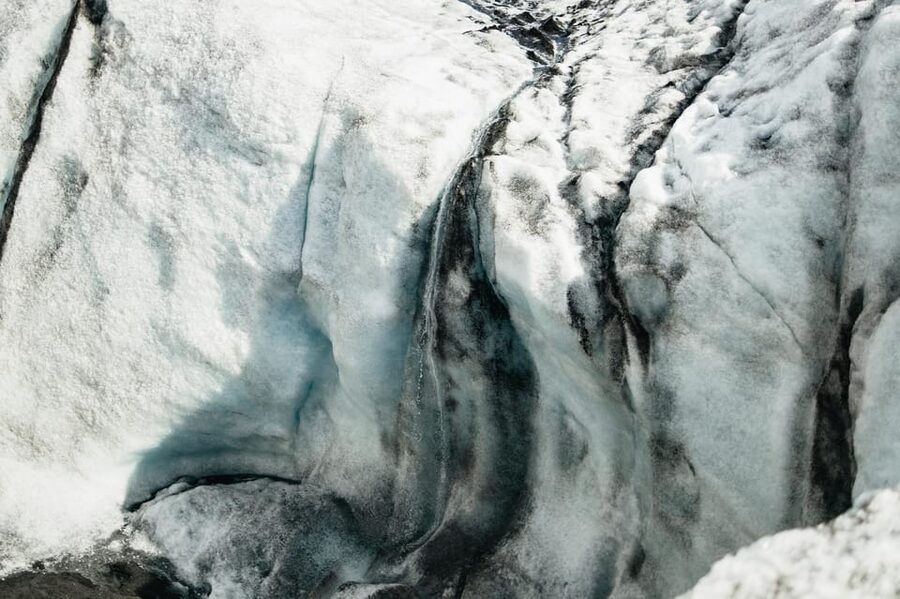
This is a great fit if you:
- want a glacier experience with real instruction (not just a scenic walk),
- like understanding glacial features—ice tunnels, moulins, and crevasses,
- enjoy a steady pace with stops for viewpoints and photos,
- and appreciate safety-first guiding.
It may be less ideal if you:
- hate cold weather or don’t dress for wind and moisture,
- struggle with balance on uneven surfaces,
- or are expecting a casual walk where you never have to focus on your footing.
That said, multiple guides are praised for being patient with different paces and making sure the group stays together, which helps many people who are nervous about glacier hiking.
Notes on Guides: Different Personalities, Same Safety Mindset
The guides vary by departure, but the approach is consistent. In the feedback, you’ll see guides like João and Kevin described as safety-focused and patient, Edgar praised for pacing and group management, and Tina noted for clear instructions and taking care of families.
Whether you get someone playful (humor shows up in descriptions) or more calm and instructional, the best outcome is the same: you leave with confidence about what you just walked on and why those ice features form.
Should You Book This Sólheimajökull Glacier Hike From Vik?
I’d book it if you want an Iceland highlight that combines spectacle plus explanation. A guided glacier walk is one of those experiences where the guide makes the difference between pretty ice and a memorable story you can actually tell—ice tunnels, moulins, crevasses, and ash lines all make sense once someone shows you how.
Skip it or reconsider if you’re not ready for cold, traction work, and slow attention to footing. Even if the pace is comfortable, you’ll still be on crampons on uneven glacier surfaces.
If you’re mentally prepared—warm layers, gloves, and a willingness to walk carefully—this is one of the strongest ways to experience the south coast glacier world without turning it into a stressful DIY project.