REVIEW · VIK
Vik: Guided Glacier Hike on Sólheimajökull
Book on GetYourGuide →Operated by David The Guide Iceland · Bookable on GetYourGuide
Walking on a glacier feels like stepping onto another planet. This 3-hour hike on Sólheimajökull (near Vik in South Iceland) is built for people who want real glacier scenery, without technical climbing—thanks to proper gear, a trained guide, and a route that takes you from a glacier lagoon onto the ice itself.
Two things I really like about this experience are the harness-and-crampon setup (you get kitted up before you ever step on the snow), and the chance to refill water in freshwater streams flowing from the glacier. One thing to plan for: you must wear hiking boots that fit crampons, and the tour isn’t suitable for everyone (for example, children under 8, pregnant women, and people with mobility impairments).
In This Review
- Key Highlights Worth Circling
- Sólheimajökull From Base Camp: Why This Hike Is Such a Good Pick
- Gear and Setup: What You Get Before You Step on the Ice
- The Route on the Glacier: Lagoon Edges to Ice Walls and Crevasses
- Glacier Water and Photo Stops: How This Becomes More Than Scenery
- Weather Reality: What to Wear for Rain, Cold, and Wet Ice
- Meeting Point and Timing: Avoiding the Start-Day Shuffle
- Price and Value: Is $120 Worth It for a Glacier Hike?
- Who This Tour Fits Best (And Who Should Skip It)
- Guide Style: What Makes the Best Glacier Hikes Feel Easy
- Quick Planning Tips for South Iceland Around Vik
- Should You Book This Glacier Hike on Sólheimajökull?
- FAQ
- How long is the guided glacier hike on Sólheimajökull?
- What does the tour cost?
- Where do I meet the guide?
- Is the guide English-speaking?
- What safety equipment is included?
- What should I bring for the hike?
- Who is this hike not suitable for?
- What cancellation option is offered?
Key Highlights Worth Circling
- Non-technical glacier hiking for a true first-timer experience
- All safety gear provided, including harness, helmet, crampons, and ice ax
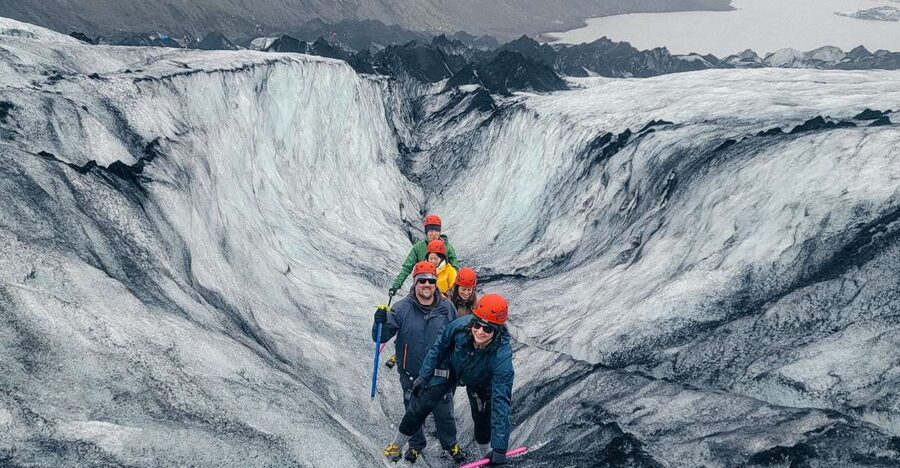
- Photo stops on ice formations, with guides who will take group pics
- Fresh glacier water from melt streams during the hike
- Big-view rewards in clear weather: mountains, Westman Islands, black sands, lava terrain
Sólheimajökull From Base Camp: Why This Hike Is Such a Good Pick
This is the kind of glacier hike that’s actually practical for a road trip. You’re in the Southern Region of Iceland, near Vik, and you start right at the base camp at the foot of Sólheimajökull. That matters because it turns the day into something you can slot into a normal schedule instead of a whole logistics project.
Sólheimajökull is an outlet of Myrdalsjökull, one of Iceland’s largest ice caps. In plain terms: you’re not walking on a tiny gimmick glacier. You’re walking on ice that’s part of a much bigger system, and the scenery reflects that scale—towering ice walls, cracks, and constant color shifts.
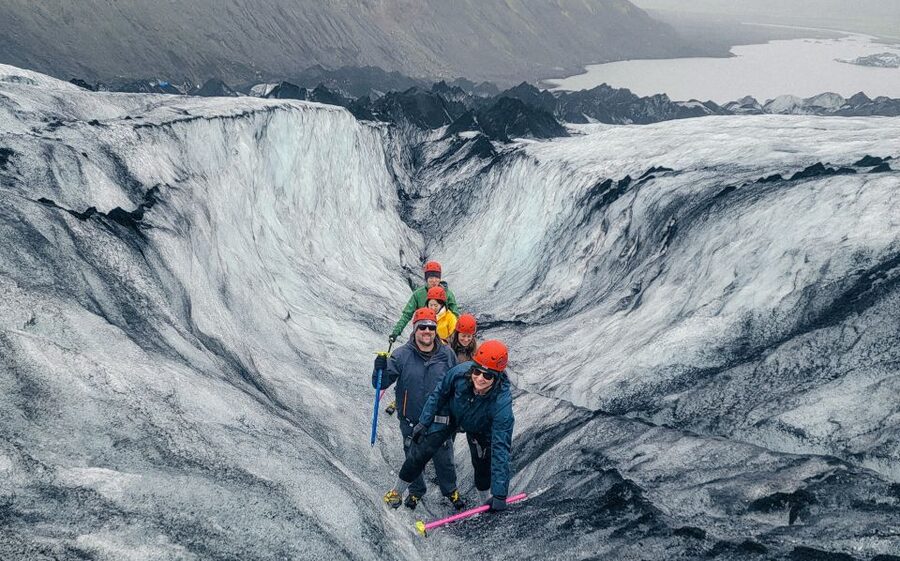
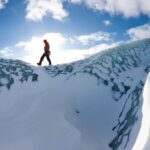
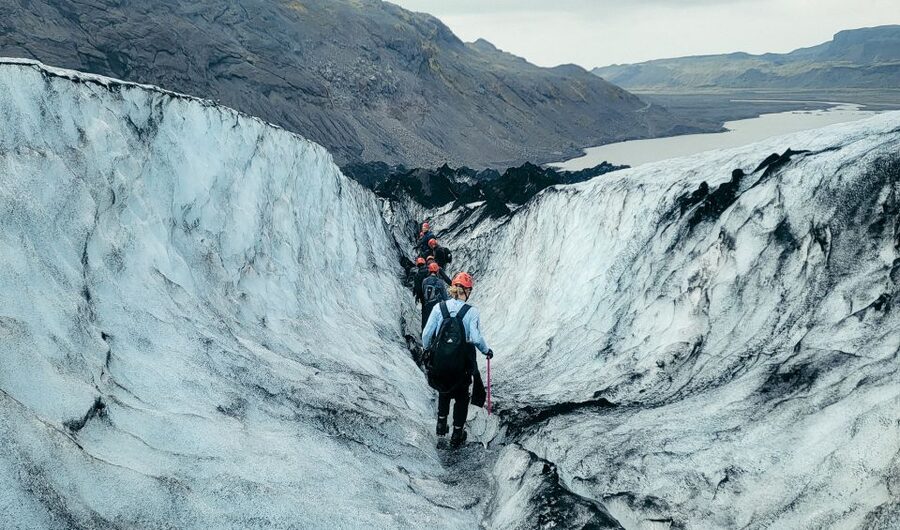
A big part of what makes this hike feel special is the mix of ice tones. You’ll see untouched white snow veined with black ash from past eruptions and bright blues where the ice structure lets light through. It’s the kind of contrast that makes photos look dramatic even if you’re not chasing fancy angles.
If you want a glacier hike that feels like an actual activity (not just a slow walk with a lecture), this one hits the sweet spot: steady movement, time to look around, and a guide who brings the glacier to life.
You can also read our reviews of more guided tours in Vik
Gear and Setup: What You Get Before You Step on the Ice
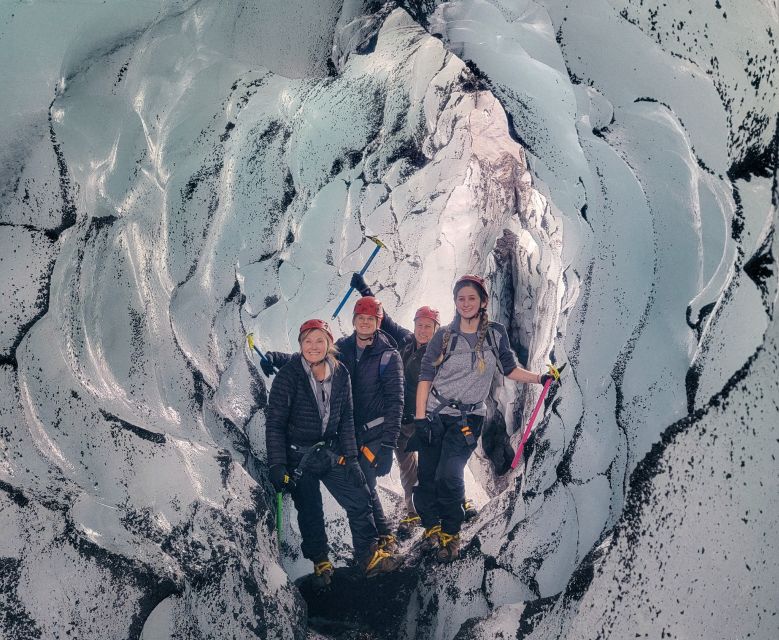
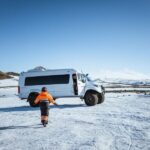
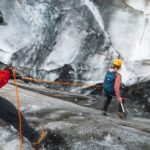
Before you hike, you get properly equipped. The guide meets you at the base camp and walks you through the safety basics, then dresses you in the essentials: a harness, a helmet, and crampons, plus an ice ax.
This step is more important than it sounds. Crampons aren’t one-size-fits-all, and if your footwear is wrong, the whole experience can turn annoying fast. The tour specifically notes that athletic sneakers may not fit glacier crampons, and it also requires hiking boots. So the best value you’ll get from this tour comes from showing up ready.
Here’s what you should expect during the gear moment:
- A brief explanation of how the equipment works
- A short route briefing so you know where you’re going and what the guide is watching for
- A calm transition from parking-lot life into glacier-walking mode
Also, pay attention to how the guide handles the group. In the experiences led by guides like Susanna, Elias, Kamila, Önundur, Norbert, and Jesse, the consistent theme is the same: clear instructions, patient pacing, and people feeling guided without feeling rushed. That’s a good sign because crampons and ice axes are safety tools, not props.
The Route on the Glacier: Lagoon Edges to Ice Walls and Crevasses
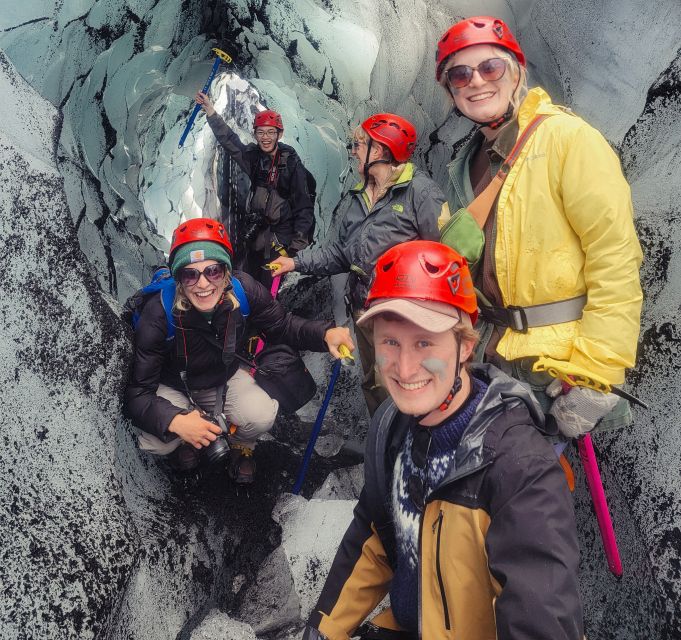
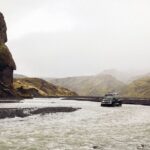
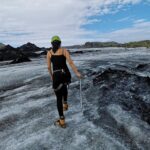
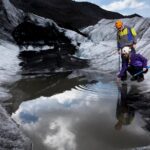
The hike follows an on-ice route that starts with a move around the murky glacier lagoon at the base, then onto the snowy surface. That first transition matters. It helps you go from “I’m looking at ice” to “I’m actually on it,” with the guide controlling the pace and footing.
Once you’re on the glacier, the scenery comes in chunks:
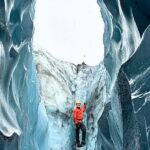
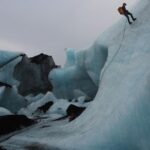
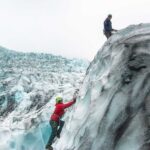
- Ice formations around each corner: glistening icicles, towering ice walls, and deep crevasses
- Optional ice-cave moments (depending on conditions): some hikes include time near ice caves
- A steady climb where the views gradually open up rather than arriving all at once
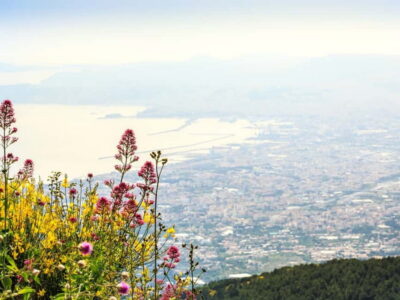
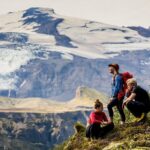
As you ascend, the glacier becomes more than a texture. In clear weather, the guide points out wider Iceland views you can’t get from ground level: dramatic mountains, the Westman Islands, the black sands of the South Coast, and lava landscapes.
This is also where the guide’s stories help. You’ll get explanations about how glaciers form and why Iceland is so famous for them. The guide also covers the dangers glaciers pose and what you can do to help protect them going forward. I like when a guide connects scenery to responsibility, because otherwise the hike can feel like only a photo mission.
Glacier Water and Photo Stops: How This Becomes More Than Scenery
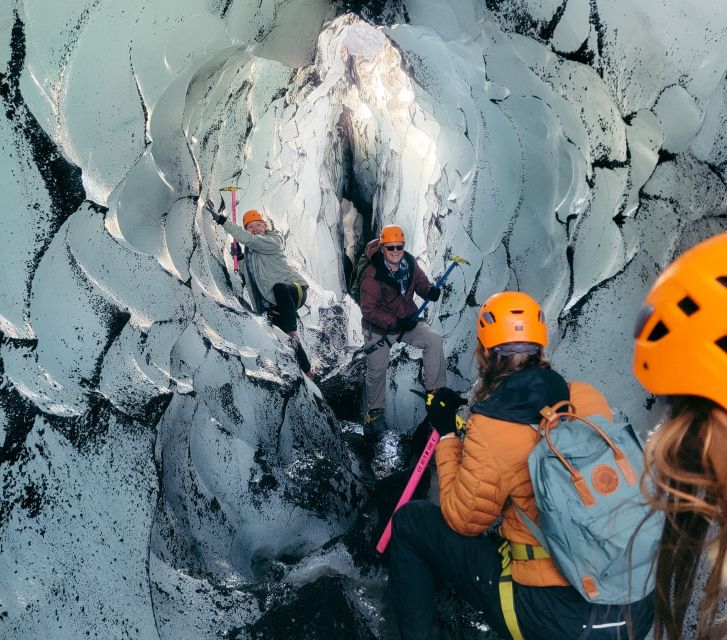
Yes, the glacier is the star. But the “small extras” are what make the time feel earned.
One highlight is the chance to drink glacier water. You’ll be able to refill your water bottle using pure freshwater streams where meltwater runs. That adds a real-world touch. You’re not just walking through cold scenery—you’re interacting with the glacier’s melt process the way the environment intended.
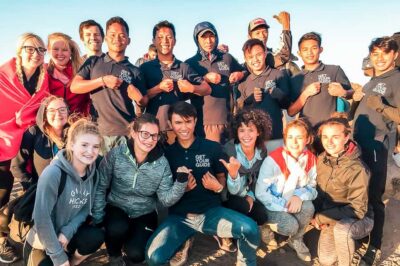
Photo opportunities are handled in a useful way. The guide takes photos of you and your group at picturesque spots. In some groups, people also noted it felt quieter and less crowded on the ice, which makes the glacier feel more immersive without you having to hunt for space yourself.
For best results with photos:
- Wear gloves so you can keep your hands steady when you stop
- Keep your camera accessible during the few “pause-and-look” moments
- Don’t rush toward the next viewpoint; the ice details often change minute to minute
The most memorable part of these hikes isn’t just the big view—it’s the feeling that every turn reveals a new ice feature, from sharp edges to softer melt patterns.
Weather Reality: What to Wear for Rain, Cold, and Wet Ice
Iceland weather can shift quickly, and this hike happens on a surface that doesn’t care how dressed you are for town. You should plan for cold and moisture even if the sky looks friendly at start time.
What you know from the tour requirements and real-world experience:
- Hiking boots are required (and they must fit crampons)
- Dress warm and bring waterproof gear because some areas can be wet, especially with rain
It’s smart to think in layers:
- Warm base layer
- Insulating layer that won’t trap too much sweat
- Waterproof outer layer
- Warm socks you don’t mind getting damp
If you get water on your clothes (it happens), it’s worth having a change waiting in your car afterward. Some people specifically wished they had brought a second set of clothes to switch into after a damp glacier walk.
You can also read our reviews of more hiking tours in Vik
Meeting Point and Timing: Avoiding the Start-Day Shuffle
The meeting point is in the parking lot at Solheimajökull Glacier, about 20 meters off Ring Road (Highway 1) near Vik. The guide carries David the Guide branding on their gear, so look for that before you start guessing.
Arrive at least 20 minutes early. That early cushion isn’t just for convenience—it’s for a smooth start so the guide can explain the equipment and elements you’ll use. When the start gets messy, it’s usually about people not lining up at the right spot at the right time.
My practical advice:
- Use the car parking area, then scan for the David the Guide logo on the guide’s gear
- Give yourself extra time if you’re arriving from another stop with limited phone signal
- Bring your boots ready, not stuck in a suitcase you’ll open at the last second
Price and Value: Is $120 Worth It for a Glacier Hike?
At $120 per person for about 3 hours, this isn’t a bargain. But it can be good value because you’re paying for safety equipment, a trained guide, and access to a place most people can’t navigate alone.
Here’s what’s included:
- A private guide
- Safety equipment (gear like harness, helmet, crampons, and an ice ax)
And what’s not included:
- Transportation to the meeting location
- Snacks and beverages
So the “value math” is really about what you’d have to replace if you went without a guide. If you’re not bringing the right crampon-compatible boots, don’t have an ice ax, and don’t know how to move on a glacier safely, you’re not just missing comfort—you’re missing safety and direction.
Also, you get more than walking time. You get guided glacier education: how glaciers form, why Iceland has them, how they move, and what dangers exist. Guides across the experience have been praised for being calm, friendly, patient, and good at keeping the group moving at a firm but comfortable pace. That matters because it controls energy and helps you actually enjoy the ice instead of thinking about slipping.
Who This Tour Fits Best (And Who Should Skip It)
This is an accessible introduction to glacier walking, but it’s still glacier terrain with equipment requirements. The tour isn’t suitable for:
- Children under 8
- Pregnant women
- People with mobility impairments
It’s a strong fit if you want:
- A non-technical glacier hike
- Real time on ice with guided stops for formations and views
- A guide who answers questions and keeps safety first
It also works well for people who aren’t “mountain athletes.” Several people described it as an introductory hike where the guide explained everything clearly, paced the group well, and helped individuals adjust confidently—even when someone started feeling a little unsure.
If you’re unsure about your own comfort on slippery terrain, be honest with yourself and plan on taking the guide’s instruction seriously. This isn’t a stroll. It’s a controlled hike on snow and ice.
Guide Style: What Makes the Best Glacier Hikes Feel Easy
The equipment matters, but the guide matters more than you think. In the experiences led by guides such as Kamila, Elias, Susanna, Önundur, Norbert, and Jesse, the praise clusters around a few practical behaviors:
- Clear explanations before you move
- Calm safety focus without making people feel scared
- A pace that stays steady while still letting you look around
- Extra patience for different comfort levels
- Photo support so you’re not constantly wrestling your camera
That last bit is underrated. On ice, moving, turning, and stopping is slower than you expect. If your guide handles the photo moments, you don’t lose your place in the group and you don’t feel rushed.
Also, guides appear to steer you away from chaos and help the group enjoy the ice rather than constantly threading through other tours.
Quick Planning Tips for South Iceland Around Vik
Because this starts from the Solheimajökull base area near Vik, it fits naturally into a day built around South Coast sights. You’re in a region where black sands, lava fields, and mountain views are common, so the glacier hike adds a totally different texture to your trip.
Plan your day like this:
- Slot the hike when you’re well-rested
- Expect cold and wet conditions even if you’re coming from warmer stops
- Don’t schedule something physically intense right after the hike unless you’re confident you’ll stay comfortable
If you’re using it as one of your big activities, pair it with scenery stops that are mostly viewpoint-based so you can keep the day enjoyable.
Should You Book This Glacier Hike on Sólheimajökull?
Book it if you want a first real step onto Iceland’s glaciers with proper gear, a trained guide, and time to enjoy the ice details—not just a quick look. The $120 price is easier to justify when you factor in safety equipment and guided glacier walking.
Skip it if you can’t wear hiking boots that fit crampons, if you’re outside the tour’s suitability guidelines, or if cold wet conditions would be a major problem for you.
If you’re on the fence, here’s my practical rule: if glacier hiking sounds exciting and you’re willing to dress for real weather and follow the guide’s instructions, this is one of the most memorable ways to spend 3 hours near Vik.
FAQ
How long is the guided glacier hike on Sólheimajökull?
It lasts about 3 hours.
What does the tour cost?
The price is $120 per person.
Where do I meet the guide?
Meet in the parking lot at Solheimajökull Glacier, about 20 meters off Ring Road (Highway 1) near Vik. The guide will have the David the Guide logo on their gear.
Is the guide English-speaking?
Yes, the live tour guide provides the experience in English.
What safety equipment is included?
A private guide and safety equipment are provided.
What should I bring for the hike?
You should bring hiking shoes, but the tour notes that hiking boots are required. If you need boot rental, you should contact the activity provider.
Who is this hike not suitable for?
It isn’t suitable for children under 8, pregnant women, or people with mobility impairments.
What cancellation option is offered?
You can cancel up to 24 hours in advance for a full refund, and there’s also a reserve now & pay later option.