REVIEW · VIK
Sólheimajökull Glacier Hike & Ice Climbing Intro – Small Group
Book on Viator →Operated by Arctic Adventures · Bookable on Viator
One glacier. One real ice wall. Lots of small-group attention.
This Sólheimajökull Glacier Hike & Ice Climbing Intro turns a wild Iceland scene into a guided skill session, complete with crampons and a safety-first lesson. I like that you don’t need prior ice-climbing experience, and you’re in a group small enough to actually get coaching on technique. One thing to plan around: you’ll need the right footwear, and some people end up renting ankle-support boots if they don’t arrive prepared.
The best part for me is the chance to explore the glacier surface while learning how glaciers form, not just posing for photos. I also like that the guide gear package is included (harness, helmet, ice axe, glacier crampons), so you can focus on the experience instead of scrambling for rentals.
The main drawback is simple: if your shoe size is outside the allowed crampon range (EU 35–50), or you don’t meet the shoe-and-gear requirements, you may not be able to join. On top of that, food and drinks are not included, so you’ll want to bring snacks or plan your timing around meals.
In This Review
- Key things I’d bet on before you go
- Sólheimajökull Glacier: the “intro” that still feels serious
- What happens when the yellow school bus drops you at the glacier
- Ice climbing lesson: how you’ll learn to move on real ice
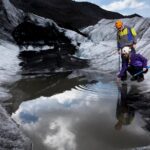
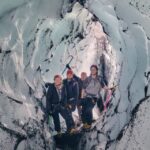
- Walking the glacier: crevasses, ridges, and those ice formations
- The guide’s role: safety first, with a real sense of humor
- If you start in Reykjavík: Seljalandsfoss and Skogafoss stops
- Gear, shoes, and the rules that can make or break your spot
- Physical effort: what “moderately strenuous” really means
- Small-group format and why it’s worth paying for
- Who this is ideal for (and who should think twice)
- Booking value and timing: when to lock in
- Should you book Sólheimajökull Glacier Hike & Ice Climbing Intro?
- FAQ
- Do I need prior ice-climbing experience?
- How long is the tour?
- How big is the group?
- What meeting point do I use?
- What equipment is included?
- Are waterfalls part of the itinerary?
- What kind of shoes do I need?
- What if weather is poor?
- Is food and drinks included?
Key things I’d bet on before you go
- Real instruction, not just a walk on the glacier
- Climb ice walls safely with an ice-gear safety setup included
- Small groups (max 8 per guide) for more hands-on guidance
- Creatures-in-the-snow attitude: guides joke around, but safety stays serious
- Sore calves are normal when you learn proper climbing form
- Waterfall stops depend on where you start (Reykjavík pickup)
Sólheimajökull Glacier: the “intro” that still feels serious
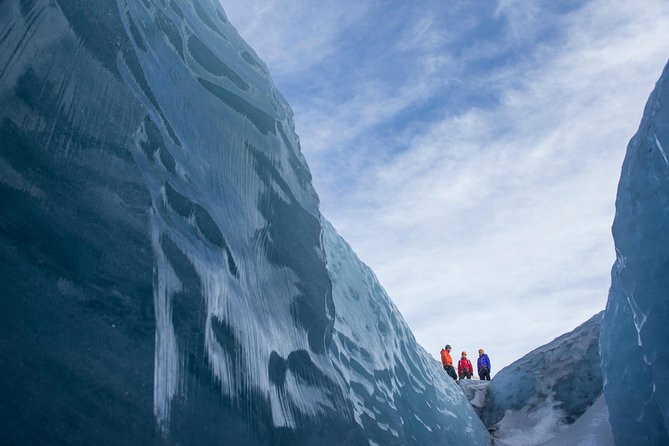
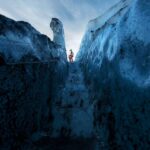
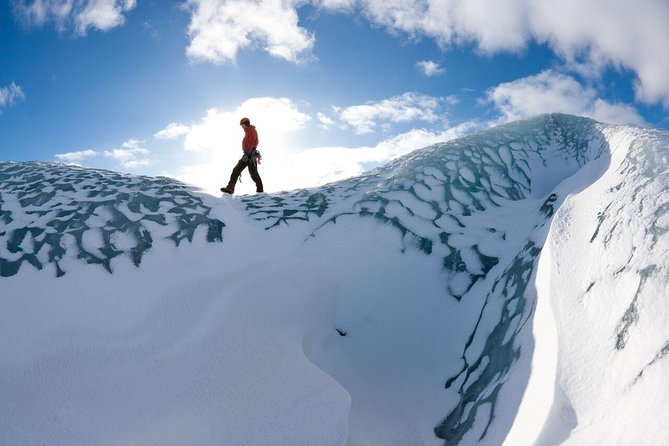
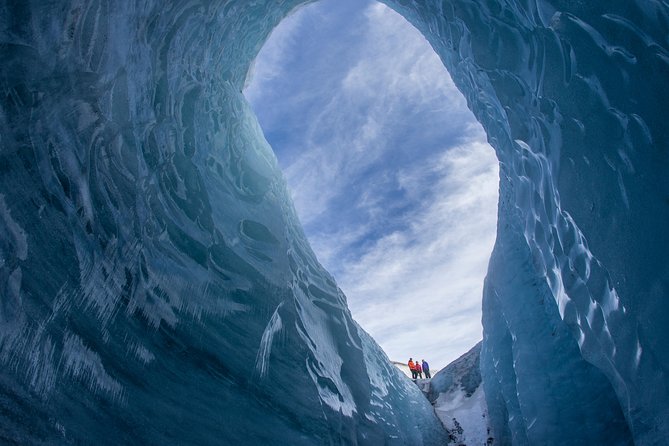
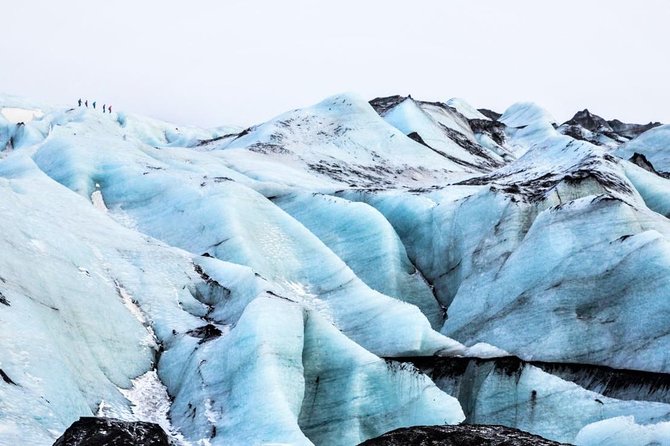
Sólheimajökull is famous for a reason. The glacier surface has a mix of ridges, crevasses, caves, and those striking blue ice areas that look almost unreal when you’re standing close enough to see texture. This tour is pitched as an intro, but it doesn’t treat the environment like a theme park. It’s Iceland’s glacier world, so the guide’s job is to teach you how to move through it without taking unnecessary risks.
I like that the experience isn’t only about reaching a viewpoint. You’re hiking over frozen features while learning what you’re seeing—how a glacier forms and why the surface looks the way it does. That kind of explanation changes the whole day, because you stop thinking of it as scenery and start thinking of it as a living system of ice.
You can also read our reviews of more hiking tours in Vik
What happens when the yellow school bus drops you at the glacier
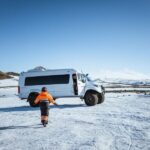
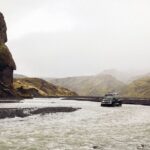
Your day starts at the Sólheimajökull glacier parking lot, where you meet your guide by the yellow school bus. If you chose Reykjavík pickup, plan for a pickup process that can take up to 30 minutes, and be ready at your selected pickup point at 8:00.
Once you’re matched up with your guide, you’ll get fitted with your glacier safety gear: harness, helmet, glacier crampons, and an ice axe. That gear matters because it turns the day from a slippery hike into a controlled climbing and movement lesson. Reviews repeatedly highlight that the guides keep everyone comfortable while still treating the activity like the high-risk sport it is.
The vibe is also practical. You’ll get a safety briefing before you step onto the ice, and the guide pace aims to keep you learning instead of just surviving. If you’ve never used crampons before, expect the guide to coach your foot placement and posture.
Ice climbing lesson: how you’ll learn to move on real ice
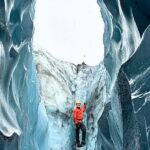
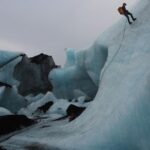
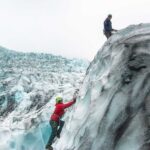
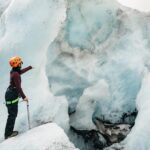
Even though this is an intro, you do learn real ice climbing basics. That usually means you spend time on ice features where you can practice how to place crampons, how to use the ice axe for stable movement, and how to keep your body aligned while climbing.
This is where the small group size earns its keep. With a maximum of 8 travelers per glacier guide, you’re less likely to spend the whole time waiting for the next instruction. You also get more direct feedback if your stance isn’t quite right yet.
In reviews, several people called out specific guide styles that fit beginners: Monica was described as an excellent belayer, Gaia was praised for being helpful while teaching basics, and Daniel from Arctic Adventures stood out for both expertise and making the experience fun. The common thread is confidence without rushing you.
And yes, you’ll feel it later. More than one review mentions sore calves the next day, especially if you’re still adjusting to the climbing form. That’s a good sign. It means your body was doing the right kind of work on ice.
Walking the glacier: crevasses, ridges, and those ice formations
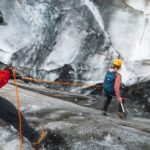
Between climbing moments, you’ll hike and explore the glacier’s frozen terrain—crevasses, ridges, caves, and sinkhole-like features depending on what your guide finds safe and accessible that day. The glacier route can change, and one review noted the climb spots can shift almost daily. That’s also why the guide’s route knowledge and current conditions matter so much.
If you’re the kind of person who hates feeling lost, you’ll probably like this part. The guide is there to position the group and keep everyone moving in a controlled way. Reviews describe guides as patient and encouraging, including moments where they took people to a quiet spot to climb rather than forcing a fast, crowded route.
The guide’s role: safety first, with a real sense of humor
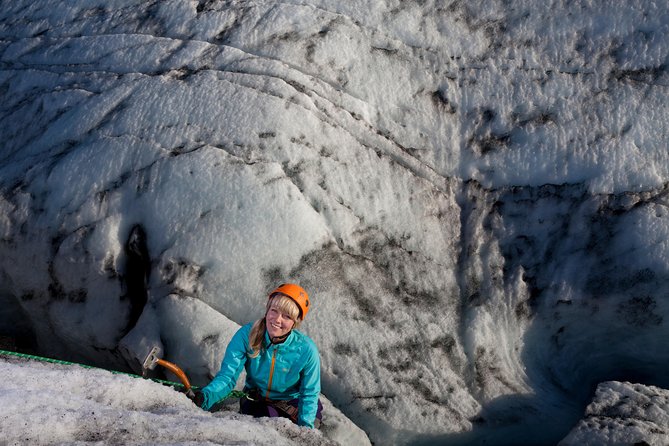
Ice climbing has a reputation for being intense, and this tour respects that. The guides repeatedly get praised for being responsible, detailed, and focused on safety. People mention feeling comfortable because instructions are clear and because the group stays together.
I also liked that the mood in reviews isn’t all serious. There’s mention of fun guide energy, including a bus-driver joke about snow snakes that sound dangerous but are really just playful snowball chaos. That doesn’t replace safety rules, but it does make the day feel like an adventure instead of a lecture.
When names come up, they’re consistently tied to professionalism:
- Daniel from Arctic Adventures
- Monica (called out for belaying support)
- Gaia
- Alberto and Claudia
- Franceso and Steve (described as professional and responsible, with Steve noted as passionate about glaciers)
If you start in Reykjavík: Seljalandsfoss and Skogafoss stops
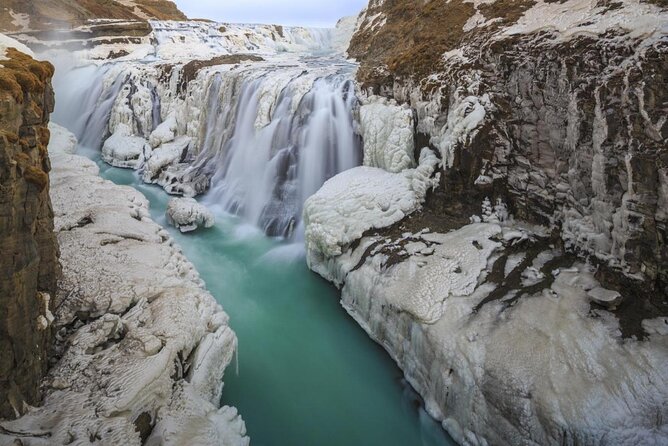
The tour includes waterfall stops, but the key detail is that Seljalandsfoss and Skogafoss are listed as part of the day only from Reykjavík. If you’re joining with Reykjavík pickup, you can expect those scenery anchors before or during the glacier time window.
Here’s the practical value: those waterfalls give you variety in one day. A glacier is about ice textures and movement on a frozen surface. Waterfalls are about dramatic water energy and easy-to-understand Iceland scenery that feels rewarding even if you’re tired from hiking.
If you’re driving to the glacier parking lot on your own, the day can still be great—but you should confirm which stops apply to your specific pickup option. The tour data makes it clear those waterfall elements are connected to Reykjavík pickup.
Gear, shoes, and the rules that can make or break your spot
This is the part to get right early. You must have hiking boots with ankle support. Sturdy shoes and a waterproof jacket and pants can be rented, but the requirement is real: you’ll be walking uneven glacier terrain and using equipment designed for traction.
Two extra rules matter a lot:
- Minimum shoe size is EU 35
- Specialized glacier crampons are only available for shoe sizes EU 35–50
If your shoe size is outside that range, you might not be able to participate. Also, if you arrive without appropriate boots, you may be directed toward rentals. One review mentions being charged for hiking boots after arriving and being told they were required, which left a sour note for that person. The tour experience itself sounds excellent, but that’s a reminder: check whether your ticket covers boots you don’t already own and confirm what the rental cost looks like.
Physical effort: what “moderately strenuous” really means
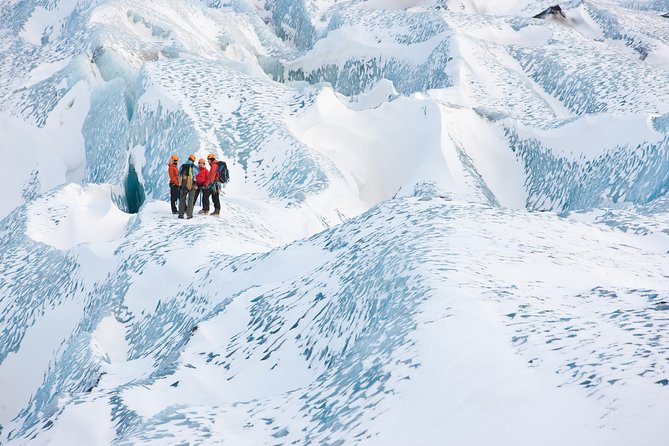
This isn’t a couch-to-ice situation. You should be comfortable walking about 3–4 km on uneven terrain. On the glacier, that effort comes with traction changes, uphill bits, and moves that use your legs plus your arms and back for climbing technique.
A few reviews describe the activity as not as hard as feared, while still noting you’ll work muscles. Another common theme is that you’ll likely feel sore the next day if your body isn’t used to climbing form and cold conditions.
If you can walk steadily, keep your footing, and follow instructions under a time-and-weather-sensitive schedule, you’re probably a good match.
Small-group format and why it’s worth paying for
The tour is limited to a maximum of 8 travelers, with personalization built into the format. That’s a big deal for a guided activity where your safety depends on how the group moves together. It also helps you learn faster: you get more time to practice with your axe and crampon stance, and you’re not just watching while others go first.
I also see value in the guide-to-group relationship because glacier routes can shift based on conditions. The smaller the group, the easier it is to reroute, regroup, and keep everyone comfortable.
At $211.72 per person, you’re paying for:
- A certified, English-speaking glacier guide
- Safety gear included (harness, helmet, crampons, ice axe)
- An intro ice-climbing session
- Small-group attention
- Waterfall stops if you’re doing Reykjavík pickup
- Reykjavík pickup and drop off if selected
Food and drinks are not included, so factor that in. But the included safety gear is a meaningful value point. And if you’re comparing this to DIY crampon rentals plus an independent guide, you’re really paying for training, risk management, and the right expertise in the field.
Who this is ideal for (and who should think twice)
This tour fits best if you want a real glacier experience without needing prior training. You’ll get the chance to climb actual ice walls and practice core basics, while still exploring the glacier surface as you learn. Reviews emphasize that beginners felt welcome and safe when guided well.
You should think twice if:
- Your shoe size is outside the crampon range (EU 35–50)
- You can’t meet the ankle-support boot requirement
- You’re not comfortable with 3–4 km on uneven terrain
- You dislike cold-weather outdoor activities (you’ll be outside on ice, and wind can be biting)
If you’re traveling with teenagers or adult adventurers (minimum age is 14), this is a strong “first serious adventure” that still feels doable.
Booking value and timing: when to lock in
On average, this kind of tour is booked about 42 days in advance, so it pays to plan early. That matters because glacier days depend on conditions and because your spot is limited by the max group size.
If you’re flexible on dates, you’ll usually have more options. But if you’re traveling in a busy season or have one specific window you can’t move, booking earlier is the easiest way to protect your plan.
Also note you’ll receive confirmation at booking time, and you’ll get a mobile ticket. That’s convenient when you’re bouncing between Iceland stops.
Should you book Sólheimajökull Glacier Hike & Ice Climbing Intro?
I’d book it if you want an ice-climbing intro that’s serious about safety and actually teaches you how to move on glacier ice. The combination of real gear included, small-group coaching, and the chance to climb ice walls makes this a strong value for active travelers who like learning as they go.
I’d hesitate if you’re shoe-size constrained or if you know you’ll need to rent equipment and you’d rather avoid last-minute costs. Also, if your schedule is tight around meals, plan for food and drinks not being included.
If you want one Iceland day that feels both wild and guided—where you learn, climb, and leave with stories you can’t get anywhere else—this is a great pick.
FAQ
Do I need prior ice-climbing experience?
No. This is an intro ice-climbing experience designed so you can participate without prior experience.
How long is the tour?
The duration is about 4 hours 30 minutes.
How big is the group?
It’s a small group limited to a maximum of 8 travelers per glacier guide.
What meeting point do I use?
Meet at the Sólheimajökull glacier parking lot at the address listed: 221, 871, Iceland.
What equipment is included?
You’ll be provided with glacier safety gear including a harness, helmet, glacier crampons, and an ice axe.
Are waterfalls part of the itinerary?
Seljalandsfoss and Skogafoss are included as stops if you’re joining from Reykjavík with pickup selected.
What kind of shoes do I need?
Hiking boots with ankle support are mandatory. Sturdy shoes plus a waterproof jacket and pants can be rented if needed.
What if weather is poor?
This experience requires good weather. If it’s canceled due to poor weather, you’ll be offered a different date or a full refund.
Is food and drinks included?
No. Food and drinks are not included.