REVIEW · VIK
Sólheimajökull: Blue Ice Glacier Hike near Vík (Easy)
Book on GetYourGuide →Operated by Arctic Adventures · Bookable on GetYourGuide
Sólheimajökull turns walking into science class. On this easy glacier hike near Vík, you get to step onto blue ice and see features like crevasses, moulins (ice holes), and volcanic ash layers, without needing mountaineering experience. What makes it click for first-timers is the focus on safety gear and guidance, plus the chance to pair glacier time with iconic South Coast stops.
I especially like the all-in-one setup: you’re fitted with glacier crampons, an ice axe, a harness, and a helmet, then briefed before you move. Reviews also highlight guides like Lucy (calm, confidence-building), Guillaume (friendly and attentive to pacing), and Daniela/Daniella (patient, funny, and safety-first), which matches the way this hike is designed.
The one real consideration is that easy can still mean slippery and a bit more work than you expect. Even on a beginner route, you may hit steeper sections and come back wet if weather turns, so sturdy shoes and warm rain gear matter.
In This Review
- Key things I’d bet on
- Why Sólheimajökull Feels Like a Different Planet
- Meeting at the Solheimajökull Parking Lot (and the Yellow Bus)
- Gear and Safety: Crampons, Harness, Ice Axe, and Helmet
- The Easy Glacier Hike: Blue Ice, Crevasses, and Volcano-Banded Views
- South Coast Add-Ons: Seljalandsfoss, Skógafoss, and Reynisfjara Black Sand
- Time on Your Feet: 3 to 12 Hours, and What Pace Feels Like
- Price and Value: Is $104 Worth It?
- Weather Reality: When Rain Makes Everything Colder
- Who This Hike Fits Best (and Who Should Skip)
- Should You Book This Easy Sólheimajökull Glacier Hike?
- FAQ
- FAQ
- How long is the Sólheimajökull blue ice glacier hike?
- Where do I meet the tour?
- What’s included in the glacier hike?
- Do I need to bring hiking boots?
- Is pickup available from Reykjavík?
- What are the age and shoe-size requirements?
Key things I’d bet on
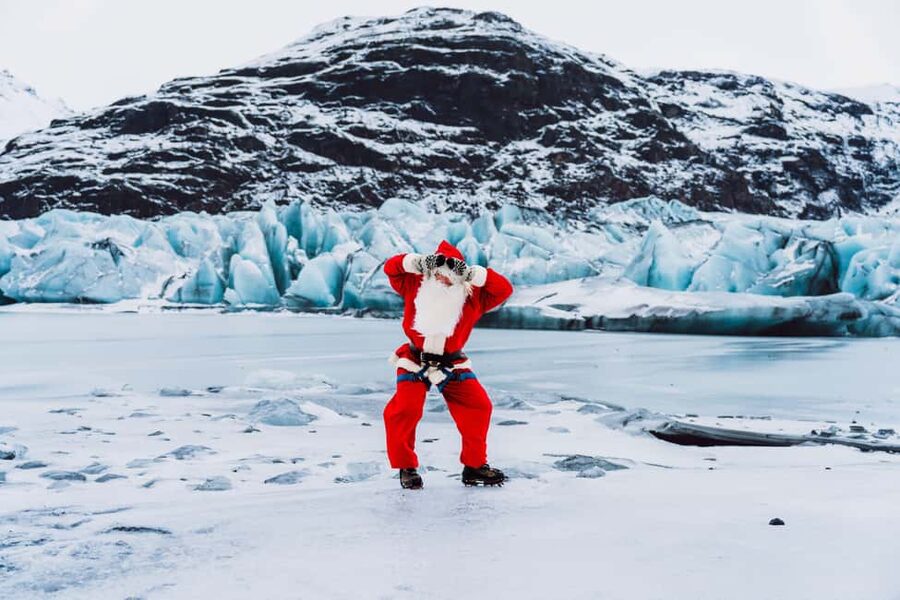
- Blue-ice crevasses and moulins you can actually see and understand
- Certified glacier guides who keep the pace and comfort front and center
- Safety gear included (crampons, ice axe, harness, helmet)
- South Coast bonus stops like Seljalandsfoss, Skógafoss, and Reynisfjara
- Small-group feel that reduces waiting and helps you move as one unit
- An easy-first route that’s beginner-friendly, but not zero-effort
Why Sólheimajökull Feels Like a Different Planet
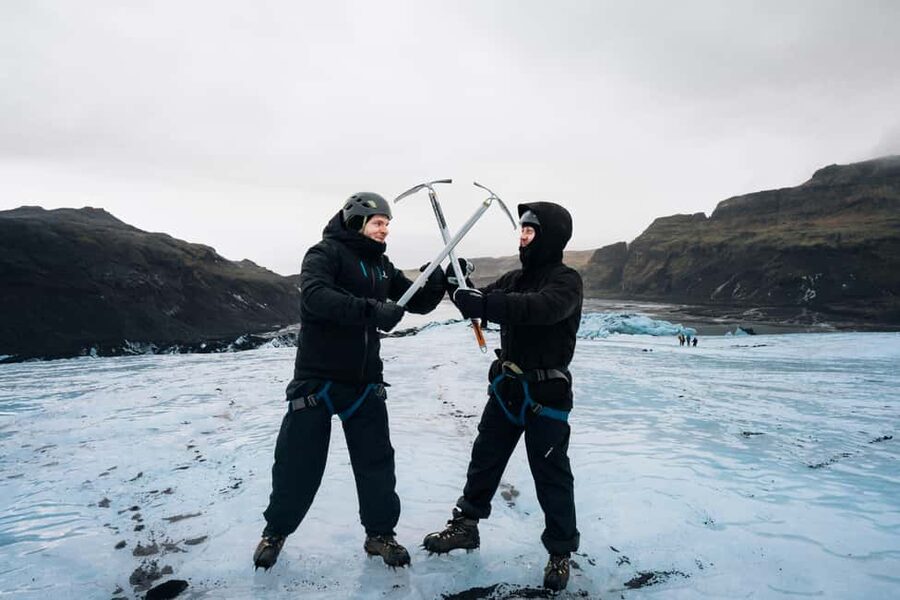
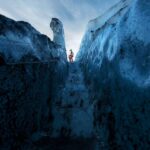
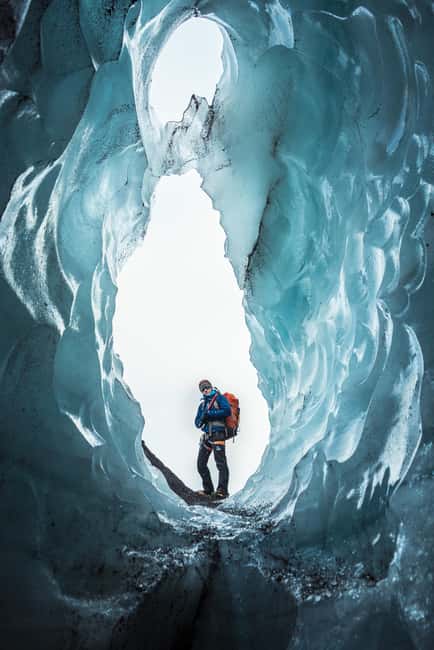
Sólheimajökull isn’t a museum glacier. It’s an active, changing ice body with crevasses, ridges, and those striking blue layers that make photos look almost unreal. The guide-led approach is key: you don’t just walk on ice, you learn what you’re standing on and why it looks the way it does.
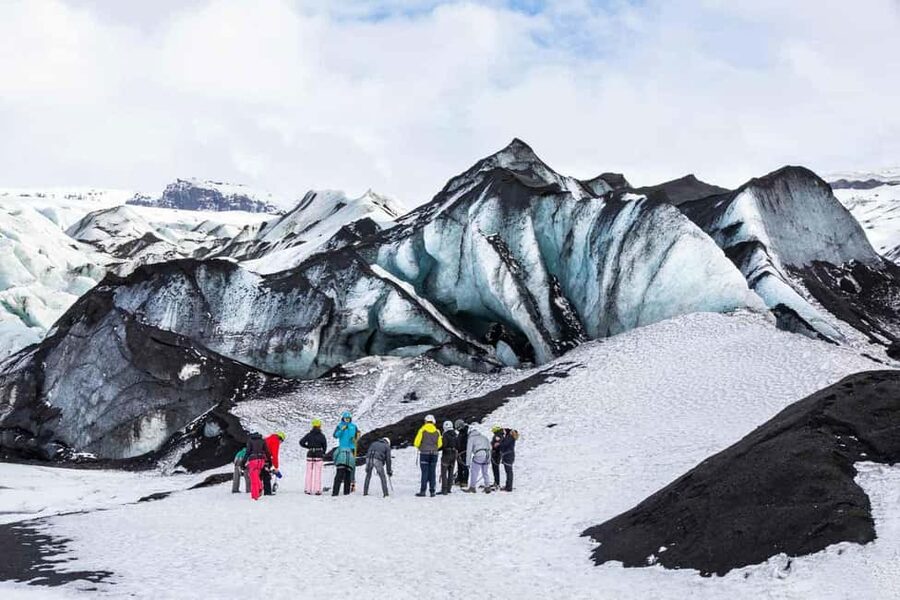
One of the coolest parts is hearing how volcanoes shape the glacier. Volcanic activity drops black ash onto ice, and over time that ash becomes dramatic dark bands in the ice. That contrast—black ash against deep blue—turns the hike into a geology lesson you can feel through every step.
Another standout for first-timers: you get to see moulins, the vertical shafts (ice holes) that connect the surface down into the glacier system. It’s the kind of detail that makes the glacier feel alive, not frozen-in-time.
You can also read our reviews of more hiking tours in Vik
Meeting at the Solheimajökull Parking Lot (and the Yellow Bus)
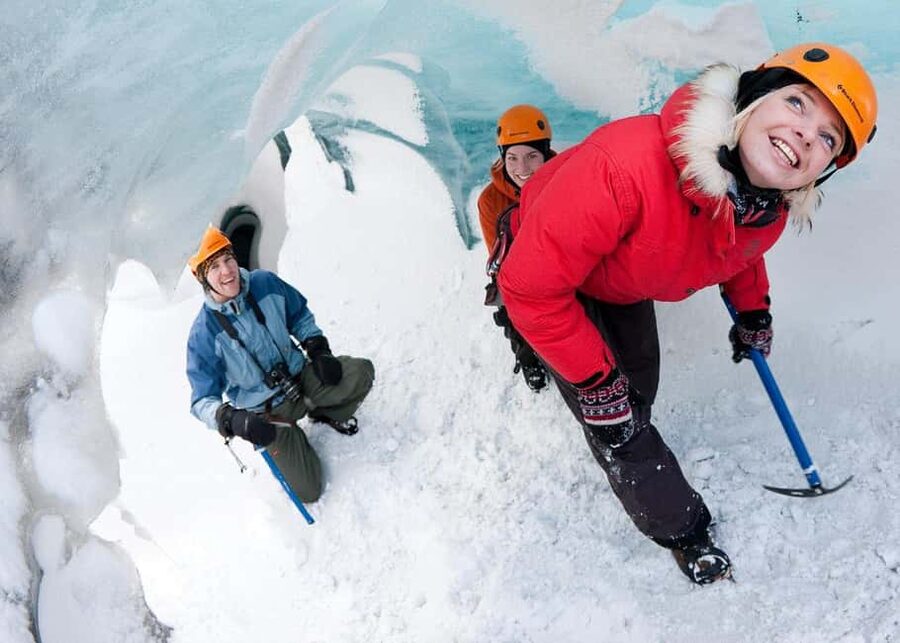
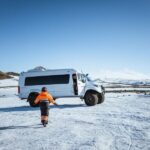
You meet at the Sólheimajökull Parking Lot by the big yellow school bus. Plan to arrive 10–15 minutes early. It sounds simple, but with Iceland’s weather and road conditions, arriving on time keeps everything smooth.
If you choose pickup from Reykjavík, you’ll do roundtrip transport with onboard WiFi. That can be a big deal on a long day: it keeps the journey comfortable while you’re waiting for the right timing and conditions.
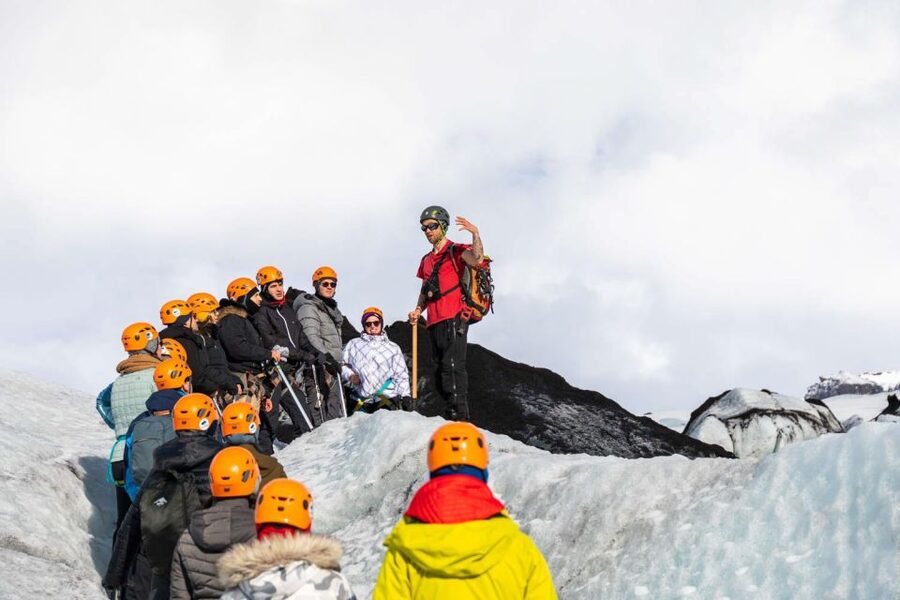
Either way, your day starts with a check and a briefing. Guides typically confirm the right footwear and explain how the equipment works before you ever step onto the ice. Reviews repeatedly mention this “calm, do-it-right first” style—whether it was Lucas, Guillaume, Tomas, or Steve—and it’s a big part of why people feel safe.
Gear and Safety: Crampons, Harness, Ice Axe, and Helmet
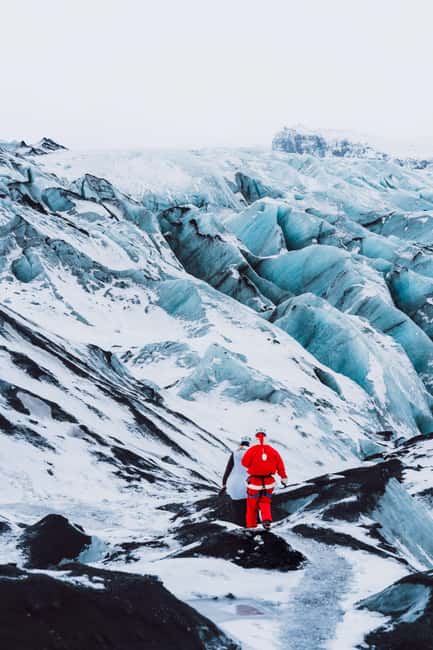
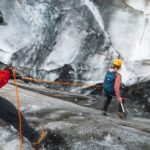
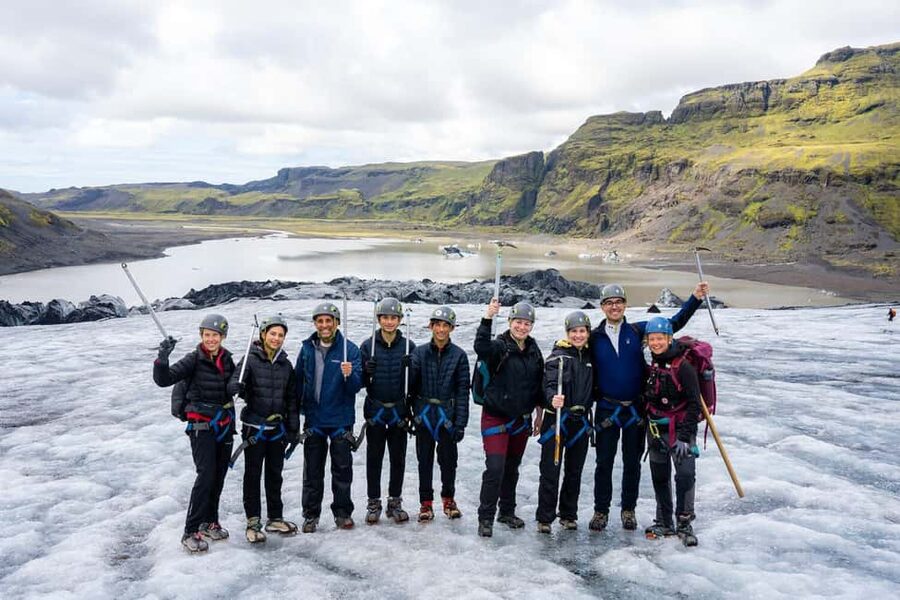
This hike includes specialized glacier safety gear: glacier crampons, a walking ice axe, a harness, and a helmet. You don’t need to bring any of that yourself, which makes the tour much more beginner-friendly than the DIY version.
Your boots are the one item you’re responsible for. Sturdy hiking shoes with ankle support are mandatory, and rentals are available for a small fee if you forget. There’s also a shoe-size constraint because the crampons only fit certain EU sizes (35–50 EU). If your shoe size is outside that range, you unfortunately can’t participate—worth checking before you book.
Why this matters: crampons change how you walk, and ice axe use is all about control and balance. Even if the route is called easy, the equipment is what lets that “easy” stay safe instead of stressful.
The Easy Glacier Hike: Blue Ice, Crevasses, and Volcano-Banded Views
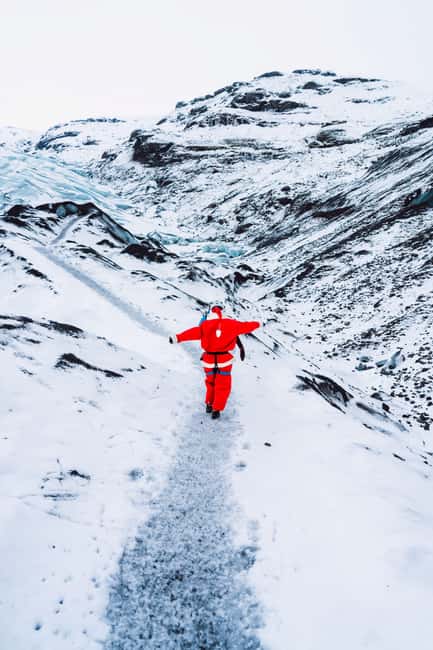
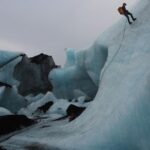
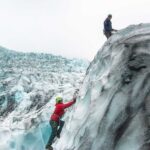
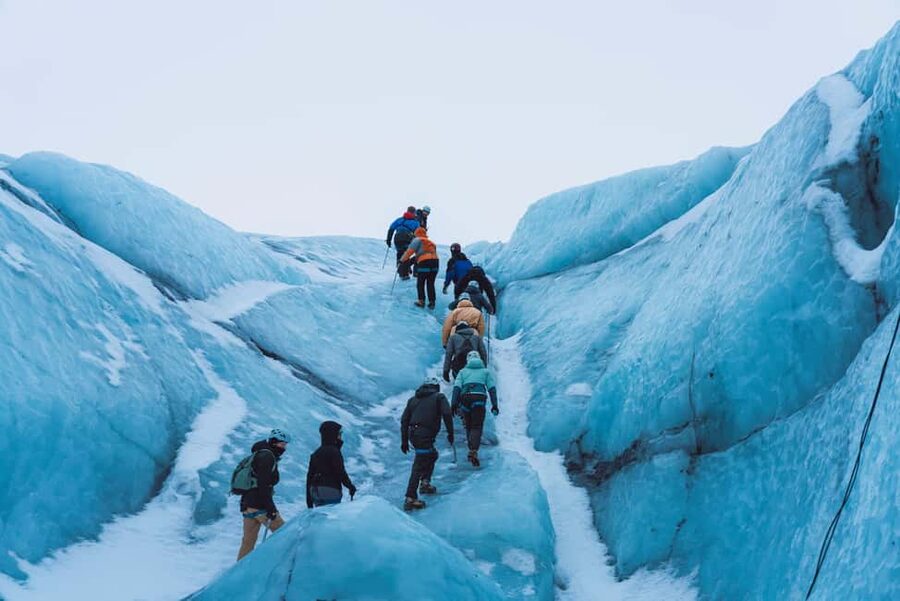
After gearing up, you’ll walk a short distance to the glacier edge, then step onto the ice. The hike is designed for beginners and families, with an easy route over ridges and safe terrain rather than technical climbing.
On the ice, the highlights are visual and educational:
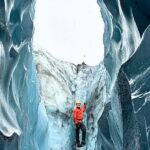
- You’ll peer into deep blue crevasses.
- You’ll see moulins, those ice holes that show the glacier’s internal plumbing.
- You’ll notice how black volcanic ash layers show up in the ice like dark stripes.
Crevasses can look bigger than they are from a safe vantage point, so your guide’s job is to keep you oriented. Many guides mentioned in reviews—like Lilja, Danny, and Basha/Borsha—were described as humor-filled, patient, and constantly checking that everyone is handling the crampons comfortably.
One practical note: the amount of time you spend on the glacier can vary a bit with conditions and group pace. Some people note it felt like a bit less time than expected, and others say the hike was slightly more challenging than the easy label. Translation: don’t book this as a “guaranteed stroll.” Book it as a guided adventure that’s still manageable.
South Coast Add-Ons: Seljalandsfoss, Skógafoss, and Reynisfjara Black Sand
A big reason this experience works as a full-day plan is the pairing with the South Coast’s most famous sights. If you start with Reykjavík transport, you’ll typically make sightseeing stops like:
- Seljalandsfoss, the waterfall you can walk near for close views
- Skógafoss, the tall, dramatic cascade that anchors the area
- Reynisfjara Black Sand Beach, with volcanic black sand and striking coastal scenery
These stops don’t replace the glacier hike—they complement it. After you learn how glaciers form and change, the waterfalls and black sand bring the story back to Iceland’s active landscape. You go from frozen ice features to water carving rock, all in one day.
The main drawback of adding these stops is time. If you’re prone to motion sickness, or if you prefer to avoid long stretches in a vehicle, the Reykjavík option can feel like a lot. Still, the onboard WiFi and structured schedule make it easier.
Time on Your Feet: 3 to 12 Hours, and What Pace Feels Like
The tour length is listed from 3 to 12 hours, which signals that your total day depends on where you start and how the route fits with other South Coast stops. The glacier portion is often described as around two hours in the middle of the day, then you return and continue sightseeing if your option includes it.
Even when the hike is labeled easy, expect:
- Cold air and potentially wet ground on the approach and return
- A little steepness on some sections
- Breaks that keep everyone together
The pace is a repeated theme in guide comments. People mention guides adjusting speed so nobody gets left behind, and encouraging slower members without making it feel awkward. That style is especially noticeable when the group is larger. One person described being split into smaller units to reduce waiting, which helps keep the day moving.
If you want an “easy” day but you’re not used to walking on uneven icy surfaces, plan for a learning curve. Most of the challenge is balance, not endurance.
Price and Value: Is $104 Worth It?
At $104 per person, the value depends on what you’re comparing it to. If you’re used to Iceland DIY tours, this can feel like a splurge. If you factor in that you’re paying for trained glacier leadership plus specialized safety gear, it becomes more reasonable fast.
Here’s what your money buys you, in practical terms:
- A certified glacier guide (the part you cannot DIY safely)
- Specialized crampons, harness, helmet, and ice axe
- A guided route onto glacier terrain, not just a viewpoint
- Optional roundtrip transport from Reykjavík, with WiFi, and South Coast stops
The big value is the “gear + instruction” package. Trying to cobble together rentals, the right safety setup, and an appropriate route on your own is exactly how tourists get into trouble on ice.
Yes, it’s not cheap. But at this price point, you’re paying for access to a place that’s genuinely hazardous without training and equipment.
Weather Reality: When Rain Makes Everything Colder
Iceland weather is not a rumor. Several people describe rainy, cloudy days and getting soaked on the walk back to the parking lot. That’s not a complaint; it’s a heads-up.
So I’d plan your kit like this:
- Wear waterproof or water-resistant layers
- Bring warm clothing to counter wind off the glacier
- Expect wet conditions on the return trip
- Keep your hiking shoes ready for slush or puddles
Even with rain, the guides are typically prepared with the right attitude and safety process. The point is to dress so you can focus on walking and looking, not fighting the cold.
If you’re considering a drone: one review notes drone permission was granted in line with regulations at the time. If that matters to you, ask the operator about current rules before you go out.
Who This Hike Fits Best (and Who Should Skip)
This tour is described as beginner-friendly and family-friendly, with a minimum age of 8 years old. It’s also built for people without prior glacier experience, which is exactly why it’s such a popular first glacier step.
It may not fit you if:
- You have mobility impairments (not suitable per the tour info)
- Your shoe size is outside the crampon range (35–50 EU)
- You’re not willing to meet the mandatory footwear requirement
It’s a great choice for:
- Families who want a safe, guided introduction to glacier walking
- First-time Iceland visitors building an action day around South Coast icons
- People who want the best glacier experience with the least planning stress
Should You Book This Easy Sólheimajökull Glacier Hike?
If you want a real glacier experience without technical skills, I think this is a strong yes. The combination of included safety gear, small-group glacier guidance, and the chance to see South Coast highlights makes it a practical use of a limited Iceland itinerary.
Book it if:
- You can meet the sturdy boot requirement
- You’re okay with cold, possible rain, and walking on uneven ice terrain
- You want a guide-led route where comfort and safety are taken seriously
Pass or look for another option if:
- You can’t participate due to shoe-size limits
- You have mobility limitations that make the route unsafe
- You’re expecting a gentle stroll with zero physical challenge
FAQ
FAQ
How long is the Sólheimajökull blue ice glacier hike?
The duration is listed as 3 to 12 hours, depending on which option you choose and how the day is scheduled.
Where do I meet the tour?
Meet at the Sólheimajökull Parking Lot by the big yellow school bus.
What’s included in the glacier hike?
You get a guided hike on Sólheimajökull Glacier, a certified glacier guide, and specialized glacier safety gear including glacier crampons, a walking ice axe, a helmet, and a harness.
Do I need to bring hiking boots?
Yes. Sturdy hiking shoes with ankle support are mandatory. Rentals are available for a small fee if you need them.
Is pickup available from Reykjavík?
Yes. Pickup is optional, and the tour includes roundtrip transportation with onboard WiFi for the Reykjavík option.
What are the age and shoe-size requirements?
The minimum age is 8 years old, and crampons are available for shoe sizes 35–50 EU. The tour is not suitable for people with mobility impairments.