REVIEW · VANCOUVER
Photography, Gondola & Snowshoeing
Book on Viator →Operated by Nature PhotoHikes · Bookable on Viator
Joffre Lakes makes better photos than you expect. This tour is built around a full BC day: Sea to Sky Gondola, waterfall stops, and guided trekking at Joffre Lakes, with photo help that works for both smartphones and DSLRs.
Two things I really like about it are the small group size (max 7) and the hands-on photography coaching while you’re walking. The guides, including Nafees (sometimes shown in reviews with variations like Nadees Shams), work to tailor the pace and picture moments so you’re not just shuffling along.
One thing to consider: it’s a real hike. You’re looking at about 6 hours round trip for the hiking part, plus a long day because the travel time from Vancouver is substantial, so you’ll want to come in with good stamina.
In This Review
- Key things you’ll notice right away
- From downtown Vancouver to Joffre Lakes: the real shape of the day
- Sea to Sky Gondola Stop: a high-altitude warm-up for your camera
- Shannon Falls Provincial Park: turning a famous waterfall into a practice session
- Joffre Lakes trekking: 6 hours back-and-forth plus a lot of payoff
- Photography coaching on the move: real tips for DSLR and smartphone
- What to wear and bring: layers, water, bugs, and shoes that won’t betray you
- Transport, group size, and why $161.38 can be good value
- Who this tour suits best (and when you should hesitate)
- Should you book this Joffre Lakes photography experience?
- FAQ
- How long is the hiking part?
- What’s included in the price?
- Is pickup available in Vancouver?
- What camera types is this best for?
- How big is the group?
- What should I bring for the hike?
- What happens if the weather is bad?
Key things you’ll notice right away
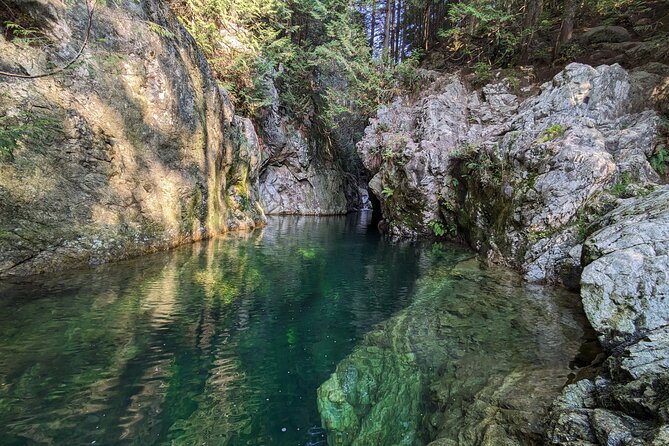
- Max 7 people means real attention, not a lecture you can’t ask questions about
- DSLR and smartphone friendly photo coaching while you’re moving
- Sea to Sky Gondola gets you altitude views early, before the trail work
- Shannon Falls Provincial Park adds a classic waterfall scene for practice
- Bring your own lunch/picnic for a top-of-the-day break with big views
- Cold-water bravery is optional if you want to dip in glacier-fed lakes
From downtown Vancouver to Joffre Lakes: the real shape of the day
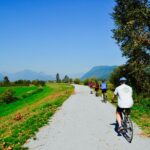
This is not a quick in-and-out “see a place” trip. It’s a full outdoors day that starts in Vancouver and then turns into a long, scenic drive down the Sea to Sky Highway toward places like Squamish, Whistler, and Pemberton. You’ll also get pickup options from downtown Vancouver, east Vancouver, or Burnaby, or you can meet at a central point.
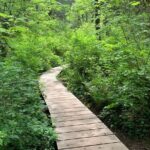
The hiking portion is the centerpiece, and it’s where the photo lessons come alive. The pace is guided and you’ll have a chance to practice as the scenery changes—waterfalls, glacier-fed lakes, forests, and the kinds of angles that are hard to get when you’re rushing.
Expect a long day because the trail time is only part of the total schedule. Plan your energy like you’re going for a hike first, and a sightseeing day second. That mindset will make everything feel better once you’re on the trail.
You can also read our reviews of more photography tours in Vancouver
Sea to Sky Gondola Stop: a high-altitude warm-up for your camera
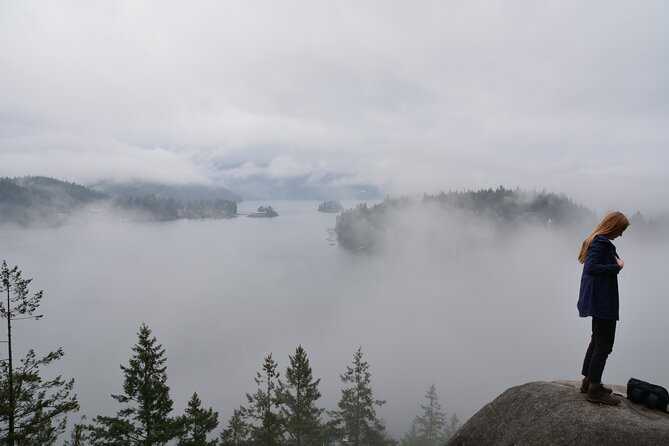
The day’s first major visual payoff is the Sea to Sky Gondola. Even if you never get your camera out, this stop helps you reset. You’re above the road and above the noise, and you can start thinking in frames: where the lines lead, where the light hits, and how to simplify a busy view into something your phone or camera can actually handle.
Practically, this gondola stop is a smart setup for a photo-focused tour. It gives you quick practice at composition before you jump into the heavier hiking portion. You also get a chance to spot what kind of photos you want later—water, ice, forests, or wide views—then the guide can steer you toward technique as you move.
If you’re using a smartphone, don’t assume it’s limited. The coaching here is about how to shoot, not only what you’re holding.
Shannon Falls Provincial Park: turning a famous waterfall into a practice session
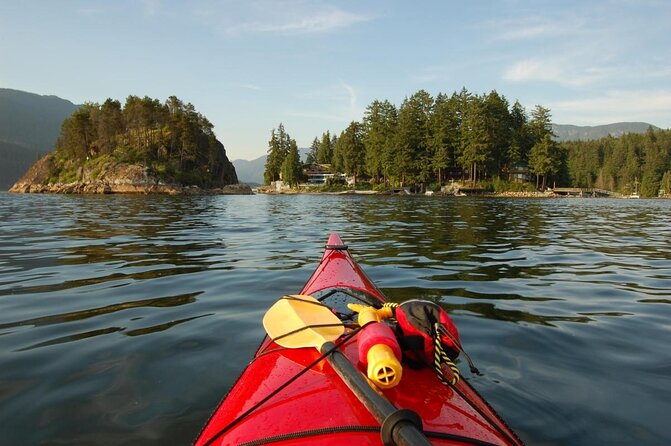
Then you roll into Shannon Falls Provincial Park, a classic spot when you want a waterfall that shows well in photos. Waterfalls can be tricky because of both brightness and motion. It’s the kind of place where a good guide can help you avoid the common traps: blown-out highlights, overexposed sky, and shots that look flat because you didn’t position yourself to show depth.
This stop also gives you an easy rhythm. You’re not waiting around for the “one big moment.” Instead, you’re stacking small wins: a strong waterfall shot here, a better perspective there, then you’re ready for the bigger scenes at Joffre Lakes.
And because the group is small, you’re more likely to actually get feedback. That matters, especially if you’re switching between smartphone and DSLR.
Joffre Lakes trekking: 6 hours back-and-forth plus a lot of payoff
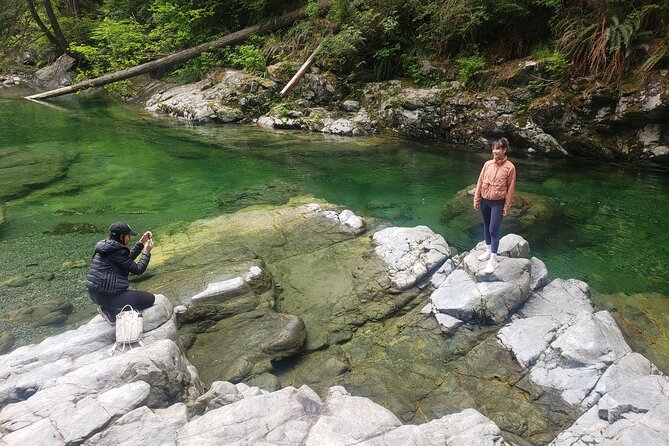
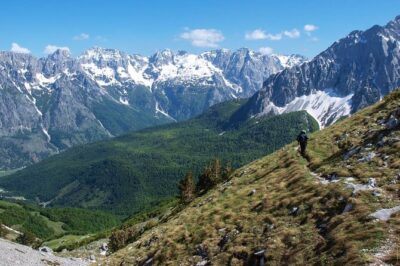
The main event is Joffre Lakes, one of BC’s standout hikes for big alpine views that are comparatively accessible. The tour emphasizes that you need to be an experienced hiker and in very good physical condition. That’s not scare talk—it’s a heads-up so you don’t show up underprepared and end up fighting the trail.
The hiking time is about 6 hours round trip, and the trail experience also benefits from the guide’s photography background. You’re not only walking; you’re learning how to take photos while hiking safely—how to pause without losing your footing, how to frame while you’re moving, and how to read the scene quickly enough to catch the moment before the light shifts.
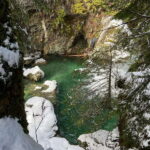
There’s also a playful option built in. If you’re brave, the guide may take you for a dip in the ice-cold glacier lakes. You don’t have to do it, but it’s one of those experiences that can turn a great hike into a memorable one—assuming you’re willing to deal with cold shock and get back on your feet fast.
A note on expectations: parts of the trip can feel difficult, especially toward the end of the hike. That’s why preparation matters.
Photography coaching on the move: real tips for DSLR and smartphone
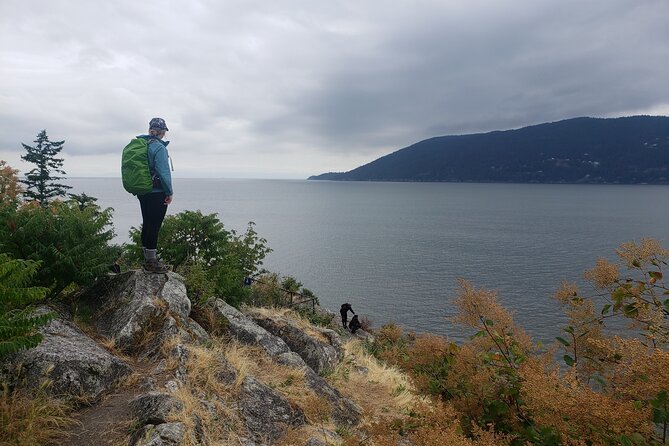
This tour is built around photo learning, and it’s not limited to camera jargon. The guide brings 20+ years of hiking and photography experience, and the teaching is practical: how to capture waterfalls, lakes, glaciers, and forest scenes.
Here’s what makes this style valuable. On many photo tours, you get a few tips at the start and then you’re left to your own devices. Here, the instruction is tied to what’s happening right now: a new viewpoint, a changing angle, and a moment you can only get if you know how to shoot while you’re standing in a moving environment.
You’ll also get some cultural context tied to the area, including Indigenous people of the region. That adds a layer that goes beyond the camera, so you’re not just chasing images.
If you’re worried about not being a serious photographer, don’t. The tour is set up for DSLR or smartphone cameras, which means the guide can meet you where you are.
What to wear and bring: layers, water, bugs, and shoes that won’t betray you
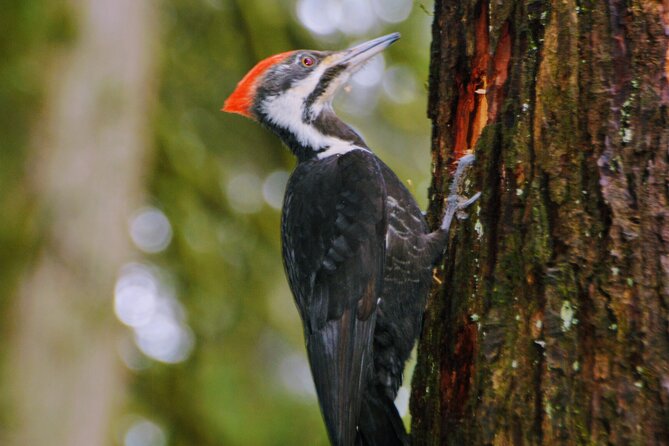
The cold and wet parts of the trail are real. Even when you feel like you’re working up a sweat, you may get chilled later, and sections can be wet. The tour provides details on what to wear and bring, but you can also plan using the common, proven setup people recommend from past outings.
Bring a picnic-style lunch to enjoy at the top. That matters because it turns the hike’s hardest stretch into a finish line with a payoff. Also bring water, because there’s no replacing hydration out there with optimism.
For clothing and gear, layer up. A big theme in the advice is that layers help you stay comfortable as conditions change. Wear waterproof shoes and use long socks—both help with comfort and with preventing bug bites.
And yes, pack bug spray. Even if you’re thinking about glaciers and ice, the trail isn’t immune to insects.
One smart approach: dress for the cold you’ll feel before your body fully warms up, not just for how you feel at the peak of effort.
Transport, group size, and why $161.38 can be good value
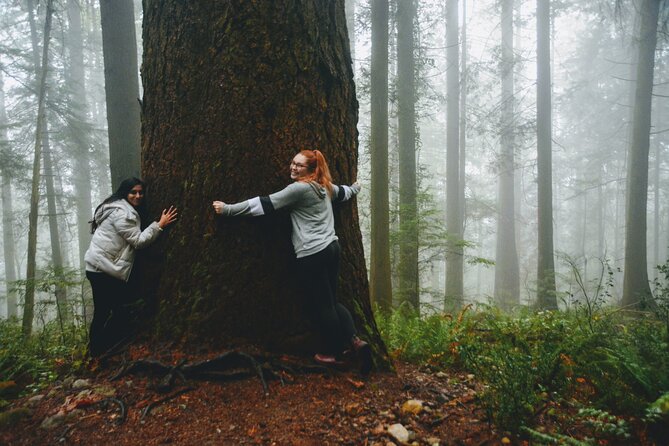
At $161.38 per person, you’re paying for more than a hike. You’re getting:
- a professional photographer guide
- transportation (round trip from the Vancouver area)
- a guided small-group hiking tour (max 7)
That combination is the value. If you tried to copy this day yourself, you’d still need the logistics: planning the drive, figuring out stops, coordinating timing, and then paying for coaching or a guide with strong photography skills. Here, you get transport plus instruction under one roof.
The small-group limit is especially important at this price point. It’s the difference between being part of a crowd and getting feedback you can actually use before the light changes or the moment passes.
Also, the tour is designed for safety and pacing. That’s not glamorous, but it’s what lets you focus on photos and scenery instead of constantly recalculating what you’re doing next.
Who this tour suits best (and when you should hesitate)
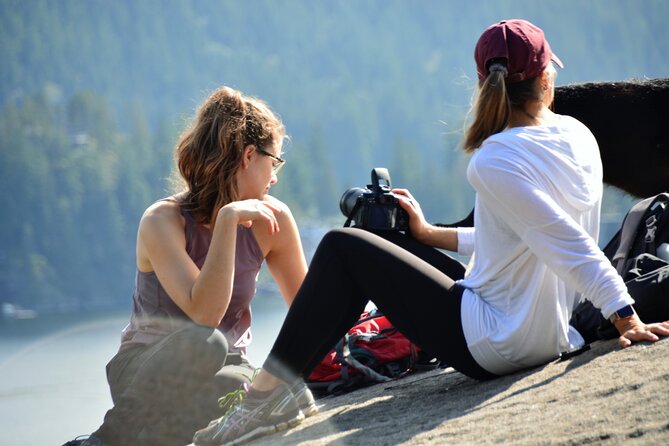
This fits best if you want an active day and you’re serious enough to take it on. You should have moderate to very solid fitness, because the tour describes the need for people in very good physical condition and includes a long day overall.
It’s also ideal if you care about photography more than just snapping a few photos. If you’re using a smartphone, you’ll still benefit because the coaching is about technique and timing. If you’re on a DSLR, you’ll likely appreciate how the guide helps you think about composition while you hike.
Families can work if everyone is realistically prepared. Some of the best feedback mentions the guide working well for family photo moments and customizing the experience. But if hiking is hard for you, you should be honest about your limits and your tolerance for a long trek.
Finally, it’s a great option if you like cultural context. The guide includes Indigenous cultural information, which gives the day more depth than a pure nature walk.
Should you book this Joffre Lakes photography experience?
I’d book it if you want a guided day that mixes classic BC scenery with hands-on photo help, and you don’t mind that it’s a long, active outing. The small group size and the photo-first guidance are the two big reasons this works.
I’d hesitate if you’re not ready for a hike that can be physically demanding. The tour is not just “pretty views.” It’s a real trek with cold conditions and a long schedule from Vancouver.
If your camera skills matter to you—DSLR or phone—this kind of instruction can save you time and help you leave with images you actually like.
FAQ
How long is the hiking part?
The hike is about 6 hours round trip. The full day from Vancouver includes a lot of transportation time as well.
What’s included in the price?
Your tour includes a professional photographer guide, transportation, and a guided small-group hiking tour. Food and drinks are not included.
Is pickup available in Vancouver?
Yes. Pickup is offered from downtown Vancouver, east Vancouver, or Burnaby. If you prefer, you can also meet at a central location and drive to the trail.
What camera types is this best for?
The experience is suitable for DSLR or smartphone cameras. The guide teaches you how to take photos while hiking, including scenes like waterfalls, lakes, glaciers, and forests.
How big is the group?
The group is small, with a maximum of 7 travelers, which helps with one-on-one instruction time.
What should I bring for the hike?
Plan to bring your own lunch or picnic, water, and appropriate layers. Waterproof shoes, long socks, and bug spray are especially helpful.
What happens if the weather is bad?
The experience requires good weather. If it’s canceled due to poor weather, you’ll be offered a different date or a full refund. The tour also notes it operates in all weather conditions, so you may still go depending on conditions.