REVIEW · VANCOUVER
Photography & Hiking in Nature
Book on Viator →Operated by Nature PhotoHikes · Bookable on Viator
Vancouver turns into a photo lesson. I love the way this day is built around the right light for pictures, especially sunset at English Bay and nighttime scenes in Gastown. I also like the hands-on approach to photo coaching for anything from smartphones to borrowed DSLR gear.
The main thing to consider is time and movement: it’s about 7 hours with walking, stairs, and wet-weather surfaces, so you’ll want good shoes and real patience with your pace.
In This Review
- Key things you’ll notice fast
- A photography-focused Vancouver day, not a drive-by
- Price and value: what you’re really paying for
- How pickup, timing, and pace affect your day
- North Shore water and old-growth at Lynn Canyon Park
- Crossing into views: Lions Gate Bridge and early Stanley Park moments
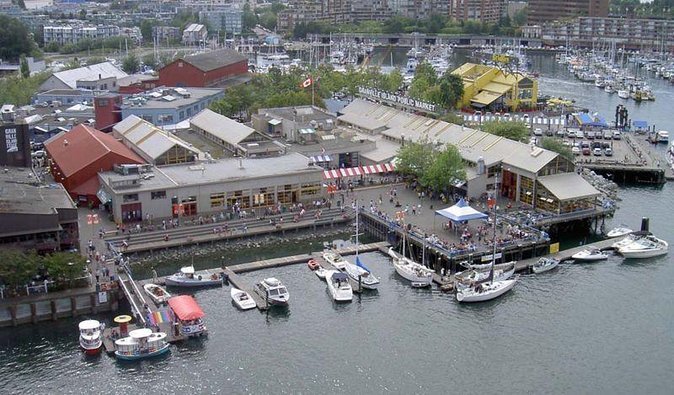
- Granville Island lunch: market energy and practical photo stops
- Gastown at night and the Steam Clock glow
- Prospect Point, the Hollow Tree, and finding the bigger view
- English Bay sunset: where the timing really pays off
- Photography tips you can use right away (phone or DSLR)
- Who this tour suits best (and who should think twice)
- Should you book this Vancouver photography hike?
- FAQ
- What camera does this tour work with?
- How long is the tour?
- What areas does the tour cover?
- Is lunch included?
- Are there pickup and drop-off options?
- How big is the group?
- What’s the meeting time?
- What if the weather is poor?
- Is there free cancellation?
Key things you’ll notice fast
- Light-first planning: sunset timing at English Bay plus night photography in Gastown near the Steam Clock
- Coach-for-any-camera: tips work whether you shoot on a phone or a DSLR you can borrow
- Small-group feel: up to 7 people, which makes it easier to get feedback and regroup
- Nature-to-city flow: old-growth forest, waterfalls, viewpoints, then market lunch, then street scenes
- Real photo stops: viewpoint walks that help you frame shots instead of just driving past sights
A photography-focused Vancouver day, not a drive-by
This is the kind of tour that helps you see Vancouver in “layers.” You start in forest and water settings where the light changes fast under trees, then you swing to harbour views and park viewpoints, then you finish with city textures—cobblestones, street details, and night glow.
What makes it satisfying is the balance. You get nature time that actually feels like you left downtown, then you still get the classic Vancouver moments—Totem Poles, Granville Island, Gastown, and English Bay—without feeling like you’re cramming a checklist.
And because it’s designed as a photo hike, the guide isn’t only pointing at sights. You’ll learn how to work the scene: where to stand, how to steady your shot, and how to adjust your settings for things like moving water.
You can also read our reviews of more hiking tours in Vancouver
Price and value: what you’re really paying for
At $147.87 per person for about 7 hours, this isn’t just “someone shows up and drives.” The value comes from three things that matter in photography:
1) A photographer guide who can translate what you’re seeing into practical steps.
2) Transportation plus coordination between far-flung areas, so you’re not stitching together buses or rental car logistics.
3) Photo coaching and a photoshoot built into the route, not tacked on at the end.
There’s also a practical gear advantage. If you don’t want to travel with a heavy camera setup, you can borrow a DSLR camera and a tripod. Even if you only have your phone, the coaching is meant to be usable right away.
One clear downside on the value side: food and drinks aren’t included. Lunch is at Granville Island’s market, but you’ll pay for your meal there. I’d budget for that so you’re not scrambling later.
How pickup, timing, and pace affect your day
This tour starts at 10:00 am and ends back at the meeting point (the Hyatt Regency Vancouver area). Pickup is available in parts of downtown and also east Vancouver or Burnaby, or you can meet centrally and then head out to the trail.
Two pacing notes are worth knowing:
- It’s a mix of hiking and walking, so you’ll want footwear that handles stairs and damp ground.
- It’s small-group (up to 7), which means the guide can slow down when needed and help you catch the shot you came for.
If you’re the type who hates being rushed while you frame pictures, that’s a good match. If you’re trying to do this while also planning lots of extra stops later that same evening, you may find 7 hours fills your day.
North Shore water and old-growth at Lynn Canyon Park
Lynn Canyon Park sets the tone fast: old-growth forest vibes, plus water features that make photography fun even if your camera skills are rusty.
Here’s what usually makes this stop special for photos:
- Water texture: waterfalls and pools give you contrast—dark rocks, bright mist, and shiny highlights.
- Layered scenes: tree trunks, branches, and greenery create depth, so your shots don’t look flat.
- Quick lighting shifts: shade and sun move across the ground as you walk, which changes your images even when you’re standing in the same general spot.
You’ll also get the kind of scenery where your “camera habit” matters. If you always shoot straight-on at tourist level, you’ll miss some of the better compositions. A good guide helps you choose angles that show scale and motion, like photographing water with a slower shutter effect (and then speeding it back up for crisp details when needed).
Crossing into views: Lions Gate Bridge and early Stanley Park moments
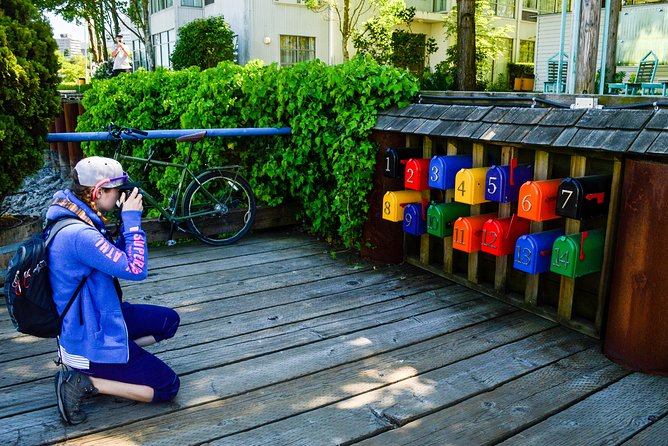
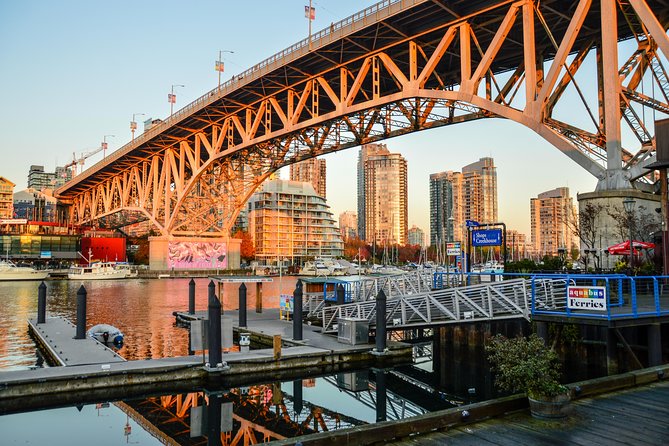
From the forest setting, the route moves you toward shoreline and city geometry—starting with the Lions Gate Bridge photo opportunity. This area is great because the bridge gives you clean lines, and the surrounding city/harbour context gives scale.
Then you step into classic Stanley Park territory with:
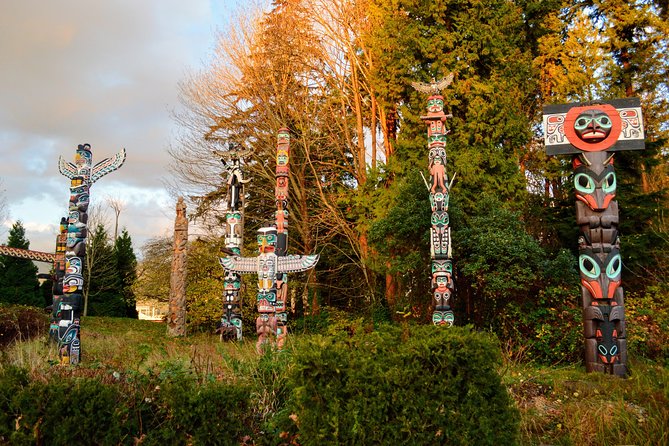
- Brockton Point Totem Pole
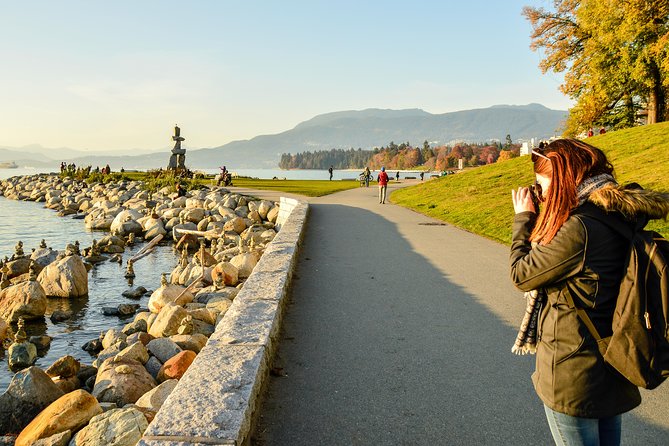
- Vancouver Seawall
These are the spots where “photo coaching” stops being theory. Totem poles reward you for learning how to frame vertically. The seawall rewards you for thinking in lines—how the path leads the eye, how the horizon sits, and how you handle the background so the subject doesn’t get lost.
If your camera roll is full of scenic photos that look similar, this stretch is often where you’ll fix that. You learn how to treat Vancouver as a set of visual problems, not just pretty scenery.
You can also read our reviews of more photography tours in Vancouver
Granville Island lunch: market energy and practical photo stops
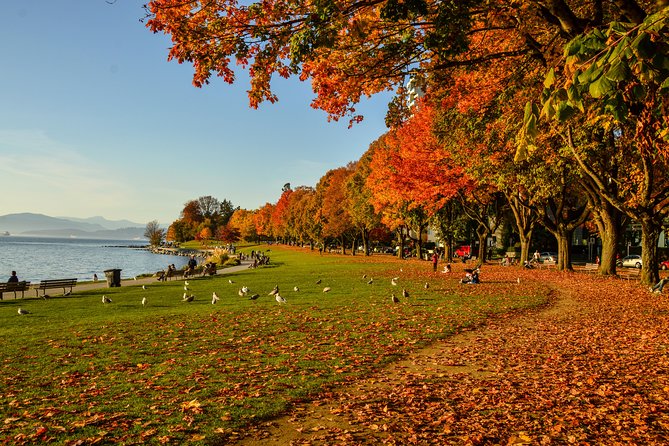
Lunch at Granville Island is a smart move in this itinerary because the market gives you variety without requiring big travel detours. You’ll find plenty of colour and everyday scenes—people, shop fronts, and little details that are easy to photograph once you slow down.
Since food and drinks aren’t included, you’ll want to use this stop intentionally:
- Take time to eat, but also set aside a chunk for pictures before you get too full.
- Look for the moments between the obvious “wide shots.” Market photos often improve when you shoot a bit closer and focus on one action, one texture, or one sign.
Also, if you’re using a phone, this is a perfect moment to practice. The lighting is mixed, subjects move in and out of frame, and you can quickly test what your settings and editing style do to colours and contrast.
Gastown at night and the Steam Clock glow
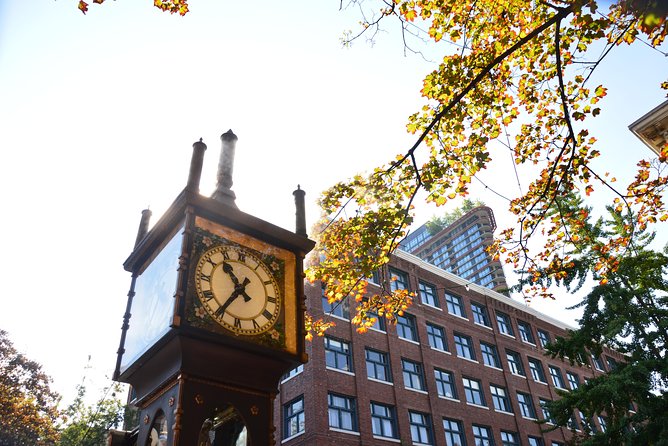
Gastown is where Vancouver gets dramatic. The cobblestone streets and historic streetscape look better after dark because the city lighting gives you mood. Add the Steam Clock, and you’ve got a focal point that makes composition easier.
This stop is especially good if you want to learn low-light basics:
- How to keep highlights from blowing out
- How to handle a moving subject (the steam effect changes second to second)
- How to use a steady stance or support to avoid blur
I like this part because it’s not just about taking a classic photo and moving on. It’s where your guide’s advice can help you make the image feel intentional—like you chose the angle, the timing, and the exposure, not the other way around.
Prospect Point, the Hollow Tree, and finding the bigger view
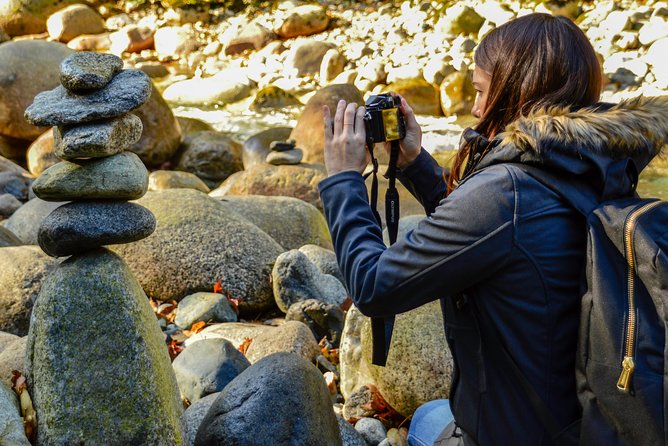
After the city-glow stop, you return toward park viewpoints and landmarks:
- Prospect Point Lookout
- Hollow Tree
- Ilanaaq Inukshuk (near the later part of the route)
Prospect Point gives you the kind of overview that makes earlier photos feel clearer. It helps you understand how Vancouver sits—harbour, mountains, and the way the park wraps around the city.
The Hollow Tree is a different kind of photography assignment. Instead of wide views, you’re often photographing a sculptural subject that rewards patience:
- Use a simple background so the trunk and hole shape are readable.
- Step around to find the angle where light reveals the hollow interior.
And then there’s the Ilanaaq Inukshuk moment. It adds a cultural marker to the scenery and gives you a strong scale reference. Inukshuk subjects also work well for portrait-style framing if you like your photos to show humans’ relationship to place.
English Bay sunset: where the timing really pays off
If you’ve ever missed a sunset because you were stuck in transit, you’ll appreciate how this tour is structured around English Bay. Sunset here is the payoff: soft light, shoreline angles, and a calmer feeling than inside the bigger downtown core.
This is where you can practice:
- Shooting silhouettes versus scene detail
- Adjusting exposure so the sky doesn’t turn into one bright band
- Using the shoreline for leading lines that pull the viewer through the image
English Bay also plays well with different camera types. Phones can still produce strong sunset shots, especially when you use settings and editing guidance rather than guessing. If you’re borrowing a DSLR and tripod, you’ll likely get more control over sharpness and motion too—especially if you’re aiming for water texture in the foreground.
Photography tips you can use right away (phone or DSLR)
The strongest part of this experience is that the guide isn’t only showing spots. You get taught basics you can actually apply on your next trip.
From the way the tour is described and how guides focus on real photo results, you should expect coaching like:
- How to set up your shot for moving water so it looks smooth instead of messy
- How to get steadier images for still subjects
- How to use phone features and editing so colours look more like what your eyes remember
- How to choose where you stand so your background supports the subject
Even if you’re not a beginner, you’ll probably walk away with at least a couple practical tweaks—like how to change your approach when you’re switching from forest shade to harbour light to night city glow.
And because you can borrow a DSLR and tripod, you can test whether the “real camera” approach is worth it for you, or simply bring your phone and learn the same principles with less weight.
Who this tour suits best (and who should think twice)
This tour is a great match if you:
- Love walking to scenic viewpoints and don’t mind stairs
- Care about photography more than just sightseeing
- Want one day that combines forest, park, market, sunset, and night streets
- Want coaching that works with a phone or a DSLR
It may be less ideal if you:
- Prefer fully flat walking only (some stops involve stairs and uneven ground)
- Have trouble with long outdoor stretches, especially in changeable weather
- Don’t want to pay for your own lunch (Granville Island is included as the meal stop, but food isn’t)
If you’re flexible and prepared with layers, it’s a strong way to see more of Vancouver than the typical city day—without feeling like you’re running from one bus stop to the next.
Should you book this Vancouver photography hike?
I’d book it if you want a day that’s both scenic and teachable. You’re paying for smart route planning plus a guide who helps you turn what you see into photos you’ll keep.
Especially if you’re going to be in Vancouver only briefly, this route covers a lot of visual variety: North Shore water and forest atmosphere, Stanley Park icons, market lunch at Granville Island, sunset light at English Bay, and the night mood of Gastown with the Steam Clock.
Just go in prepared for walking and for paying for food on your own. Do that, and you’ll likely come away with better photos and a clearer sense of Vancouver’s geography.
FAQ
What camera does this tour work with?
It’s designed for any camera, from smartphones to DSLRs. A DSLR camera and tripod can be borrowed.
How long is the tour?
The duration is about 7 hours.
What areas does the tour cover?
You’ll visit multiple spots around Vancouver including Lynn Canyon Park, the Lions Gate Bridge, Stanley Park (Totem Poles, Seawall, Prospect Point, Hollow Tree), Granville Island, Gastown/Steam Clock, and English Bay with stops that include an Inukshuk.
Is lunch included?
Lunch isn’t included. The tour includes time at Granville Island’s market, but you’ll need to purchase food and drinks yourself.
Are there pickup and drop-off options?
Yes. Downtown pickup and drop-off are offered, and you can also be picked up from east Vancouver or Burnaby. The tour starts at the Hyatt Regency Vancouver area and ends back there.
How big is the group?
The maximum group size is 7 travelers.
What’s the meeting time?
The start time is 10:00 am.
What if the weather is poor?
The tour operates in all weather conditions, but it also requires good weather. If it’s canceled due to poor weather, you’ll be offered a different date or a full refund.
Is there free cancellation?
Yes. You can cancel for a full refund up to 24 hours before the experience start time.