REVIEW · SKAFTAFELL
Jökulsárlón: Vatnajökull Glacier Guided Hiking Tour
Book on GetYourGuide →Operated by Ice Explorers · Bookable on GetYourGuide
Walking on glacier ice feels unreal.
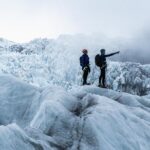
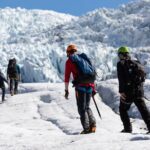
This Jökulsárlón Vatnajökull glacier hike takes you onto Breiðamerkurjökull, so you can spot crevasses and icy textures up close with crampons and a helmet. I love how hands-on the safety setup is, and I love how the scenery can shift from dirty ice to striking blue ice when conditions line up. One possible drawback: you’ll cover about 4–6 km on rough, uneven ice, and wind can make the hike feel like more work than the time sounds like.
From Jökulsárlón Main Parking, you’ll roll out on super jeeps and get geared up efficiently, with roughly 30 minutes for fitting and instructions. And since the day’s glacier conditions decide the route, you get a smart mix of walking areas, sometimes focusing on crevasses or moulins (small ice structures), not just a straight line for photos.
Most tours spend around 2 hours on the ice. If you’re hoping for a specific ice cave, go anyway—just know it’s conditional. The point is getting onto the glacier and learning how it changes in real time.
In This Review
- Key highlights worth booking
- Why Jökulsárlón glacier walks feel different on Vatnajökull
- Price and timing: what your $150 really buys
- Getting to the glacier: the Jökulsárlón meeting point and super jeep ride
- Gear-up: crampons, helmet, and harness in plain language
- The glacier hike on Breiðamerkurjökull: what 4–6 km actually feels like
- How the guide chooses your route: crevasses, moulins, and possible ice caves
- Weather: why you should dress like you mean it
- Safety and fitness: who this tour is for (and who should skip it)
- What makes this tour worth it versus DIY glacier visits
- Should you book the Jökulsárlón Vatnajökull guided hiking tour?
Key highlights worth booking
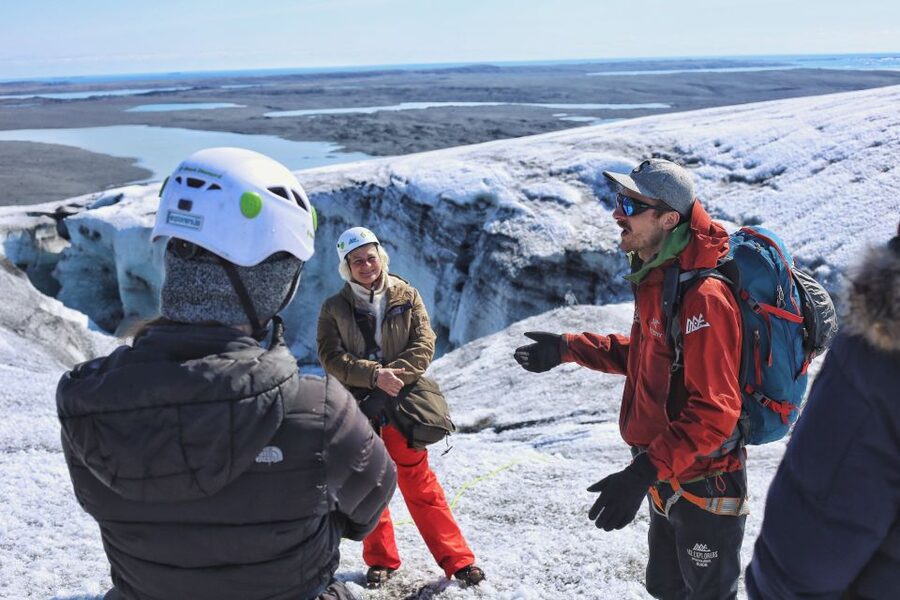
- Crampons, helmet, harness included so you can focus on the hike, not the gear
- Breiðamerkurjökull walk (4–6 km) on Vatnajökull’s outlet glacier for real glacier feel
- Guide-led safety drills before you step onto the ice, not after
- Route adapts to conditions: you might prioritize crevasses, moulins, or more open walking areas
- Super jeep ride from Jökulsárlón adds fun and gets you to the glacier fast
- Possible ice caves and blue ice when the day’s access lines up
Why Jökulsárlón glacier walks feel different on Vatnajökull
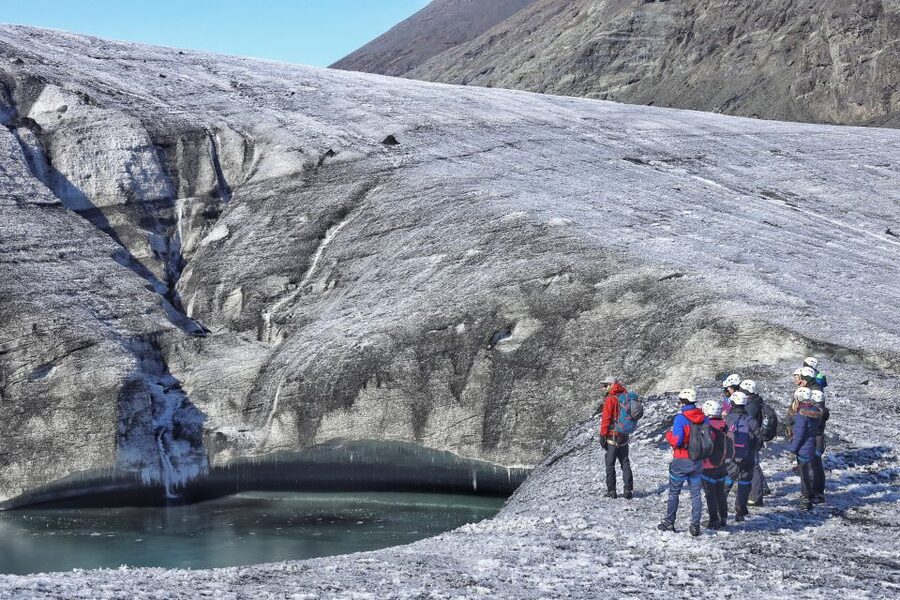
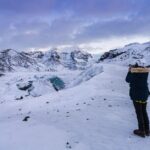
Jökulsárlón Glacier Lagoon is famous for a reason: icebergs drift in like they own the place. But the glacier hike is where the magic turns physical. Instead of watching ice move from the shore, you feel it under your boots on Breiðamerkurjökull, an outlet glacier of Vatnajökull—the biggest glacier in Iceland and also the largest in Europe.
The best part is that you’re not just taking a nature walk. You’re learning a working landscape in motion. Vatnajökull changes fast on a human timescale, which means your guide’s explanation is more than trivia—it helps you understand why the ice you’re standing on looks the way it does, and why it won’t look the same forever.
And if you arrive early, you can enjoy the glacier lagoon view while icebergs drift by—some described as around 1,000 years old. That pre-hike moment matters because it frames the main event: you’re stepping from an ocean of ice into the source.
You can also read our reviews of more guided tours in Skaftafell
Price and timing: what your $150 really buys
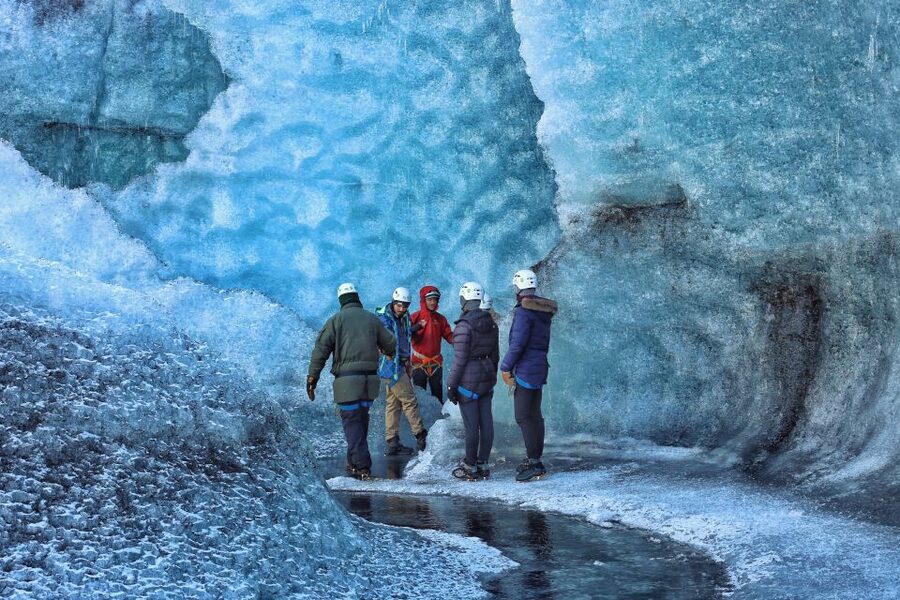
At about $150 per person for a roughly 4.5-hour outing, this isn’t a bargain tour. It also isn’t priced like a city walking tour. You’re paying for three big things:
1) Safety gear and instruction
You get crampons, a helmet, and a safety harness, plus a guide briefing that gets you ready before you hit the ice.
2) Access to the glacier
That super jeep transfer isn’t just transport. It’s how you reach a glacier hiking area efficiently, even when road conditions or terrain would slow you down in a normal vehicle.
3) A real glacier time block
About 2 hours on the ice (with roughly 4–6 km of hiking total) gives you enough time to actually see what glacier features look like up close: textured ice, cracks, and sometimes small internal features like moulins.
So the value isn’t just “walk on ice.” It’s guided, equipped, and paced access to Vatnajökull’s outlet glacier, with time to look around and ask questions.
Getting to the glacier: the Jökulsárlón meeting point and super jeep ride
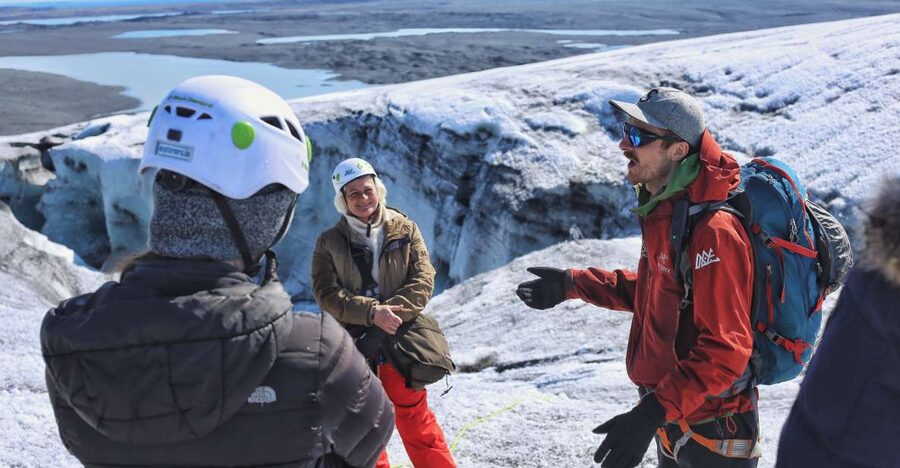
You meet at Jökulsárlón Main Parking. The super jeeps are parked near the WC and café by the lagoon area, so it’s easy to find people and regroup before gear-up.
A typical flow goes like this:
- You arrive at the meeting time on your ticket (options include 08:30, 12:00, or 13:45).
- The group departs about 30 minutes later once everyone is fitted and ready.
- Then you drive about 40 minutes toward the glacier, followed by a short 15-minute walk to reach the hiking start point.
That jeep time has two benefits. First, it reduces the “wasted” distance that doesn’t feel like glacier at all. Second, the ride itself can be part of the experience—several guides mention careful driving even on bumpy routes, and people often remember it as a fun build-up to stepping onto ice.
If you’re the kind of traveler who hates feeling rushed, this pacing helps. You get time to gear up, then you get a full ice block without turning the day into a long commute marathon.
Gear-up: crampons, helmet, and harness in plain language
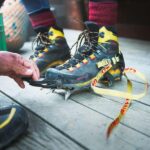
Before you step onto Breiðamerkurjökull, you’ll do a gear-up period of about 30 minutes. The included equipment is:
- crampons
- helmet
- safety harness
The guide introduces the safety equipment and checks that you’re set up correctly. That matters more than people think. Glacier walking is not like hiking in wet mud—foot placement, balance, and staying aware around uneven ice are the whole game.
A practical heads-up: the tour requires proper footwear. Hiking boots are required, and they should cover your ankles and provide solid support. If you show up underdressed or in unsuitable shoes, you might be asked to rent boots and rain gear at the meeting point, or in extreme cases you may not be allowed to join for safety reasons.
So treat the gear-up as part of the tour, not a formality. It’s the moment where you learn how to walk in a way that keeps the day comfortable—and keeps you safe.
The glacier hike on Breiðamerkurjökull: what 4–6 km actually feels like
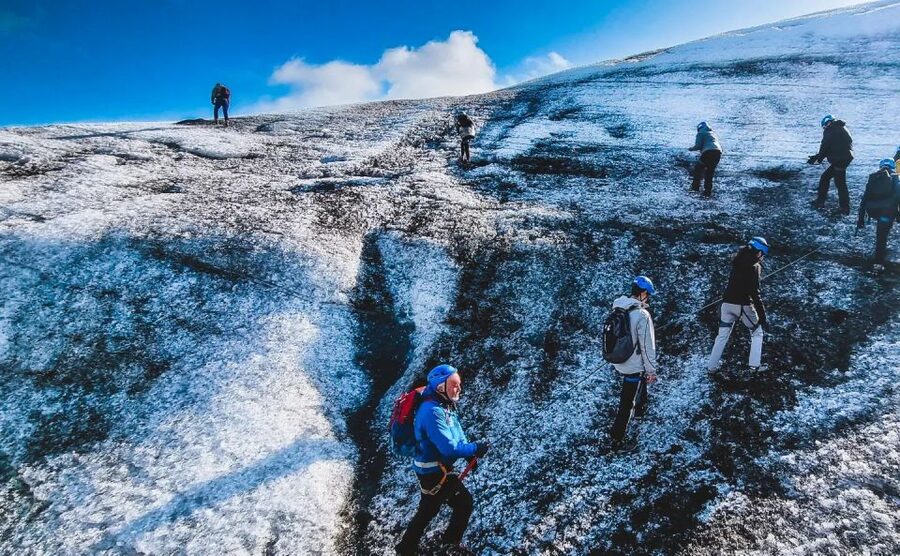
Your time on the ice is roughly 2 hours, and your hiking distance is about 4–6 km. The tour is rated medium difficulty for a reason: you’re moving across different types of terrain on glacier ice, and you’re doing it in changing weather.
Even if you’re fit, expect these challenges:
- Uneven footing on icy surfaces
- Cold wind effects (even when the day isn’t freezing at sea level)
- Small climbs and descents that add up over time
- The need to walk carefully rather than quickly
Most people don’t have glacier experience before this tour, and that’s exactly why the guide matters. You won’t be left to figure it out solo. Your route decisions and pacing will be guided, and you’ll stop when it’s safer or smarter to stop—especially if the group needs it.
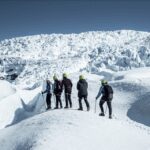
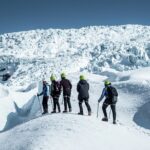
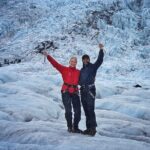
I also like that the tour doesn’t pretend it’s only a photo stop. You’ll spend enough time on the glacier to notice details: how ice fractures, how different ice colors show up, and how water can collect or move within the glacier environment.
You can also read our reviews of more hiking tours in Skaftafell
How the guide chooses your route: crevasses, moulins, and possible ice caves
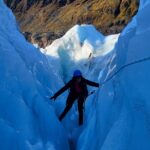
One of the most praised parts is how the day changes based on conditions. Some days you’ll walk a bit farther to cover more glacier area. Other days you’ll spend time going into smaller features—like crevasses or moulins—depending on what’s accessible and safe.
This is where glacier hiking becomes more than scenic. Crevasses and moulins are signs of how the glacier is actively reshaping itself. When your guide points out what you’re seeing and ties it to glacier formation and ongoing change, the ice stops looking like a uniform surface. It becomes an evolving system.
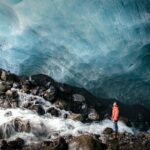
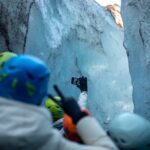
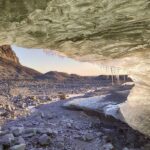
You might also be lucky enough to see an ice cave or corridor, and people mention that as a major highlight when it’s available that day. One review mentioned a recently discovered ice cave/corridor type experience, and others mention blue ice formations up close. The honest expectation: you can’t bank on it. Conditions decide.
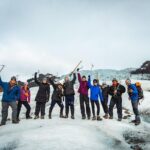
Guides also bring their own style. Names that show up include Javier, Suzie, Guillermo, Avi, Iga, Thomas, Tomas, and Floris. The consistent theme is clear safety guidance plus a human touch—humor, patient pacing, and making sure nobody gets left behind.
Weather: why you should dress like you mean it
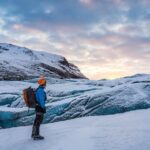
This is an all-weather glacier walk. You go in rain, wind, cold—because glacier routes don’t wait for perfect skies.
The good news: the glacier itself is usually no colder than the meeting point at the lagoon area. The bad news: wind chill can still make everything feel harsher once you’re out on the ice. So dress for layers and breathability.
What to wear (practical checklist):
- warm, breathable base layers
- an outer layer that handles wind and precipitation
- thermal clothing if you run cold
- hiking boots that cover your ankles and support your feet
What you should not wear:
- high-heeled shoes
- sandals or flip-flops
- open-toed shoes
If your outfit isn’t glacier-ready, rentals may be available at the meeting point (including boots and rain jacket). That’s better than trying to “tough it out” in the wrong shoes.
Safety and fitness: who this tour is for (and who should skip it)
This tour is designed for people in good general health who can walk 4–6 km in different weather. The tour is not a sit-and-snap exercise; it’s a steady hike on icy terrain.
It’s also not suitable if you have:
- pregnancy
- heart problems
- recent surgeries
- low fitness level
- wheelchair use
- visual impairment
There’s also a minimum age of 10 years old, and crampons are designed to fit EU shoe sizes 35–48 (about 22.5–31 cm). If a child’s feet fall outside that range, they won’t be able to participate.
If you’re unsure about your limits, the simplest rule is this: if walking 4–6 km on uneven ground already exhausts you, don’t assume glacier ice will be easier. The careful pace and safety stops help, but the distance is real.
What makes this tour worth it versus DIY glacier visits
Could you research glacier hikes and try to go independently? In Iceland, you’ll quickly realize that glacier access is not casual. This tour gives you the structure: safety gear, a trained guide, and a route that changes with conditions.
What you gain from a guided walk:
- you learn why the glacier looks the way it does while you’re seeing it
- you get coached on how to move safely on ice
- you get access to the best available features at the time
- you don’t have to guess what’s safe when weather shifts
And the bonus that people keep repeating: the guide experience can make the difference between just walking on ice and actually understanding it. When someone like Javier or Guillermo leads, you tend to get safety-first clarity without killing the fun. Humor pops up in multiple accounts, along with reassurance and strong group management.
Should you book the Jökulsárlón Vatnajökull guided hiking tour?
Book it if:
- you want your first glacier experience to be guided, equipped, and safety-focused
- you’re comfortable walking 4–6 km and handling wind and cold
- you care about more than photos and want to learn how glaciers change over time
- you’re excited by the idea of crevasses, moulins, and maybe even an ice cave depending on the day
Skip or choose something gentler if:
- 4–6 km on uneven terrain is a stretch for you
- you need wheelchair access or you have medical limits listed above
- you’re expecting a guaranteed ice cave moment every time (that part depends on conditions)
If you fit the basics, this is one of the best ways to experience Vatnajökull in a single afternoon: you get real time on the ice, real safety gear, and a guide who helps you read the glacier like it’s happening right now.