REVIEW · SKAFTAFELL
Skaftafell Glacier Hike – Small Group Trek on Vatnajökull
Book on Viator →Operated by Arctic Adventures · Bookable on Viator
Falljökull makes glacier walking feel real fast. This Skaftafell hike takes you to one of Vatnajökull’s outlets, with crampon-ready blue ice and views you can’t fake with photos. Two things I really like are the hands-on safety gear you get for free and the way the guides explain what you’re seeing as you go, with names like Josh and Martin showing up in guide feedback for calm, clear glacier instruction.
One thing to think about: this isn’t a stroll. You’ll hike about 8 km over uneven ground, including uphill work, and some sections can feel slick on the way up or down.
In This Review
- Key highlights to look forward to
- Falljökull: Why This Hike Feels Closer Than a Glacier Drive
- Skaftafell National Park Stop: Your Orientation Moment in the Real World
- Arctic Adventures Meeting Point: Check-In That Actually Sets You Up
- The 4×4 Bus Transfer: Less Time Traveling, More Time Learning the Glacier
- Vatnajökull National Park on Foot: What the Hike Really Feels Like
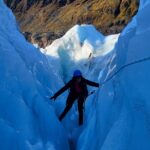
- Blue Ice and Crevasses: How You Learn to Read What’s Under Your Feet
- Gear Matters: Why the Included Crampons Make This Worth It
- Timing and Pacing: 5 Hours That Add Up to a Workout
- Weather Reality in Iceland: What Happens If Conditions Change
- What You Should Bring (Because Lunch Isn’t Included)
- Price and Value: What $168 Buys You on a Real Glacier Day
- Who This Tour Fits Best
- Should You Book This Skaftafell Glacier Hike?
- FAQ
- How long is the Skaftafell Glacier Hike?
- Where does the tour start, and where does it end?
- Is lunch included?
- What gear is included for the glacier hike?
- Do I need my own hiking boots?
- What’s the fitness level required?
- Are there age and shoe size requirements?
- What happens if the tour is canceled due to weather?
- What is the cancellation window?
Key highlights to look forward to
- Falljökull outlet of Vatnajökull: blue ice, crevasses, and glacier features close enough to study
- Small-group limit (max 12): more attention for fit checks and pacing
- All safety gear included: crampons, ice pick, helmet, and harness
- 4×4 bus access: less time wrestling roads, more time on the glacier itself
- Moderate hike effort: about 8 km, with steep uneven terrain and a real workout feel
Falljökull: Why This Hike Feels Closer Than a Glacier Drive
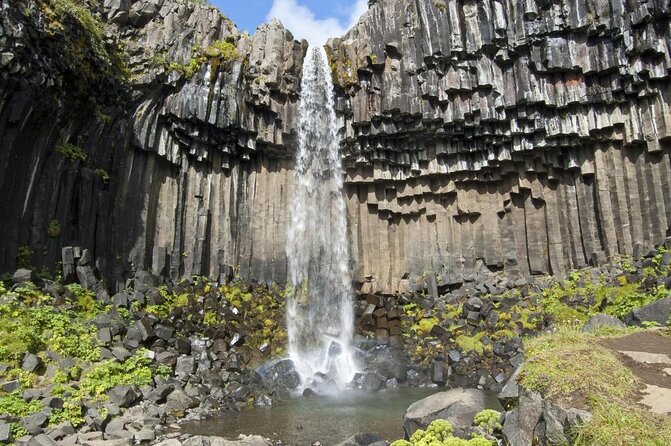
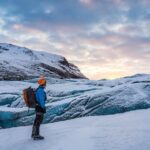
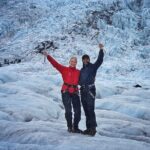
Vatnajökull is Europe’s largest glacier, and Skaftafell is one of the easiest bases to reach its action. On this tour, you don’t just look at the glacier. You climb onto Falljökull, a Vatnajökull outlet, and walk on the ice itself. That’s the whole point: the glacier stops being a distant shape and becomes ground under your boots.
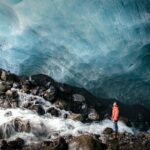
The standout part is the combination of terrain and texture. Guides talk glacier “geography,” but you’ll understand it in your legs. Blue-ice sections can look smooth from far away, then turn into a field of ridges, shallow channels, and changes in traction once you’re up close. And when conditions line up, you can see dramatic formations that make you wonder how ice can look both solid and alive.
It also helps that this is framed as a hike, not a short walk. Expect a day that moves: getting you from park to glacier, fitting you properly, then giving you time on the ice to actually notice the details.
You can also read our reviews of more hiking tours in Skaftafell
Skaftafell National Park Stop: Your Orientation Moment in the Real World
The day begins in Skaftafell National Park, and this part matters more than it sounds. Iceland glacier hiking isn’t only about seeing ice. It’s about learning how the ice environment behaves. The park stop is where you get context—geology, the glacier setting, and how Falljökull fits into the larger Vatnajökull system—so the rest of the hike feels logical instead of random.
Practical note: this is where you’ll start syncing with your group’s pace and the guide’s safety rhythm. If you’re the type who likes to know what’s happening before you move, you’ll appreciate this. If you’re already confident on rough terrain, you’ll still benefit from the setup because crampons change everything about your stride.
A possible drawback: if weather is poor, you may get different timing or route adjustments. The good news is that the tour is designed for real-world glacier conditions, not a fantasy itinerary that ignores wind and visibility.
Arctic Adventures Meeting Point: Check-In That Actually Sets You Up
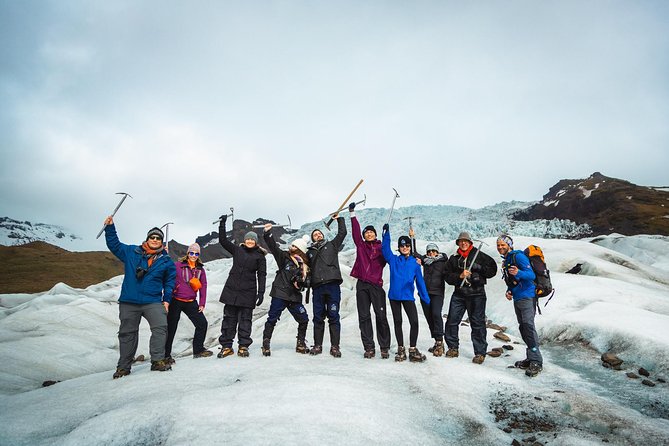
You meet at Arctic Adventures at the Skaftafell Base Camp. This is more than a pickup spot. It’s where the tour becomes real: gear decisions, boot checks, and a quick reality check on how you’ll walk.
Here’s what you should care about most during check-in: your footwear. The tour requires sturdy hiking boots with ankle support. If your boots are more like trail runners, you’ll likely feel it later on uneven ice and rock. The tour also states a minimum shoe size of 35 EU, and specialized glacier crampons only work for shoe sizes 35–50 EU. If you’re outside that range, you unfortunately can’t participate.
If you’re not fully prepared, the base camp offers rentals for waterproof pants, a waterproof jacket, and hiking boots for a small fee. I like this because it reduces stress. You can show up with decent layers and still get equipped properly rather than turning the day into a shopping trip.
The 4×4 Bus Transfer: Less Time Traveling, More Time Learning the Glacier
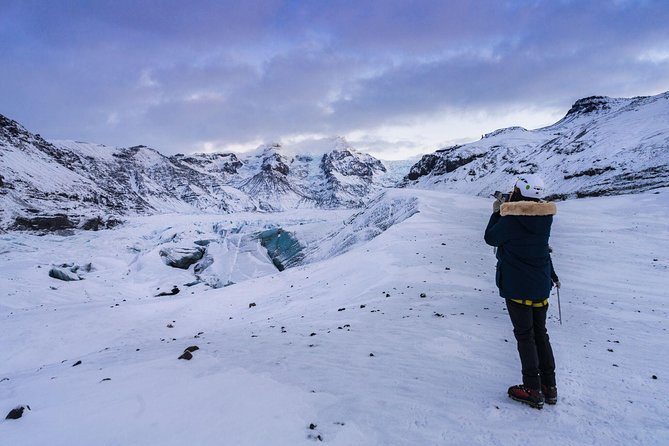
After meeting, you head toward the glacier area via a 4×4 bus. This matters in Iceland because the roads and timing can be unpredictable, especially when conditions change fast. The bus doesn’t remove the wild feel of the place, but it helps you spend your energy where it counts: on the ice.
During the ride, you’ll usually shift from “I’m here” mode to “I’m hiking” mode. You’re moving deeper into Vatnajökull country, and you’ll feel that scale. That shift matters because once you’re on the ice, you need focus. The guide’s job is safety and pacing; your job is staying present and following instructions.
Vatnajökull National Park on Foot: What the Hike Really Feels Like
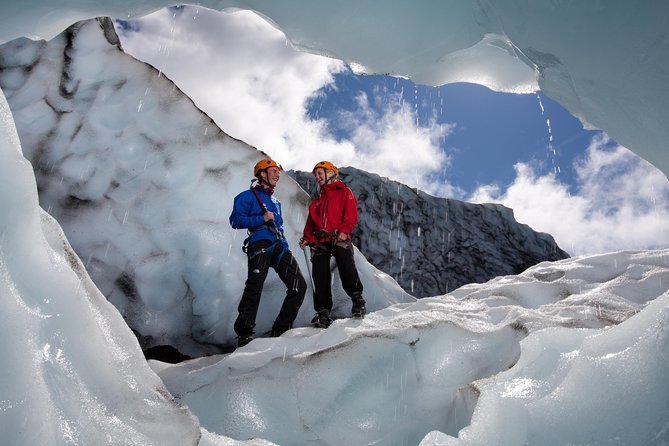
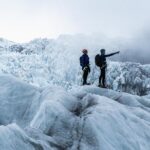
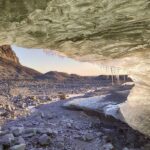
Once you’re on the glacier, the tour focuses on a longer route to Falljökull—one of Vatnajökull’s outlets. The description highlights hiking through paths of blue ice and dramatic formations. In real terms, you should expect a mix of steady walking and short challenge sections where you’ll use traction and an altered gait.
This tour is rated moderate, and the data is clear: plan on hiking about 8 km over uneven terrain. Reviews back up that it’s not just length—it includes uphill walking and uneven surfaces in crampons. One common theme in guide feedback is that the guides keep you moving safely and don’t treat the group like a human conga line. Guides like Sarah and Daniel are singled out for doing real glacier techniques with clear explanations and careful safety checks.
If the weather is warm (and it happens), ice can be slick in a different way than freezing conditions. One review notes that warm weather created optimal conditions, but slick spots still showed up during ascent and descent. Translation: bring patience. On a glacier hike, your confidence grows as crampons bite, not because the ice is suddenly easy.
Blue Ice and Crevasses: How You Learn to Read What’s Under Your Feet
The glacier isn’t uniform. You’ll move across surfaces that feel different under your boot teeth—some areas are more secure, others demand slower steps and tighter spacing. The guide’s instruction is a big part of this.
Across the feedback, guides are praised for technique and for explaining how and why they want you to move a certain way. That matters because glacier travel isn’t just about being brave. It’s about being efficient. If your steps are too big, you lose contact. If you rush, you increase the chance of sliding. The guides aim for steady, controlled movement.
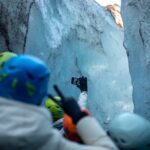
Some hikes include moments that feel more thrilling than you expect—like moving near crevasses with help from the guide’s rope setup. You may also explore newly accessible glacier features when conditions allow. The important part is that this is done with expert guidance and safety gear, not freestyle sightseeing.
And yes, you will take photos. But the best photos come after you’re stable. Spend time looking first, then shoot. It’s like hiking a viewpoint—only here the viewpoint is the ice.
Gear Matters: Why the Included Crampons Make This Worth It
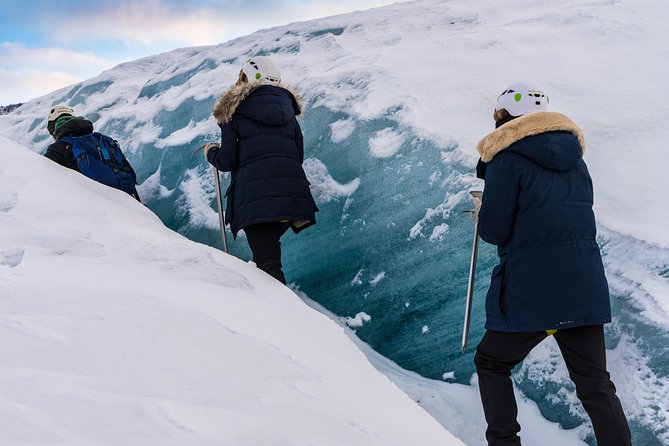
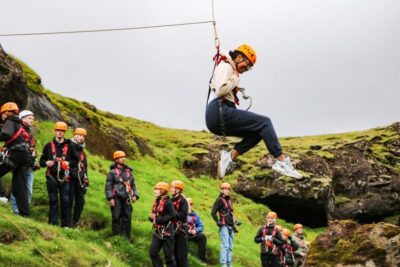
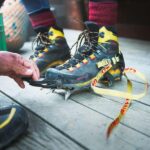
This tour includes professional glacier gear: crampons, ice pick, helmet, and harness. Having the right gear isn’t a small detail in glacier country—it’s the difference between a safe walk and an accident waiting for one wrong step.
A few key points to know:
- Crampons are specialized and only available for shoe sizes 35–50 EU
- You’ll get fit help, and you should expect adjustments before stepping onto the ice
- The guide’s safety process is hands-on—fast checks, corrected stance, and reminders about where to step
In feedback, guides like Martin and Uri come up for making people feel safe and for staying professional even when the glacier felt busy with activity. There’s also consistent praise for how guides handle the group—keeping everyone together, especially when people are new to crampons.
One small consideration: if you’re renting boots, try them on early and get your ankle support as close as possible to what you’d use on uneven rock. One review mentions low or flexible ankle support leading to hotspots and blisters later. You don’t need new boots, but you do need stability.
Timing and Pacing: 5 Hours That Add Up to a Workout
The tour runs about 5 hours. On paper, that sounds manageable. On your body, it’s a different story because crampons and uneven terrain change how much energy you spend. Reviews frequently describe it as uphill work and a longer-than-expected effort, with some people feeling like they’d had a full day’s physical activity by the end.
The pacing is usually controlled: you hike steadily, and you stop often enough to regroup and explain features. Some stops are for technique and safety checks; others are for looking. The balance between movement and pauses is a huge part of why safety stays high.
If you have mobility issues, don’t assume this is automatically too hard. One piece of feedback praised how the guide handled mobility needs sensitively. Still, this is moderate rated with uneven terrain and about 8 km. If your mobility is limited, communicate your situation during check-in and use their guidance on what pace and areas might feel safest for you.
Weather Reality in Iceland: What Happens If Conditions Change
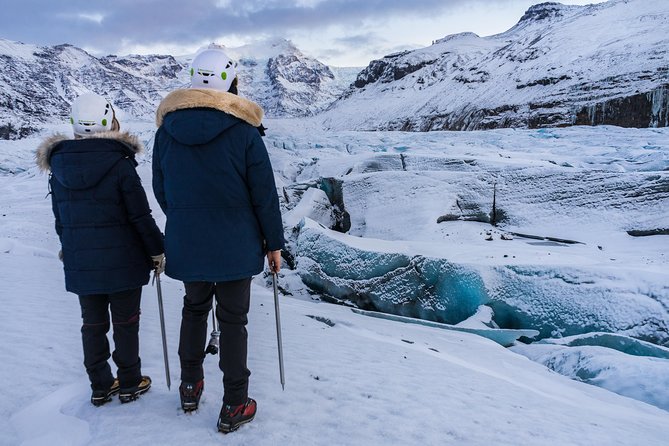
This is glacier hiking, which means weather is not an afterthought. If conditions are unsafe, the experience can be canceled for poor weather and you’ll be offered a different date or a full refund. You might even be rescheduled to a later tour if the first attempt doesn’t work out.
You should dress for layers and plan for wet, cold, and changing conditions. The tour recommends warm, waterproof clothing and specifically mentions waterproof pants, jacket, and hiking boots can be rented at the meeting point for a small fee.
One more practical tip: don’t treat this like summer hiking. Even with warm spells, the glacier can feel colder where wind hits. Bring clothes that keep you dry and help you stay warm between movement bursts and stops.
What You Should Bring (Because Lunch Isn’t Included)
Lunch, food, and drink are not included. The tour recommends bringing snacks, lunch, and water. That’s not a random add-on. With crampons and uphill effort, you’ll burn energy faster than you think.
My go-to packing checklist:
- A packed lunch plus a couple snacks
- Water (and maybe something warm if you like that for Iceland days)
- Layers that you can adjust quickly
- Extra socks in case you’re swapping after boot rentals
- Your own gloves if you run cold, plus a hat or hood that works under a helmet
If you’re thinking, I don’t want to carry weight, fair. But bringing food is usually lighter than paying for snacks later and then trying to eat while your legs cool down. Eat before you feel hungry.
Price and Value: What $168 Buys You on a Real Glacier Day
At $168.17 per person, this isn’t the cheapest day trip in Iceland. But for what you get, it’s easier to justify: small group size (max 12), expert glacier guidance, and included glacier gear. Most of the cost is labor plus specialized equipment and transport access to the glacier area.
You’re also getting a longer hike route to Falljökull, which means more time on the glacier itself—not just a quick taste. Reviews consistently react strongly to the closeness of the ice and the guide-led safety process. Guides like Darren and Mark are praised for knowledge, careful attention, and making the group feel secure.
Where I see value most:
- If you want real glacier time with crampons and hands-on guidance
- If you don’t want to gamble on gear quality or safety instructions
- If you prefer small groups over large cattle-herding vibes
Where I’d hesitate:
- If you truly hate hiking uphill and uneven footing
- If your shoe size is outside the crampon range (35–50 EU)
- If you don’t have ankle-support boots and you’d rather not rent
Who This Tour Fits Best
This tour fits best if you want a glacier hike with actual time on the ice and a guide who teaches as you walk. The moderate rating and ~8 km uneven terrain mean it’s a good choice for people who exercise regularly or hike often, and it can be a memorable step up for confident teens (minimum age is 14).
It may not fit if:
- You need mostly flat, easy walking
- You’re expecting a short glacier walk that barely feels like a hike
- You don’t meet the shoe size and crampon requirements
- You can’t commit to waterproof layers and sturdy ankle-support boots
Should You Book This Skaftafell Glacier Hike?
I’d book it if your dream day in Iceland is not just seeing a glacier, but walking on it with proper safety gear and a guide who keeps things controlled. The included crampons and helmet, the small group limit, and the focus on Falljökull’s real ice features make this a strong value for the effort.
Skip it if you know you’ll struggle with moderate hiking. This is not a lazy afternoon. Your best decision hinges on one thing: can you handle 8 km of uneven terrain in crampons for a few hours?
If you can, you’ll end the day with the kind of glacier memory that sticks.
FAQ
How long is the Skaftafell Glacier Hike?
The tour lasts about 5 hours.
Where does the tour start, and where does it end?
It meets at Arctic Adventures at the Skaftafell Base Camp, and the activity ends back at the meeting point.
Is lunch included?
No. Lunch, food, and drink are not included, so bring snacks, lunch, and water.
What gear is included for the glacier hike?
You get glacier gear including crampons, ice pick, helmet, and harness.
Do I need my own hiking boots?
Yes, sturdy hiking boots with ankle support are mandatory. If you need them, boots and waterproof clothing can be rented at the meeting point for a small fee.
What’s the fitness level required?
It’s rated moderate. Plan for about 8 km of hiking over uneven terrain.
Are there age and shoe size requirements?
Minimum age is 14 years old, and minimum shoe size is 35 EU. The specialized glacier crampons are only available for shoe sizes 35–50 EU.
What happens if the tour is canceled due to weather?
This experience requires good weather. If it’s canceled due to poor weather, you’ll be offered a different date or a full refund.
What is the cancellation window?
You can cancel up to 24 hours in advance for a full refund.