REVIEW · TENERIFE
Tenerife: Climb to the summit of Mount Teide with an official permit and guide
Book on GetYourGuide →Operated by Natura Xtreme Tenerife · Bookable on GetYourGuide
Climbing to Spain’s highest peak feels like a cheat code. This Teide summit hike takes you above 3,500 meters with an accredited guide and the official permits already managed, so you’re not guessing how to do it legally. Two things I really like: the guided pace (especially on the steeper parts) and the built-in time for panoramic views. One thing to consider is that the cable car can close in bad weather, and that can mean a change of plan.
You’ll start at the cable car area in Cañadas del Teide and work your way up via a marked route toward Pico del Teide (3,715.98 m). You’ll also get something practical that matters here: a certified mountain guide, accident insurance with rescue, and the paperwork steps to access the summit legally. Price-wise, $159 can be a fair deal because permits and guide support are included—just remember the cable car ticket is extra.
In This Review
- Quick hits before you go
- Climbing from the Teide Cable Car: fast altitude, big payoff
- La Rambleta to Pico del Teide via Trail 10 Telesforo Bravo
- Summit time: panoramas across Tenerife (and beyond when clear)
- The return to the upper station: why pacing and timing matter
- Permits and guide support: the legal and safety value
- Price and logistics: what $159 includes and what costs extra
- What’s included vs. what you must bring
- Rules on the mountain: small limits, big protection
- Who this Teide summit hike suits best (and who should skip)
- Weather, cable car closures, and rescheduling realities
- How much does it cost and is $159 good value for the Teide summit?
- Should you book this Teide summit hike?
- FAQ
- Do I need a cable car ticket for this tour?
- Where do I meet the guide?
- How long is the hike to the summit?
- Do you handle the permits to reach Pico del Teide?
- What should I bring for the climb?
- Is the tour guaranteed to reach the summit?
Quick hits before you go
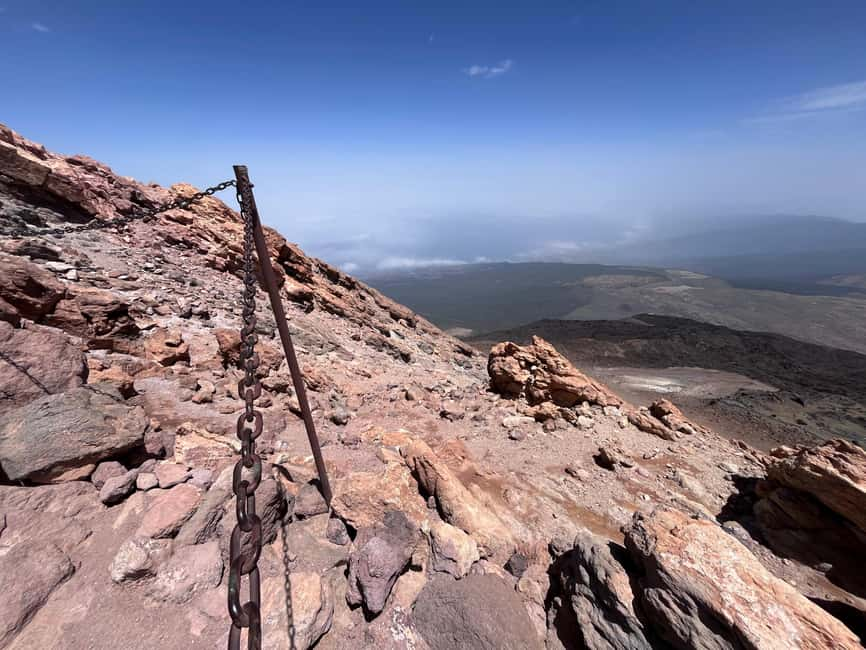
- Official summit access: You’ll be hiking with permits, and the team handles the procedures for Pico del Teide.
- A real guide, not just a meetup: Certified mountain guiding plus a route that includes landscape interpretation.
- High-altitude efficiency: Cable car up first, then about an hour hiking to the summit area.
- Photo-focused moments: There’s a photo report and photo stops, so you’re not always multitasking.
- Teide-focused pacing: In feedback about guides like Alex, people note good speed and encouragement when it gets tough.
- Weather is the boss: Strong winds can pause the cable car, so stay flexible.
Climbing from the Teide Cable Car: fast altitude, big payoff
Your morning starts at the cable car area near Paradores Cañadas del Teide (meeting point is right by the cabin). The tour meets at 9:15 am, and you’ll want to arrive 15 minutes early so you’re not rushed into the day’s first step: going up.
You take the cable car (about 8 minutes). That short ride matters because it brings you quickly to the upper station area around 3,555 meters. If you’ve ever tried to “earn” altitude the slow way, you know how quickly things can feel punishing. Here, the plan is to get you high enough to reach the summit hike efficiently without turning the day into a long grind.
One practical note: the cable car ticket isn’t included. You’ll buy it directly before the tour, and you’ll get instructions after confirmation. Keep that in mind when budgeting your time and thinking about last-minute logistics.
You can also read our reviews of more guided tours in Tenerife
La Rambleta to Pico del Teide via Trail 10 Telesforo Bravo
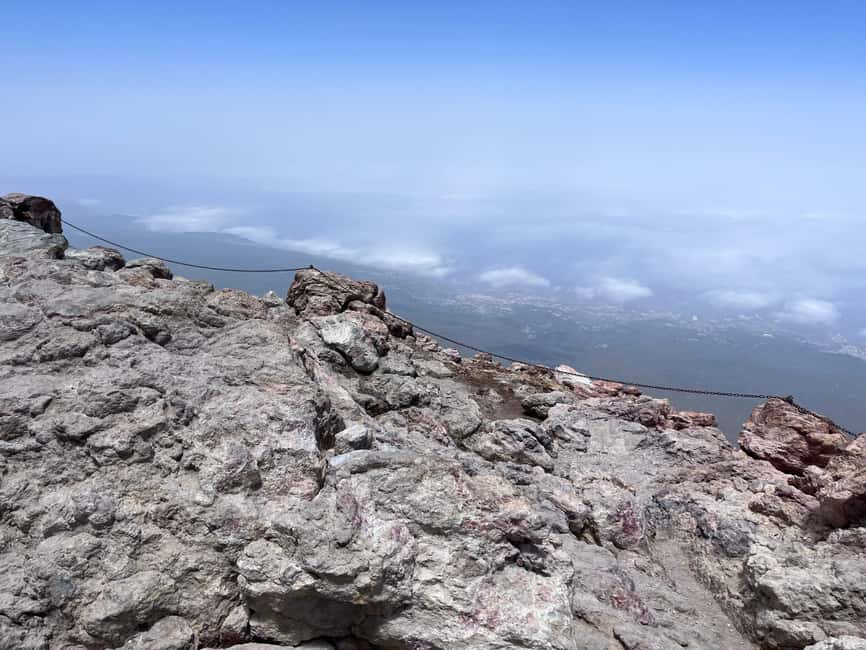
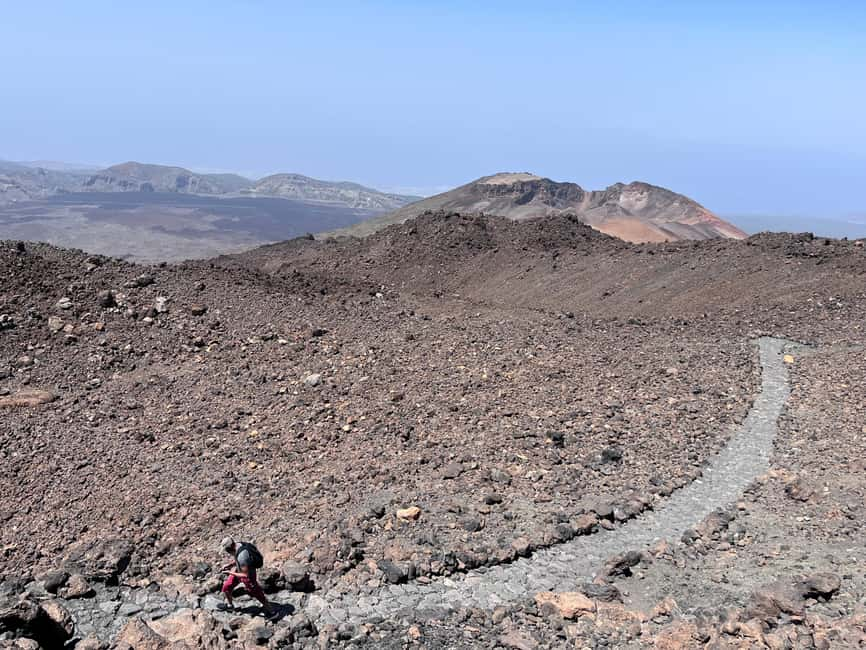
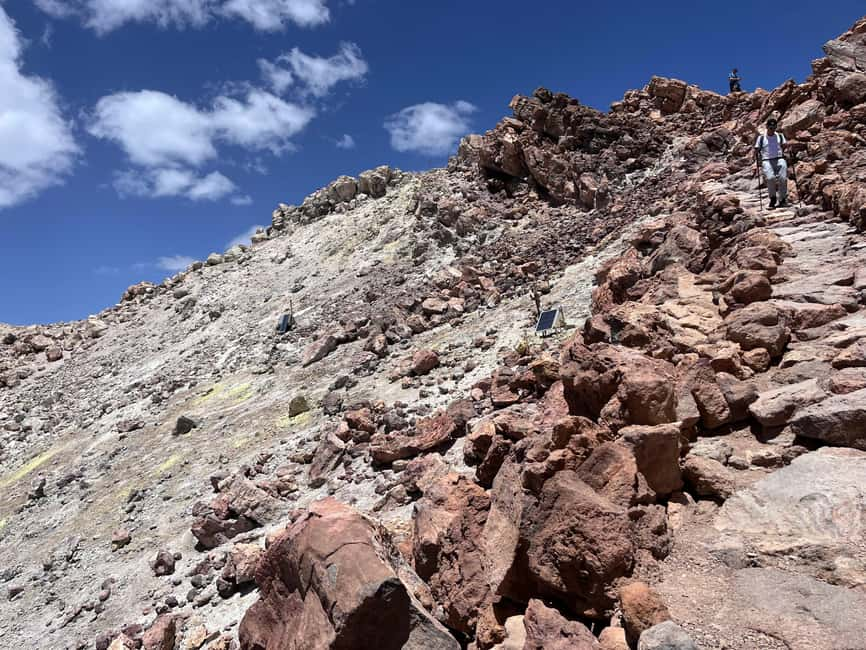
Once you’re up, your hike begins from La Rambleta. You’ll follow Trail 10 Telesforo Bravo for about one hour toward the summit area. This section requires the special summit access permit handled by the operator, which is a big deal in Teide National Park—there’s a legal difference between “walking in the park” and “reaching the summit zone.”
The timing inside the park is listed as about 2.5 hours total. That includes walking plus a guided experience, including time for photos and guided interpretation while you’re moving through the high-mountain environment.
The guide also makes the hike feel less like a manual labor assignment. Based on the kind of feedback this tour receives, guides tend to mix practical walking guidance with context about the island and Teide itself. One noted example: Alex has been praised for sharing cool Teide and island history, and even for using jokes to help morale when the climb starts to sting.
If you like hikes where you can look up often and still feel supported, this is the style.
Summit time: panoramas across Tenerife (and beyond when clear)
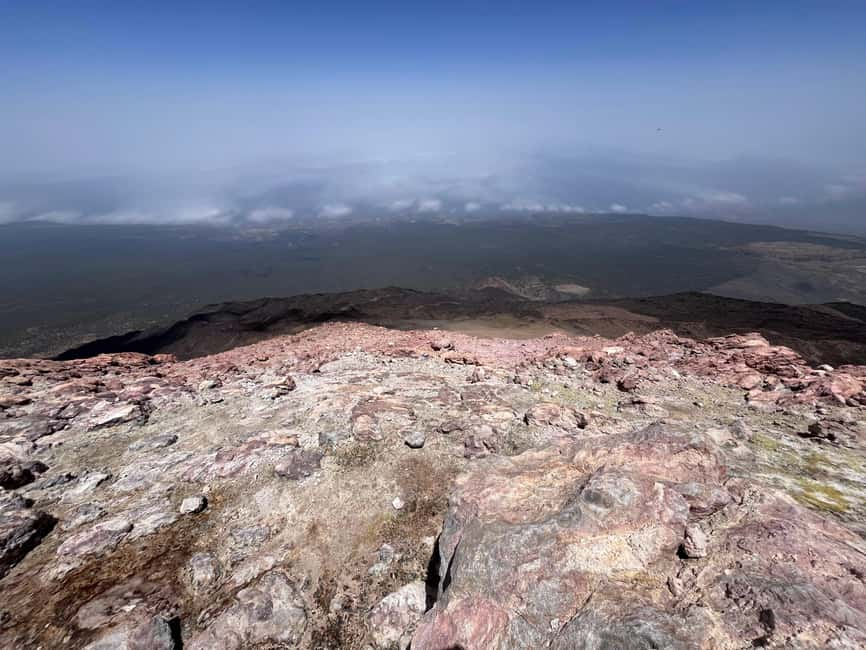
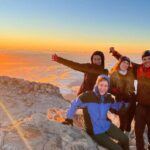
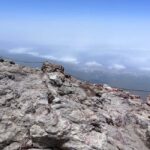
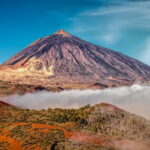
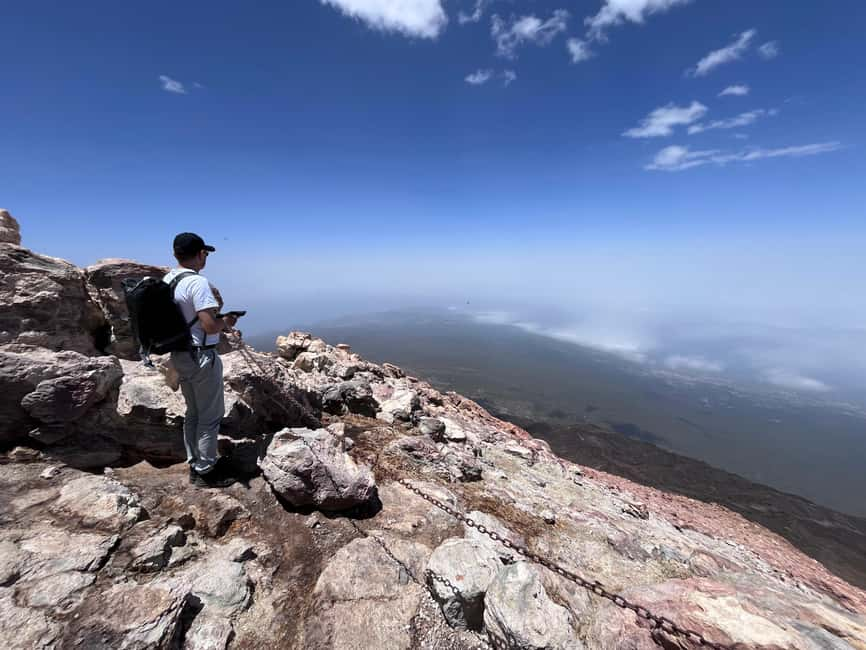
Reaching the top is the moment you’ll remember. Pico del Teide sits at 3,715.98 m, and when the weather cooperates you get wide-open views across Tenerife. On clear days, you can even see other islands in the archipelago.
What’s useful here is that the tour isn’t just a “walk fast, take one photo, leave” model. You’ll get a guided summit experience with time to enjoy the views and take photos. That matters because the wind, sun, and cold can all change quickly at altitude—being there with a plan helps you soak it in without forgetting basic safety habits.
Also, remember that Teide can be stark and bright. Even if you think you’re dressed for a cool mountain day, you still need sun protection and the right layers. You’ll be higher than many people ever get on the island.
The return to the upper station: why pacing and timing matter
After your summit time, you head back. The descent is on foot back toward the upper station around 3,550 meters, and then you take the cable car down (again about 8 minutes).
This return rhythm is smart: it keeps your total day to about 4 hours, which is often the difference between a great mountain experience and an exhausting, stop-and-start ordeal. It also helps with altitude management—hard exercise at high elevation is one thing, but staying up there far longer than necessary is another.
If you’re the kind of person who likes clear structure—meet, rise, hike, summit, descend—this itinerary fits.
Permits and guide support: the legal and safety value
The headline value is official permit support. You’re not relying on luck, sketchy advice, or last-minute decisions. The operator manages procedures for the summit access permit, and that’s directly tied to the ability to hike to the Pico del Teide zone.
There’s also an admin step you must do right away: you need to send the operator each participant’s first and last name, age, and passport or ID number as soon as possible so the permits can be applied for. Without that information, they can’t process the official access.
On safety, you’re getting real backing: a certified mountain guide plus accident insurance with rescue. The tour also includes a first aid kit and a guided route with interpretation.
Why this matters: at Teide, people underestimate how quickly conditions can shift—wind, cold, and sun at altitude. A guide isn’t just there to lead; they’re there to keep you on the right route and moving in a way that fits the environment.
Price and logistics: what $159 includes and what costs extra
At $159 per person, the price can feel “simple” because the expensive parts are bundled into your booking: guide, official permits, and safety coverage. In practical terms, that means you’re mostly paying for your access and expertise—not just transportation.
What you should expect to pay separately:
- Cable car ticket (not included)
- Food and drinks (not included)
- Hiking boots and hiking poles (boots can be rented if you don’t have them; poles are not included)
Is $159 good value? For the Teide summit specifically, it often is—because official access isn’t something you want to gamble on. The guide plus insurance plus permit handling is where the cost earns its keep.
If you already plan to buy the cable car ticket and you’re traveling without your own gear, the overall total will rise a bit. Still, you’re likely buying peace of mind.
What’s included vs. what you must bring
Included highlights:
- Certified mountain guide
- Accident insurance with rescue
- Official permits and procedures to access Pico del Teide
- Photo report
- First aid kit
- Route with landscape interpretation
What’s on you to bring:
- Passport or ID card
- Hiking shoes (and long pants)
- A hat
- Sunscreen
- Drinks and 1.5 liters of water per person
- Outdoor clothing, plus a sweater or warm jacket
If you forget the basics, Teide will remind you fast: sun can burn, cold can bite, and high elevation can make you feel slow. Bring what you can use comfortably. This isn’t the kind of hike where you want to improvise your way through the summit zone.
Rules on the mountain: small limits, big protection
The experience is run with clear rules. You won’t be allowed:
- Smoking
- Drones
- Alcohol and drugs
- Littering
- Open-toed shoes
- Feeding animals
- Touching plants
Those restrictions aren’t random. They keep the natural environment protected and reduce safety issues in a fragile high-mountain area. Plan to respect them and you’ll keep the vibe calm and focused.
Who this Teide summit hike suits best (and who should skip)
This is not a “casual stroll” at altitude. The tour lists several groups who shouldn’t book:
- Children under 16
- Pregnant women
- People with mobility impairments or wheelchair users
- People with heart problems
- People with altitude sickness
- People with low level of fitness
- People over 70 years
- People over 243 lbs (110 kg)
- People who went diving up to 24 hours prior
Why so strict? Because you’re going high (summit near 3,716 m), moving on foot, and working inside a permit-controlled route.
This tour is a strong match if:
- You want a legal, guided summit hike
- You’re comfortable walking at altitude
- You appreciate structure and someone managing the permits
- You’d like photos and interpretation, not just a route
If you’re unsure about how you handle altitude, it’s worth being conservative. Teide is spectacular, but it’s still mountain physics.
Weather, cable car closures, and rescheduling realities
Here’s the reality check: this activity is subject to weather conditions and permit availability. The cable car may close in bad weather, and if the cable car doesn’t run, it may be impossible to climb to the peak. The operator notes they would offer an alternative route in those cases.
A couple of things are worth watching for in practice. One booking issue reported was late notification when the cable car was stopped due to strong winds, and another involved a cancellation that didn’t go smoothly for the participant. That doesn’t mean it always happens—but it does mean you should plan like weather can change fast.
Practical move: stay reachable in the morning and keep your schedule flexible that day. If your travel plan is extremely tight, consider building in buffer time around Teide.
How much does it cost and is $159 good value for the Teide summit?
Let’s talk value in real terms. You pay $159 for:
- A certified mountain guide
- Official permits and procedures for summit access
- Accident insurance with rescue
- First aid support and route interpretation
- A photo report
- The structured 4-hour experience
Then you add:
- Cable car ticket (must be bought separately)
- Gear if you need it (boots rental may be available)
- Food and drinks
So what are you really paying for? Not just the summit. You’re paying for access and guidance in a protected, permit-controlled environment, plus insurance and support at altitude.
If you’re the type who hates bureaucratic hassles—names, passport details, permit rules—this is where the money tends to make sense.
Should you book this Teide summit hike?
If your goal is the summit of Pico del Teide with official permits and you want a guide handling the high-stakes details, I think booking makes sense. The whole structure is built for efficiency: cable car up, guided hike, summit views, then cable car down—about 4 hours total.
I’d only hesitate if:
- Your day is inflexible and you can’t handle weather disruptions
- You don’t meet the fitness or health requirements (especially altitude-related concerns)
- You’re not ready to follow gear and rules closely (1.5 liters water, warm layer, long pants, proper shoes)
If that all sounds workable, you’re likely to have a memorable morning—one with real mountain support and the kind of views that make the climb feel worth it.
FAQ
Do I need a cable car ticket for this tour?
Yes. The cable car ticket is not included, and you must purchase it directly before the tour. You’ll receive instructions and a link after your booking is confirmed.
Where do I meet the guide?
You meet at the cable car cabin area near Paradores Cañadas del Teide. The meeting time is 9:15 am, and you should arrive 15 minutes early. The guide wears a Natura Xtreme Tenerife shirt.
How long is the hike to the summit?
After taking the cable car to the upper station, you’ll hike from La Rambleta along Trail 10 Telesforo Bravo toward the summit. The walk to the peak is about one hour, and the total time in the national park is listed as about 2.5 hours.
Do you handle the permits to reach Pico del Teide?
Yes. The tour includes official permits and the procedures for access to Teide Peak. You’ll need to send required information for each participant (name, age, and passport or ID number) so the permits can be applied for.
What should I bring for the climb?
Bring your passport or ID card, long pants, proper hiking shoes, a warm jacket or sweater, sun protection, a hat, and 1.5 liters of water per person. Also bring any personal medication you need.
Is the tour guaranteed to reach the summit?
No. The activity depends on weather conditions and permit availability. If the cable car closes due to bad weather, it may not be possible to climb to the peak, though the operator notes they’ll offer an alternative route.