REVIEW · CAPE TOWN
Hiking Table Mountain via India Venster Morning Hike
Book on Viator →Operated by Table Mountain hiking tours · Bookable on Viator
Short morning hike, big summit payoff in Cape Town; I love the India Venster route for the hiking-to-scrambling mix, and I also like the small group pace and coaching. The trade-off: there are a few spots that feel exposed, so it’s not a great match if you have vertigo.
One of the smartest parts is how the guide turns a steep climb into a guided lesson. You’ll get a registered adventure hiking and culture guide, plus a first aid kit, and included photo/video so you can focus on footing and the view.
In This Review
- Key highlights I’d plan around
- India Venster Morning Hike: what you’re really signing up for
- Where the hike starts on Table Mountain (and why location matters)
- The climb section by section: from lower cableway to Venster buttress
- Scrambling with staples and chains: how to handle the technical bits
- The Ledge moment: Camps Bay and the Atlantic start showing up
- The final push: ledges below overhangs, then the shady ravine
- Summit payoff: what you get at the top (beyond the photo)
- Group size and pacing: why “small” changes everything on this route
- Time on the mountain: 4 hours, but with real movement
- What’s included vs. what costs extra (and why it’s fair)
- Weather on Table Mountain: how to plan without stress
- What to wear and bring so you don’t regret it
- How the guides make the hard parts feel manageable
- Who should book this hike (and who should skip it)
- Should you book the India Venster morning hike?
- FAQ
- How long is the India Venster morning hike up Table Mountain?
- How many people are in the group?
- Where do we meet for the hike?
- Is the cable car included?
- What should I wear and bring?
- Is this hike suitable if I have vertigo or fear of heights?
- Is the hike dependent on weather?
- What happens during Table Mountain cable car maintenance?
- What’s the cancellation policy if I need to change plans?
Key highlights I’d plan around
- India Venster trail = real challenge with help on the rock: expect easy scrambling and fixed climbing aids like staples and chains.
- Small group size for pacing: no more than four hikers (and the activity is capped at six), so you’re not just one face in the crowd.
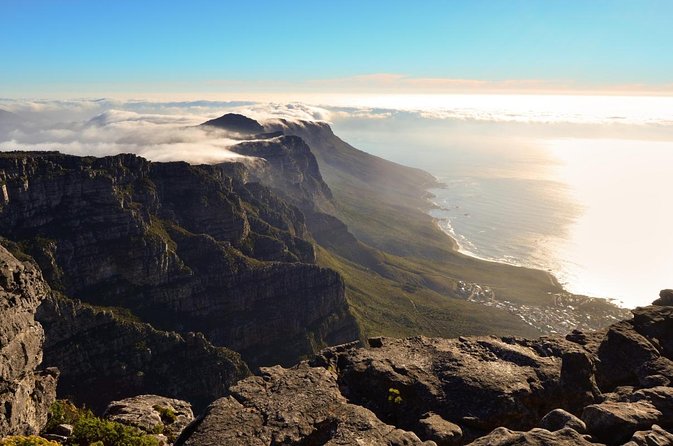
- View windows show up in stages: Camps Bay and the Atlantic show up before the summit push.
- A summit that feels earned: the last section is short once you reach the shady ravine and ledges below the overhangs.
- Photos and video included: helpful for capturing the moment without stopping to fumble with your camera the whole time.
- Weather matters: the climb is weather dependent, and routes may shift if conditions are rough.
India Venster Morning Hike: what you’re really signing up for
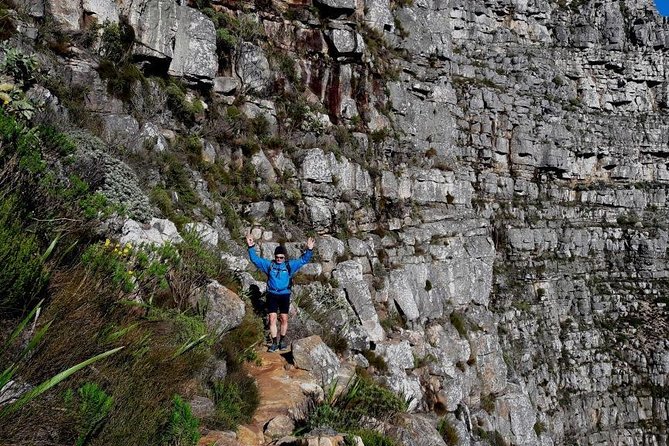
If you’re in Cape Town and you want Table Mountain without taking the “easy-button” route, this India Venster morning hike is built for you. You’ll start near the aerial cableway and climb a demanding line that mixes trail walking, short scrambling sections, and a few moments where you’ll feel the drop.
What makes it special is the balance between adventure and structure. You’re not going off on your own with zero back-up. You’re in a small group with a registered guide who can manage pace, point out safe movement, and share what’s going on in the plants and geology along the way.
The other big reason to book it is how the hike unfolds. You don’t just grind up to the top and hope for views. You get view breaks—like the spot often called The Ledge—then you push on to the summit when your legs are warm and your eyes are ready.
You can also read our reviews of more hiking tours in Cape Town
Where the hike starts on Table Mountain (and why location matters)
Meet at the Table Mountain Aerial Cableway area, at 5821 Tafelberg Rd, inside the Table Mountain Nature Reserve area. This matters because it puts you close to the trail’s working entry point behind the lower cableway station.
From there, the hike begins by heading right up Table Mountain before you reach the contour path. That first stretch is your warm-up and your “learn the terrain fast” moment. It also sets expectations: you’ll be moving uphill from early on, not easing into flat foot travel.
If you’re planning your morning, build in time to arrive a bit early. The hike is weather dependent, and the guide will want everyone positioned and ready before conditions make the climb feel different.
The climb section by section: from lower cableway to Venster buttress
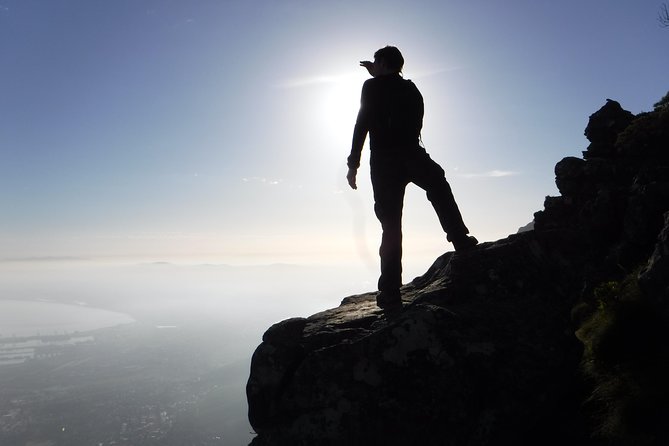
The India Venster route gets its name from the ravine shaped between two major rock buttresses. As you move along, you’ll likely notice how the landforms guide your path—gullies, buttresses, and amphitheater-like rock features that funnel the trail into the kind of climbing you came for.
Here’s the flow you should expect:
1) Behind the lower cableway station → up to the contour path
You’ll head right up Table Mountain until you reach the contour path. This part is about establishing steady effort and finding rhythm.
2) Gradual ascent into a gully on Venster buttress
From the contour path, you gradually climb a gully tied to Venster buttress. This isn’t a casual stroll—think sustained uphill movement with periodic brief pauses to keep the group together.
3) Veer left below the rock amphitheater
As the route approaches the end of the east side of the amphitheater, the trail becomes steeper. This is where “hiking” starts to blend into scrambling.
4) Steeper easy scrambling with engineered help
Approaching that amphitheater area, you’ll hit a more technical segment. The route includes staples and chains engineered along the way to make the climbing more user-friendly and safer.
That last part is huge for your comfort. Even if you’re not a climber, having fixed aids changes how you move through exposed sections. You still need steady hands and careful foot placement, but you’re not guessing.
Scrambling with staples and chains: how to handle the technical bits
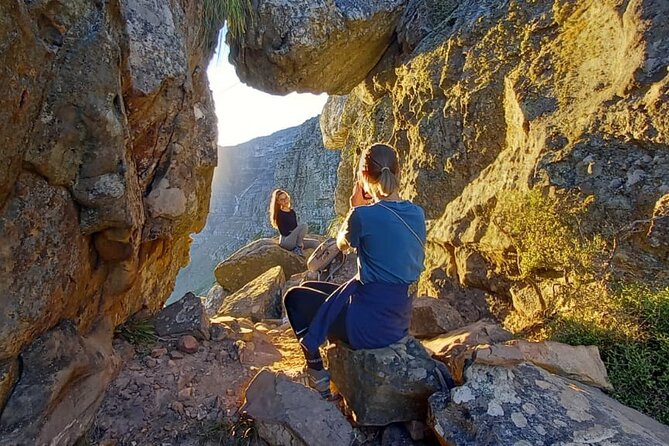
This hike is often described as challenging but doable—especially if you treat the scrambling as part of the fun. You’ll climb with hands helping too, and sometimes that means using all fours when the terrain asks for it.
The best practical mindset: slow down before you need to. That way, you’re not rushing when the rock gets steeper.
A few things help the whole experience go smoother:
- Wear closed shoes with good grip (the hike recommends sneakers/running shoes).
- Keep your body close to the rock in scrambling sections, even when it feels tempting to look around.
- Use any fixed aids the way they’re meant to be used—don’t yank, don’t over-reach, and don’t treat them like a substitute for balance.
One note I’d take seriously: the route can have a few spots that feel aerial and vertiginous. The climb is not recommended if you have a major fear of heights. If your comfort level with exposure is shaky, consider a different Table Mountain route.
The Ledge moment: Camps Bay and the Atlantic start showing up
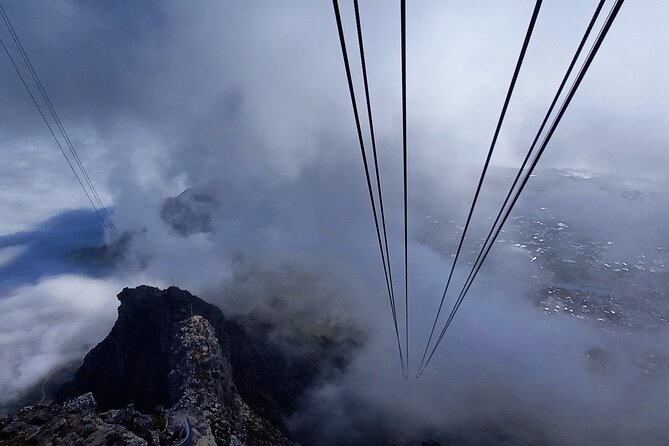
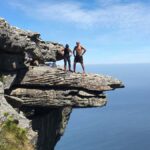
After the steeper scrambling segment, the trail wanders up to The Ledge. This is one of those “pause your breathing, let your eyes do the work” sections.
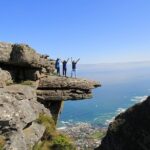
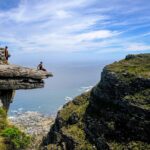
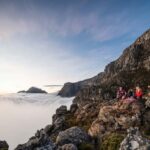
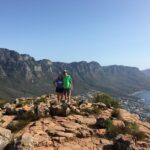
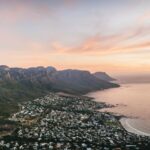
Around the corner, you’ll often catch a cooling breeze. And this is where you get a strong view overlook toward Camps Bay and the Atlantic Ocean. It’s a nice psychological break: you’ve worked for it, you’re not at the top yet, but you can already feel the reward.
This kind of staged viewing is more than scenic bonus points. It helps you pace. When you get a view break, you’re less likely to burn out early because you’re not only climbing—you’re also taking in landmarks that make the climb feel navigable.
A few more Cape Town tours and experiences worth a look

The final push: ledges below overhangs, then the shady ravine
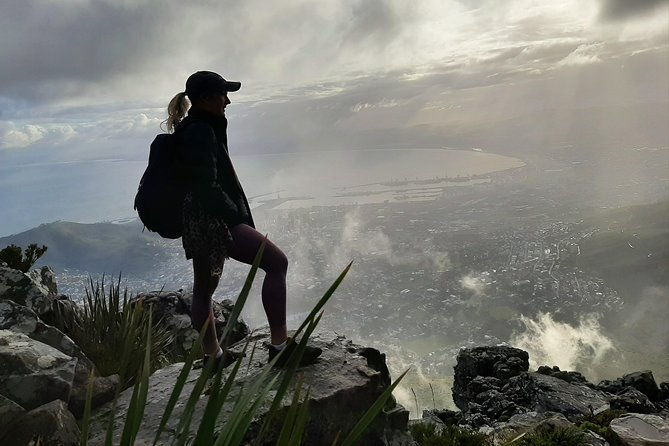
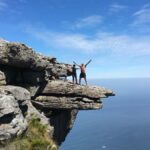
Once you round the next corner, the terrain continues to build. You’ll see impressive cliffs higher up, then the path rises steeply to a higher ledge below massive overhangs.
From there, the route heads away from the sea and into a shady ravine on a morning hike. This is where people often realize the mountain has its own weather rhythm. It can get cold and windy at times, even when it felt warm earlier.
The good news is that your summit is close after you reach this zone. The top of Table Mountain is about 10 minutes away from there. That means you can plan the last stretch like a short sprint, not another long slog.
Summit payoff: what you get at the top (beyond the photo)
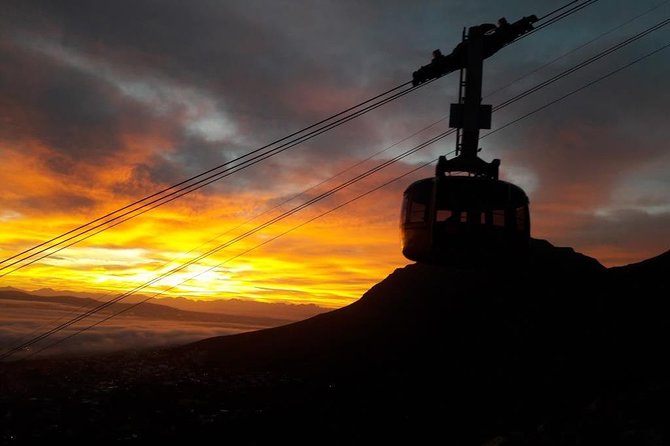
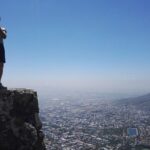
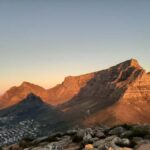
When you reach the summit, the big value is the perspective. You’re looking down on Cape Town with a route that didn’t just take you up—it taught you the mountain while you climbed.
You’ll have time up top to enjoy the views and take photos. Because the hike includes photos and video as part of the experience, you’re not limited to your own camera skills. Still, bring your camera if you want your own keepsakes—this climb offers angles you’ll want to remember.
And because this is guided, you’ll also likely pick up context about the mountain’s flora, birds, and geology. Guides like Patrick, André, and Johan have been praised for sharing stories and staying encouraging during the harder sections.
Group size and pacing: why “small” changes everything on this route
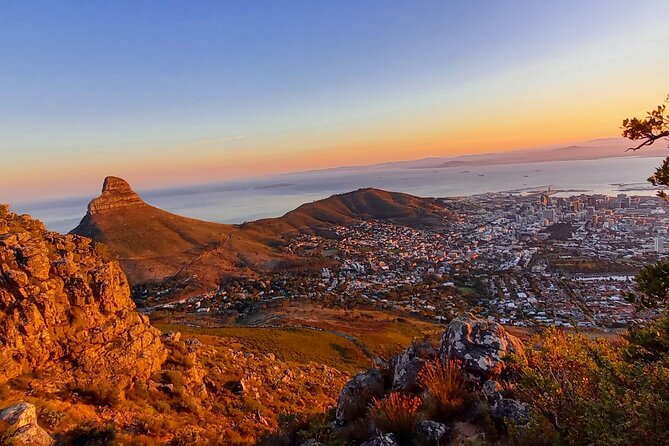
This is not a long hike in time, but it’s a serious hike in effort. That’s why group size matters. You’re promised a small group with no more than four hikers, and the overall activity cap is six.
What that means for you:
- You’ll get more attention when hands-on scrambling starts.
- Your pace can be adjusted without slowing the whole group into chaos.
- You’re less likely to get separated if you’re moving slower than average.
The most consistent theme in guide feedback is patience. Guides like Patrick have been praised for staying positive and explaining exactly where to place your m and how to handle scrambling safely. That kind of coaching turns a scary-looking section into a controlled one.
Time on the mountain: 4 hours, but with real movement
Expect around 4 hours total. That’s usually enough time to climb, pause for views and photos, handle scrambling sections, and still reach the summit without turning it into an all-day grind.
Plan your day around the morning start. Even though the time looks manageable on paper, you’ll be moving uphill most of the way. If you’ve got a busy schedule after, leave enough buffer for getting off the mountain and dealing with the wind and a possible cable car change in plans.
What’s included vs. what costs extra (and why it’s fair)
The listed price is $92.35 per person. I think that’s fair for what you’re getting, because you’re paying for more than “a walk with a sign.” You get:
- A registered adventure hiking and culture guide
- First aid kit presence
- Photos and video included
The cable car is where the cost logic gets simple:
- A cable car ticket one way down is not included.
So, your real budget depends on cable car availability. If the cable car is running normally, you’ll likely save some energy by taking it down rather than hiking the whole way.
There’s also a specific maintenance window noted: from 15 July 2024 to 31 August 2024, the cable car is closed for maintenance, and you’ll have to hike down. If you’re visiting in those months, treat the hike as a longer effort than you might expect.
Weather on Table Mountain: how to plan without stress
This hike is weather dependent. On a cloudy or wet morning, the mountain can be slick. That changes traction and comfort in scrambling sections, and it may trigger route changes.
What I’d do as a practical plan:
- If your forecast looks iffy, keep an open mind. This is one of those times where “good weather” is not a luxury; it’s part of the safety setup.
- Bring your warm layer even if the city feels mild. The hike guide info calls for a warm top and windbreaker because it can get chilly at the top.
- Don’t ignore hydration. Bring a bottle of water to stay steady.
If the experience is canceled due to poor weather, you’ll be offered a different date or a full refund. That’s the kind of safety-first approach you want when the mountain is unpredictable.
What to wear and bring so you don’t regret it
This hike asks for basics, done well:
- Closed shoes with solid grip (takkies/running shoes are fine if they’re not worn smooth).
- Warm top plus a windbreaker.
- Camera if you want your own photos.
- Water.
Also, I’d pack with the scrambling in mind. Avoid shoes that feel loose on your foot, and avoid anything that makes it hard to move your hands on rock comfortably.
If you’re worried about heights, take the warning seriously. The route is not recommended if you have a fear of heights or vertigo.
How the guides make the hard parts feel manageable
A guide can turn this hike from intimidating to empowering. The praise around this route keeps pointing to clear instruction and steady encouragement, especially during the scrambling.
Patrick, for example, is repeatedly mentioned for patient pacing—helping hikers who were slower on the day—plus explaining exactly what to do in technical sections. André and Johan are also singled out for encouragement and for sharing knowledge about the area, including plants, birds, and geology.
That matters for you because the difficulty isn’t just physical. It’s also about decisions: where to put your feet, when to pause, and how to stay calm if a section feels more exposed than you expected.
Who should book this hike (and who should skip it)
This hike suits you if:
- You have strong physical fitness and you’re comfortable with steep uphill movement.
- You enjoy rock scrambling in short bursts.
- You want guided help and structured pace in a challenging route.
- You want summit views with a story built into the climb.
You should probably skip it if:
- You have a fear of heights or vertigo. Exposed spots can be real on this route.
- You’re looking for a gentle, purely scenic hike.
If you’re a first-time scrambler, it can still work. The fixed aids and the small-group coaching are designed to reduce uncertainty. Just be honest with yourself about exposure.
Should you book the India Venster morning hike?
I’d book it if your goal is the Table Mountain summit with effort and guidance, not a quick cable car shuffle. The value is strong for the mix of guide coaching, safety support, and included photos/video, all wrapped into a route that’s challenging but structured.
I would not book it if your comfort with heights is low. The route includes scrambling and a few aerial moments, and the hike isn’t recommended for vertigo. And if weather looks rough, be ready for the reality that this is a weather-dependent mountain climb, not a guaranteed walk in the park.
If you match the fit—strong legs, solid shoes, and a willingness to use your hands a bit—you’ll likely find this is one of the most satisfying ways to reach Table Mountain’s summit.
FAQ
How long is the India Venster morning hike up Table Mountain?
It runs for about 4 hours.
How many people are in the group?
The hike is run as a small group of no more than four hikers, and the activity has a maximum of six travelers.
Where do we meet for the hike?
Meet at the Table Mountain Aerial Cableway, 5821 Tafelberg Rd, Table Mountain (Nature Reserve), Cape Town, 8001, South Africa.
Is the cable car included?
A cable car ticket one way down is not included.
What should I wear and bring?
Wear closed shoes. Bring a warm top and a windbreaker, plus a bottle of water. Bringing a camera is also recommended.
Is this hike suitable if I have vertigo or fear of heights?
No. It is not recommended for travelers with a fear of height or vertigo.
Is the hike dependent on weather?
Yes. The hike is weather dependent.
What happens during Table Mountain cable car maintenance?
During 15 July 2024 to 31 August 2024, the cable car is closed for maintenance, and you’ll have to hike down.
What’s the cancellation policy if I need to change plans?
You can cancel for a full refund up to 24 hours in advance. If you cancel within 24 hours of the experience start time, the amount paid is not refunded. If it’s canceled due to poor weather, you’ll be offered a different date or a full refund.