REVIEW · CAPE TOWN
Cape Town: Table Mountain Kasteelspoort Hiking Trail
Book on GetYourGuide →Operated by OTC Adventures · Bookable on GetYourGuide
Table Mountain hikes with a view payoff still feel like magic. This one starts in Camps Bay, climbs the Kasteelspoort ravine through thick fynbos (yes, including Protea), then lands you in the right spot for big panoramas across Table Mountain toward the Cableway and Signal Hill. One thing to plan for: if the cable car is shut due to weather or maintenance, you’ll walk down instead, adding about 2 hours and an extra R500 per person paid in cash.
I also like how this trip keeps things organized without feeling rushed. You get a small group (limited to 10), pickup from your Cape Town accommodation within the City Bowl and nearby areas, and an experienced mountain guide who helps you find the best photo angle on Table Mountain and spot the plants and viewpoints along the way. You’ll still need to be reasonably fit, and it isn’t ideal if you have back issues, mobility limits, or low fitness.
In This Review
- Kasteelspoort Trail From Camps Bay: The “Easy to Start, Worth the Climb” Approach
- A quick fit reality check
- Protea and Cliff Faces: What You’ll Actually See on the Way Up
- What to watch for
- The Top Reward: Best Photo Stop, Camps Bay Views, Cableway Direction
- If you like photos, this part matters most
- Woodhead Dam: The Engineering Detour That Makes the Hike Smarter
- Why this is a good break
- Valley of the Red Gods to the Cable Car: The Final Stretches
- What you’ll want here
- The 360° Cable Car Ride Down: Why You Don’t Want to Walk the Last Part
- If the cable car isn’t running
- Guides, Pacing, and Small-Group Value: What Makes This Tour Feel Worth It
- Price and What You’re Really Paying For (Cable Car Ticket Extra)
- Smart budget tip
- What to Bring for a Comfortable (Not Miserable) Hike
- Who This Hike Fits Best
- Should You Book the Cape Town Kasteelspoort and Table Mountain Cable Car Hike?
- FAQ
- How long is the hike?
- Where do you get picked up?
- What is included in the price?
- Is the Cableway ticket included?
- What happens if the Cableway is not running?
- What group size is it?
- What should I bring?
- What kind of fitness level is it for?
Kasteelspoort Trail From Camps Bay: The “Easy to Start, Worth the Climb” Approach
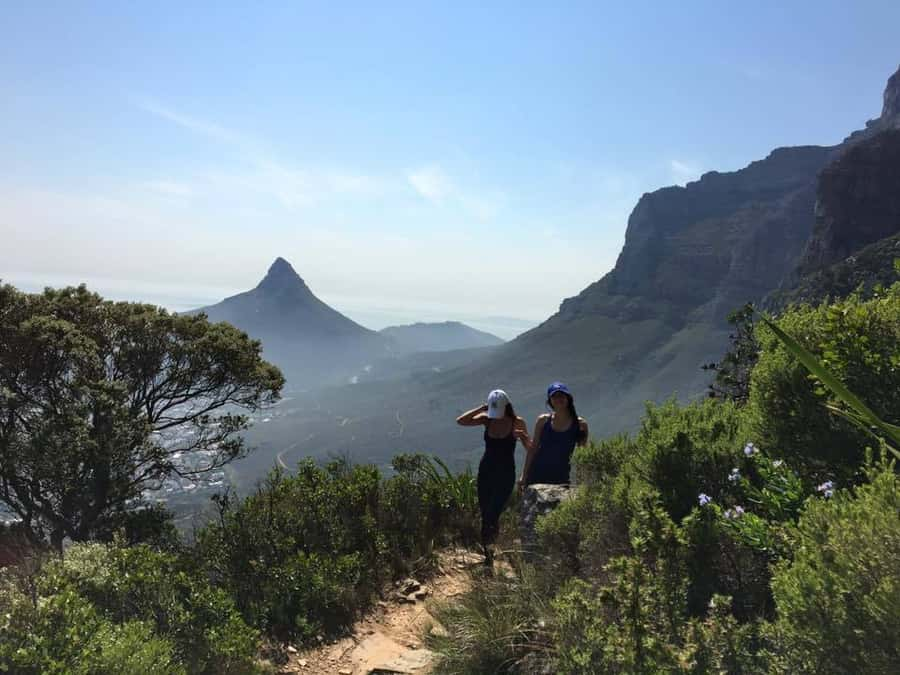
You begin this hike in Camps Bay, which instantly changes the mood from city chaos to coastal calm. The Kasteelspoort route is known for a meandering climb that takes you up to the top, and that design matters: it’s not a straight grind with no rhythm. You’ll move through ravine sections and switch between tighter terrain and wider outlook moments, so your brain has something to do besides just watch your footing.
Two parts help the hike feel fair for “reasonably fit” people. First, the trail’s path style breaks up the effort—your legs get a steady workout, but you’re not constantly fighting for balance on one steep wall. Second, you’re not left to figure things out alone. In small groups, the guide can slow down at the spots that feel slick and help you pick a safer line.
A quick fit reality check
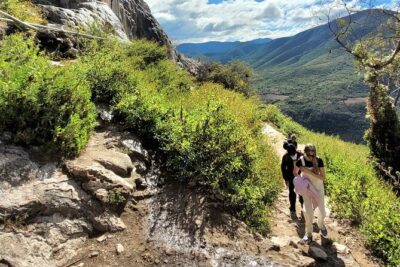
This isn’t a sit-and-stroll outing. The route can involve uneven, and sometimes wet or slippery, sections. A reviewer noted slick areas and recommended hiking boots—good advice. If you’re not used to uneven ground, wear proper footwear and take your time.
You can also read our reviews of more hiking tours in Cape Town

Protea and Cliff Faces: What You’ll Actually See on the Way Up
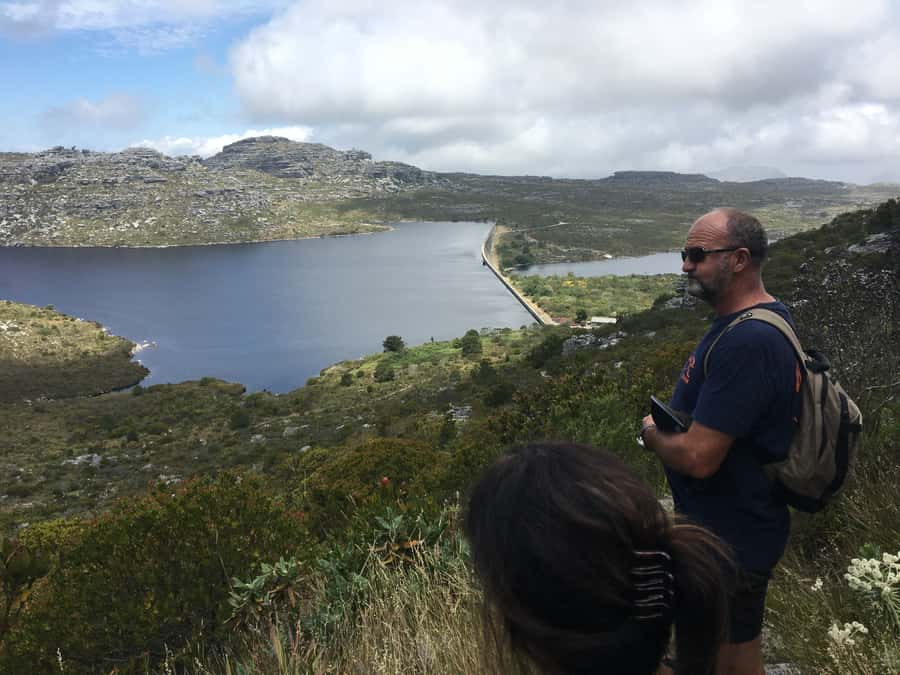
The Kasteelspoort hike is built on scenery you can feel in your camera roll right away. Expect spectacular cliff faces and thick fynbos, and yes, Protea plants can show up along the route. Fynbos isn’t just background decoration here—it’s part of what makes the hike uniquely Cape Town. Even when you’re focused on the climb, the vegetation changes the whole look and texture of the trail.
Your guide’s role becomes more than “follow me.” On one recent group, Amber pointed out plants as they appeared and shared stories while everyone walked. That kind of stop-and-look pacing helps you appreciate the area instead of treating it like a continuous uphill trek.
What to watch for
- In wet conditions, the trail can get slippery. This matters for your knees and hips more than you think.
- You’ll likely be in sun exposure for parts of the route, even if you get breaks from cliff shadows.
The Top Reward: Best Photo Stop, Camps Bay Views, Cableway Direction
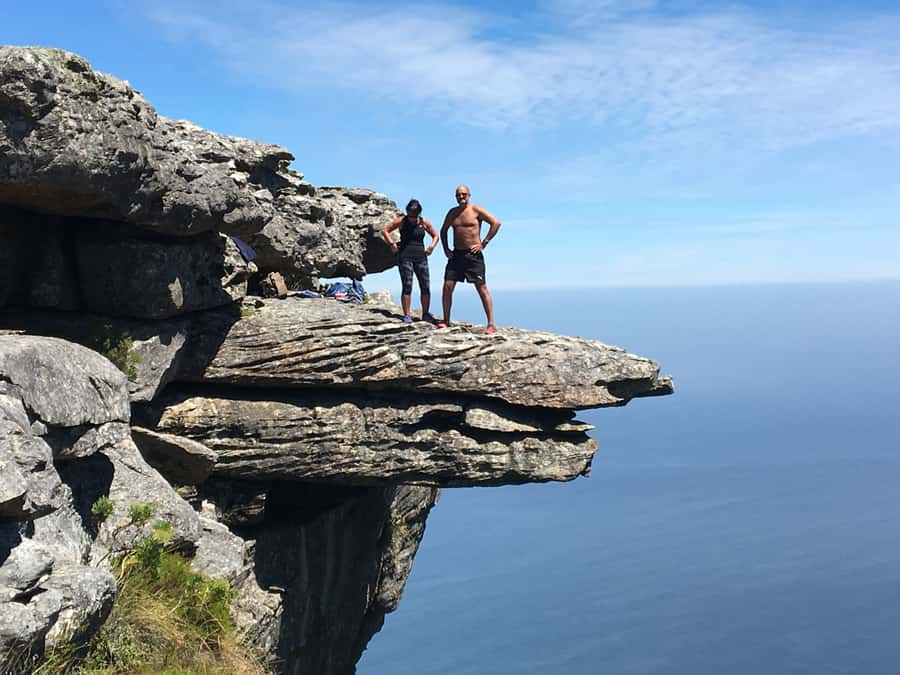
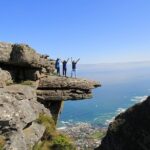
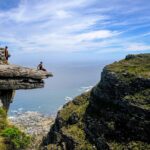
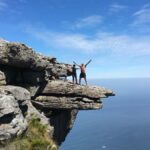
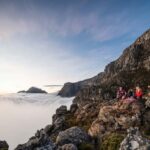
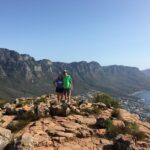
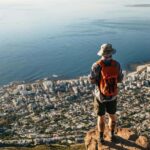
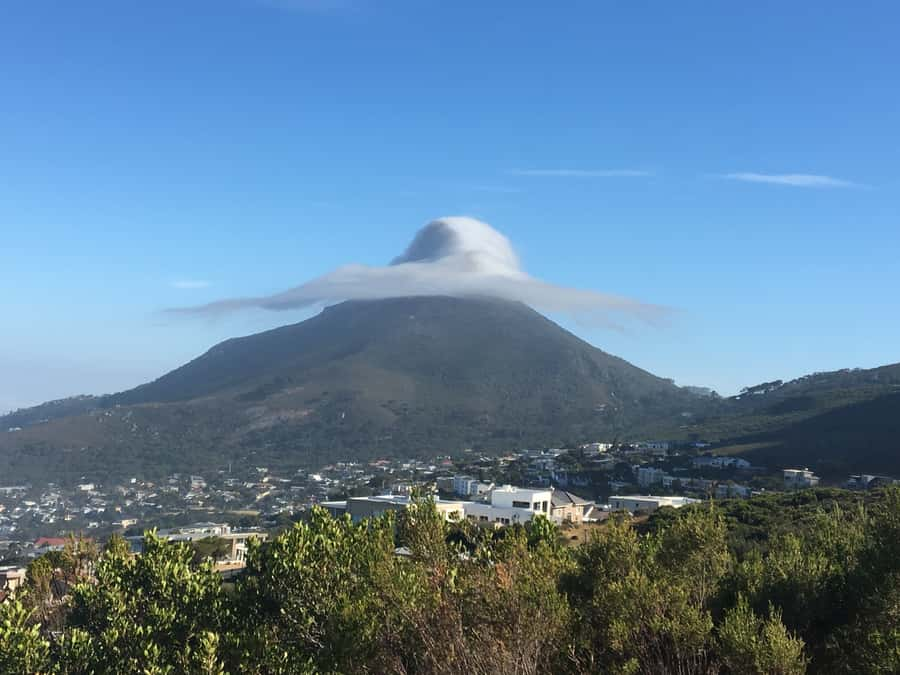
Reaching the top is where the hike starts paying you back. From the viewpoint area, you get views of Camps Bay and wide perspectives across Table Mountain—enough to make you understand where you’ve been and where you’re going next. You can also see the direction of the Cableway station and catch Signal Hill in the view line.
A big advantage here is that you’re not just dropped at a viewpoint and told good luck. The guide is there to bring you to the best photo stop on Table Mountain. That might sound like a minor detail, but it changes the whole experience. You get better framing, a safer place to stand, and time spent looking at the view with a purpose instead of snapping photos while walking away.
If you like photos, this part matters most
Plan on taking a little extra time at the top. You’ll want to capture the cliffs, the valley lines, and the way the Cableway sits in the bigger Table Mountain scene. This is the moment where a guide’s timing helps—light shifts quickly, and you’ll feel the difference.



Woodhead Dam: The Engineering Detour That Makes the Hike Smarter
After the main viewpoint reward, the route continues toward the Woodhead Dam. This stop is a standout because it changes the story from “scenic walk” to “how this landscape works.”
The dam visit is specifically described as a must—an incredible feat of engineering. Even if you’re not an engineering nerd, that’s useful context in Cape Town. You’re learning how water management supports daily life in a place where weather patterns can be dramatic.
Why this is a good break
You’ll likely feel the climb in your legs by then. A viewpoint-plus-structure stop gives you something different to focus on while you reset. It also breaks up the hike so the final stretch to the cable car feels like a transition instead of the end of an endurance event.
Valley of the Red Gods to the Cable Car: The Final Stretches
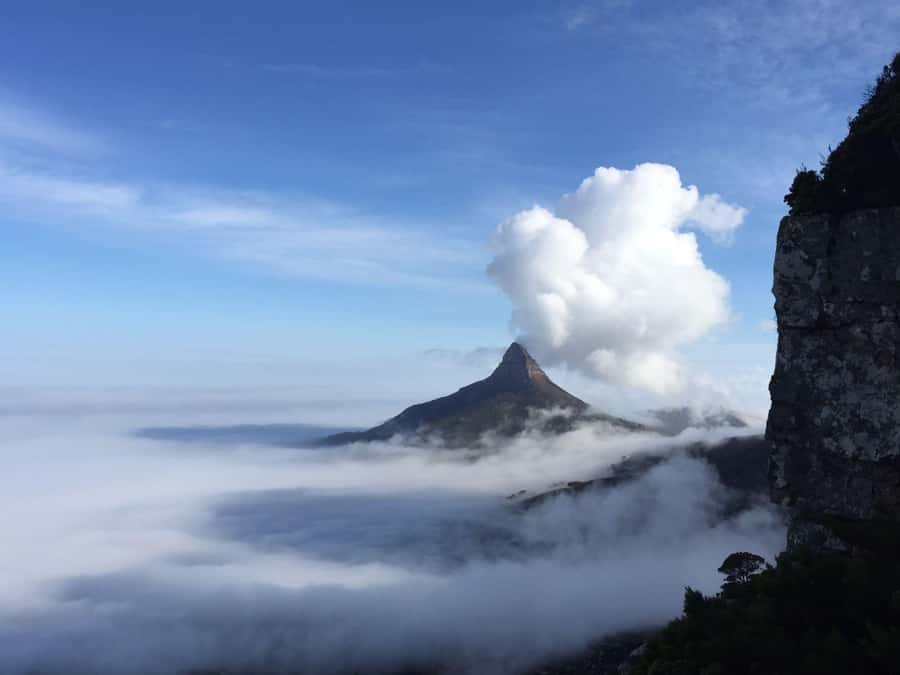
From Woodhead Dam, the route moves along the Valley of the Red Gods. This part matters because it links the top viewpoint to the cable car ride in a way that keeps the walk feeling connected.
The valley section gives you a last look at the terrain and a sense of the route you’ve walked. Think of it as the section where you’re no longer wondering if you’re going the right way—you’re moving toward the Cable Car.
What you’ll want here
You’ll be ready to get moving efficiently. If you’re the type who tends to stop for every photo, this is still a good section to pace yourself. You’ll want your energy for the cable car moment below.
The 360° Cable Car Ride Down: Why You Don’t Want to Walk the Last Part
The tour includes a cable-car trip down to the Lower Station using a 360-degree rotating cable car. That’s a very specific detail, and it’s exactly why this experience is more than “just a hike.”
Instead of rushing straight into the crowds or settling for one last view, you’ll slowly rotate while you drop down. That gives you angles on cliffs and ridgelines that are hard to get while walking. It also helps if you’re tired: your legs get a break, but your eyes still keep working.
If the cable car isn’t running
This is the main drawback to be aware of. If the cableway isn’t running due to weather conditions or maintenance, your guide will walk you down again. That adds about 2 hours and you’ll be charged an additional R500 per person, paid to your guide in cash. If you’re planning a tight day, factor in that extra time.
Guides, Pacing, and Small-Group Value: What Makes This Tour Feel Worth It
You’re in a small group limited to 10 participants, which changes the experience compared to big group tours. You get a bit more space to ask questions, and your guide can adjust the pace if the trail is damp or people are moving slower.
It also helps that the guides bring more than route knowledge. A reviewer mentioned Mike sharing local knowledge and also helping the group with practical pointers during the walk. Another reviewer, Lynette, was described as friendly and informative, and after the hike she even emailed a long list of tips for what to do next. That’s a small detail, but it can be useful when you only have a day or two in Cape Town.
And yes, the tour provides water and a small snack during the hike. One reviewer even noted hot rooibos tea at a stop, which is a lovely touch when the wind is up or the weather is changeable.
Price and What You’re Really Paying For (Cable Car Ticket Extra)
The price is listed as $112 per person for a 4-hour experience, and the included value is more than the hike itself.
What’s included:
- Transport to and from your accommodation in the Cape Town City Bowl and immediate surroundings
- An experienced mountain guide
- Water and a small snack
What’s not included:
- The one-way Cableway ticket down
- An additional R500 per person if the cableway is shut down and you have to walk down
So the math is basically this: you’re paying for guide-led route expertise, pickup and drop-off convenience, and the planned rhythm ending with the cable car ride. If you’re already comfortable navigating Table Mountain on your own and you don’t care about the best photo stop, you could save money doing it independently. But if you want less stress, safer footing support, and a smooth logistics flow, this price can feel fair.
Smart budget tip
Before you go, budget for the cable car ticket down. And if your travel dates are during a period of unpredictable weather, mentally prepare for the possibility of the extra R500 cash charge if the cableway closes.
What to Bring for a Comfortable (Not Miserable) Hike
This trip gives you essentials on the day (water and a small snack), but you should still pack like you expect sun, wind, and a bit of damp ground.
Bring:
- Comfortable shoes (hiking boots are a smart idea if conditions look wet)
- Sun hat
- Camera
- Sunscreen
- Daypack
- Jacket
- Snacks (even though you’ll get a small snack)
- Personal medication
If you get cold easily, pack a jacket. Table Mountain weather can shift fast, and being under cliffs doesn’t always block wind.
Who This Hike Fits Best
This hike is described as doable for anyone who is reasonably fit, and reviews confirm it works for people who are active but not extreme hikers. One reviewer even said they’re active but not hikers and had no problems.
It is not suitable for:
- People with back problems
- People with mobility impairments
- People with low level of fitness
If you’re somewhere in the middle—some hiking experience, but you don’t hike every weekend—this can be a great entry route because the effort is real, but the experience is guided and timed around the best viewpoints.
Should You Book the Cape Town Kasteelspoort and Table Mountain Cable Car Hike?
If you want a Table Mountain day that feels organized and scenic, I’d say book it—especially if you care about the route plan and the best photo angles. The combination of Protea-filled fynbos, cliff scenery, the Woodhead Dam engineering stop, and the 360-degree cable car down is a strong mix of nature plus viewpoints plus a relaxing finish.
You should think twice only if:
- You have mobility or back issues, or your fitness level is low.
- You have very tight timing that can’t absorb a possible cable car shutdown and extra walking time.
- You dislike wet or slippery terrain and don’t plan to wear proper footwear.
If you fall into the reasonably fit category and you want a guided, small-group day with real payoff, this is one of the more sensible ways to do Table Mountain without turning it into a DIY navigation project.
FAQ
How long is the hike?
The activity duration is 4 hours, with check availability for starting times.
Where do you get picked up?
Pickup is included from your accommodation in the Cape Town City Bowl and immediate surroundings, collected at the time confirmed by your tour guide.
What is included in the price?
Transport to and from your accommodation, an experienced mountain guide, water, and a small snack are included.
Is the Cableway ticket included?
No. The one-way Cableway ticket down is not included.
What happens if the Cableway is not running?
If the cableway is not running due to weather conditions or maintenance, your guide will walk you down again, which adds about 2 hours and requires an additional R500 per person paid in cash.
What group size is it?
It’s a small group limited to 10 participants.
What should I bring?
Bring comfortable shoes, a sun hat, camera, snacks, sunscreen, water, a jacket, a daypack, and any personal medication you need.
What kind of fitness level is it for?
It can be undertaken by anyone who is reasonably fit, but it is not suitable for people with low fitness, back problems, or mobility impairments.
If you want, tell me your travel month and your hiking comfort level (stairs, uneven ground, wet weather), and I’ll help you judge how likely that cable car backup plan could affect your schedule.