REVIEW · GARDINER MONTANA
Grand Canyon of the Yellowstone: Loop Hike with Lunch
Book on GetYourGuide →Operated by Yellowstone Hiking Guides · Bookable on GetYourGuide
Yellowstone hits hard, even on a short day. This guided Grand Canyon of the Yellowstone loop strings together the Upper and Lower Falls, off-the-beaten-path forest walking, and thermal sights, all with a lunch on the trail. The only real catch is the effort: it’s about 6 miles with up-and-down sections at roughly 8,000 feet, and it’s rain or shine.
I like that the pacing is handled for you. You meet at the Upper Falls area, get a snack and safety talk, then follow a naturalist guide through rim viewpoints, Artist Point, mud pots and steam vents, and wildlife viewing around Hayden Valley. If you’re sensitive to altitude or your legs don’t love uneven footing, take that seriously before you book.
In This Review
- Key Things That Make This Hike Worth Your Time
- A Best-Of Yellowstone Day, Without the Shuffle
- Morning Setup at Upper Falls Viewpoints (8 AM)
- Upper Rim Views: Starting With the Big Water
- Artist Point for Lower Falls: The Classic View With Context
- Old-Growth Forest and Native Trails: Where the Route Gets Interesting
- Picnic Lunch on the Trail: Real Food, Real Break
- Thermal Area With Mud Pots and Steam Vents
- Clear Lake Views: Clouds Reflected on Turquoise Water
- Hayden Valley Wildlife Viewing Time
- Back Along the Yellowstone River: Calm Water to Rapids to Falls
- Price and Value: What $192 Covers (and What It Doesn’t)
- Getting There: Parking at the Upper Falls Viewpoints Lot
- Who This Hike Fits Best (and Who Should Skip It)
- What to Pack for Rain-or-Shine Yellowstone
- Should You Book This Loop Hike With Lunch?
- FAQ
- What time and where do I meet for the hike?
- How long is the hike, and how far do you cover?
- Do I need to pay park entrance fees?
- What’s included for gear and food?
- Is water provided?
- What about rain gear and weather?
- Are children or pets allowed?
Key Things That Make This Hike Worth Your Time
- Two iconic waterfall viewpoints on one loop, including the big Lower Falls stop at Artist Point
- Lunch on the trail so you spend more time outside and less time hunting for food
- Thermal area time with mud pots and steam vents plus nearby lake views
- Old-growth forest walking on native trails, far from the straight-line viewpoint shuffle
- Hayden Valley wildlife viewing built into the route before you circle back to the river
A Best-Of Yellowstone Day, Without the Shuffle
This hike is built like a greatest-hits tour of Yellowstone’s highlights, but it’s still a real hike, not a bus ride with photo stops. In about 6 hours, you’ll move through rim country, forested sections, thermal terrain, and river views—so the day feels full even though it stays focused.
For your money, the big win is that the route hits major sights in a way that feels connected. You’re not just collecting overlooks; you’re walking through the same kinds of valleys and habitats that make Yellowstone so famous in the first place.
Morning Setup at Upper Falls Viewpoints (8 AM)
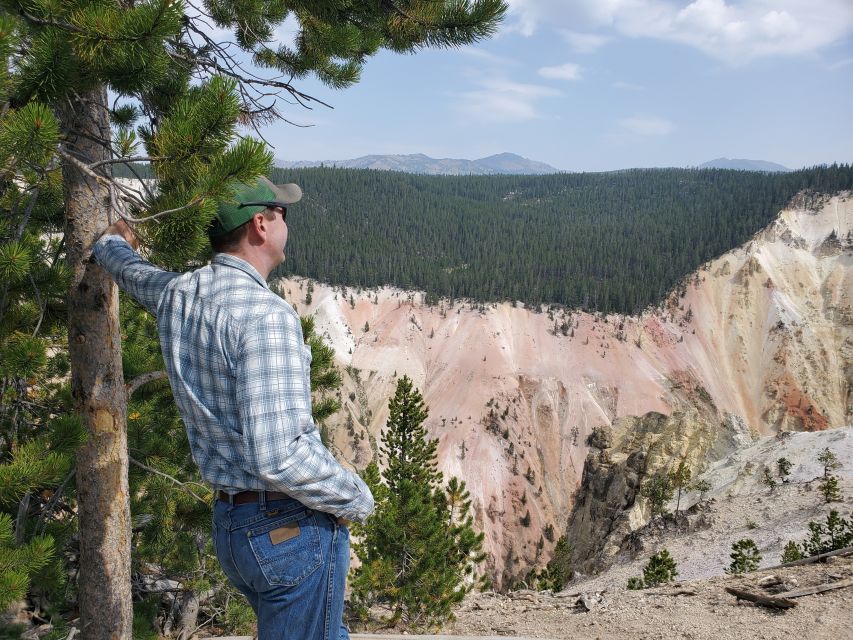
You start at the Upper Falls Viewpoint Parking Area off the South Rim Drive. If you’re driving, plan to arrive early enough to get parked and oriented before 8 AM, because the day begins right after you meet your guide.
Once you’re together, you’ll get geared up with what you need for this specific route: trekking poles, binoculars, and a backpack for essentials. Then comes a quick morning snack and a hot drink—coffee, tea, or cocoa—plus a safety presentation so you know how the hike will work, what to watch for, and how to stay comfortable on the trail.
This is also where you’ll see the practical side of Yellowstone. You’re at elevation, weather can shift quickly, and the guide leads the group through uneven terrain, so the early briefing matters.
Upper Rim Views: Starting With the Big Water
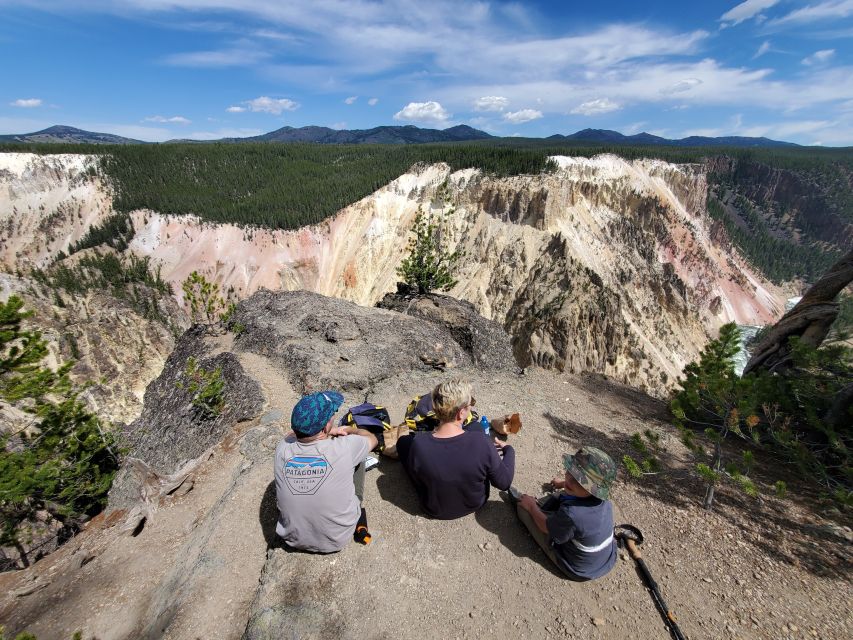
Right away, the hike gets you into position for the Upper Yellowstone Falls area. You’ll take in the falls while the group settles in—short break, hot drink, then off.
What I like about the early focus on the Upper Falls is that it sets the tone for the rest of the day. After you see the falls from the rim, every later viewpoint starts to make more sense, because you’re already thinking about how the river drops and carves the canyon walls.
The short-term drawback is simple: you’ll be walking soon after you meet. If you want a super slow start, this format might feel brisk.
Artist Point for Lower Falls: The Classic View With Context
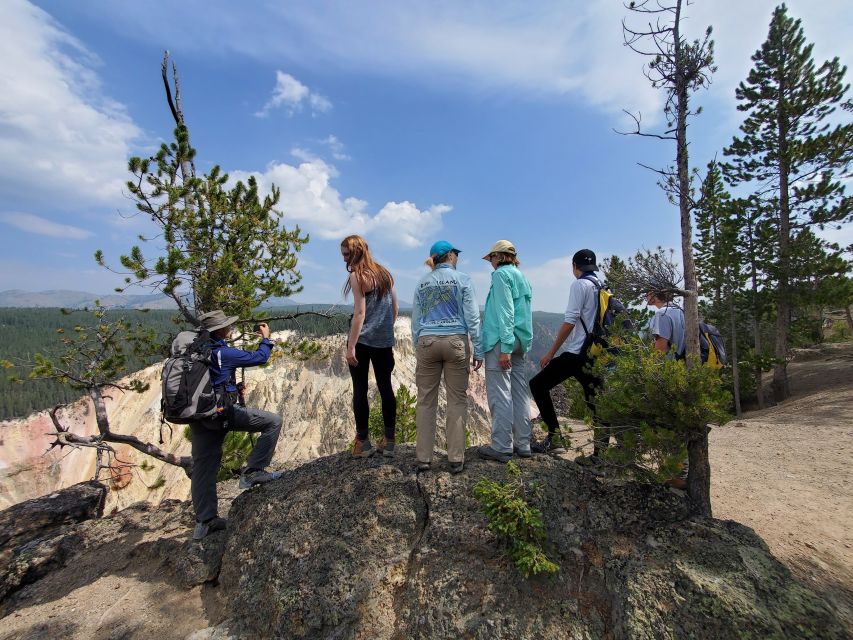
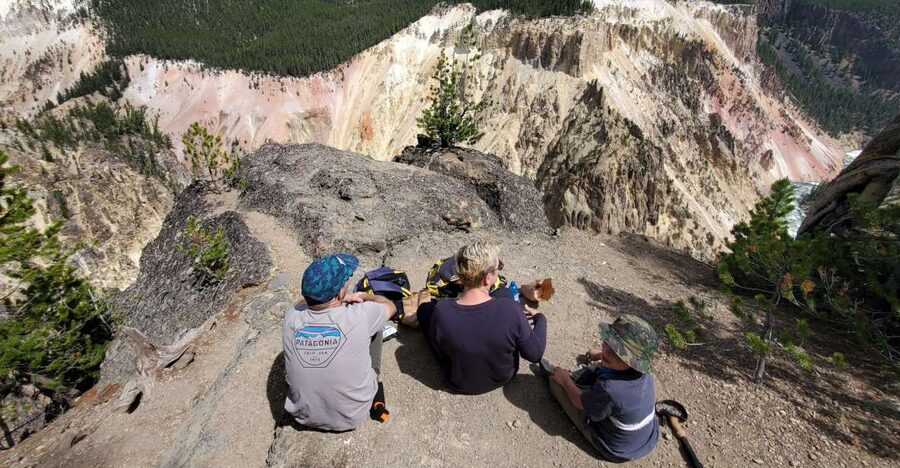
The centerpiece viewpoint on this hike is Artist Point. From there, you’ll get the famous view of the Lower Falls, which plunges for more than 300 feet.
This stop works because you’re not just sprinting from one postcard angle to another. You’re hiking the rim, then reaching Artist Point at a point in the day when you can actually pause, look around, and take photos without feeling like you’re constantly running against the clock.
A practical note: this is a fall-and-rim day. Even when the group is paused for viewpoints, expect that you’ll be on uneven ground at elevation. Good footwear isn’t optional here.
Old-Growth Forest and Native Trails: Where the Route Gets Interesting
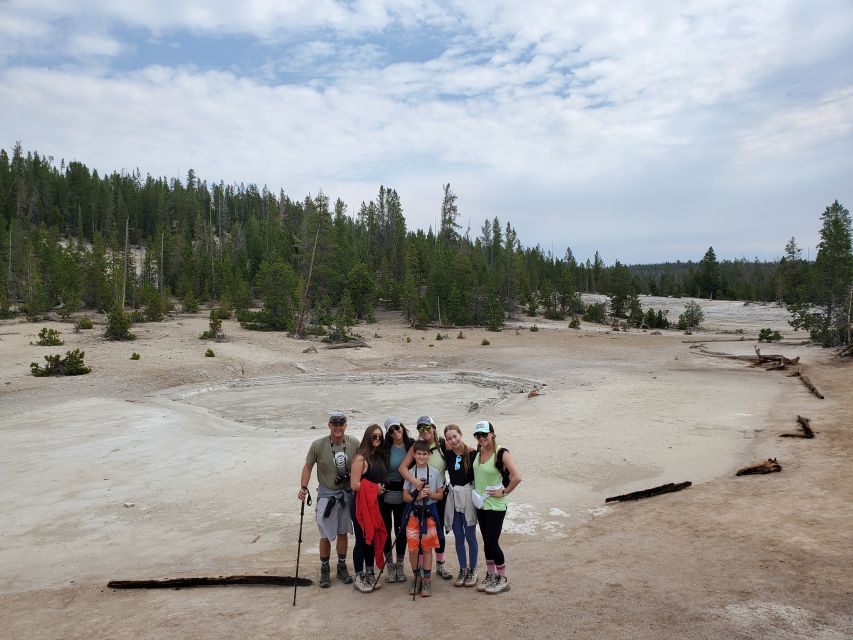
After the rim viewpoints, the hike moves off the usual sightseeing paths. You’ll walk into the pines and spend time on native trails through old-growth forests.
This section is where the hike turns from scenic to memorable. You still get frequent chances to look up at Yellowstone’s canyon setting, but now you also get the quiet rhythm of forest walking—different light, cooler air under the trees, and a break from the constant wide-open views.
It’s also a good place to watch your footing. Trail surfaces in this part of Yellowstone can be uneven, and the group still has distance to cover. The upside: this is the part that makes the day feel like more than viewpoints.
Picnic Lunch on the Trail: Real Food, Real Break
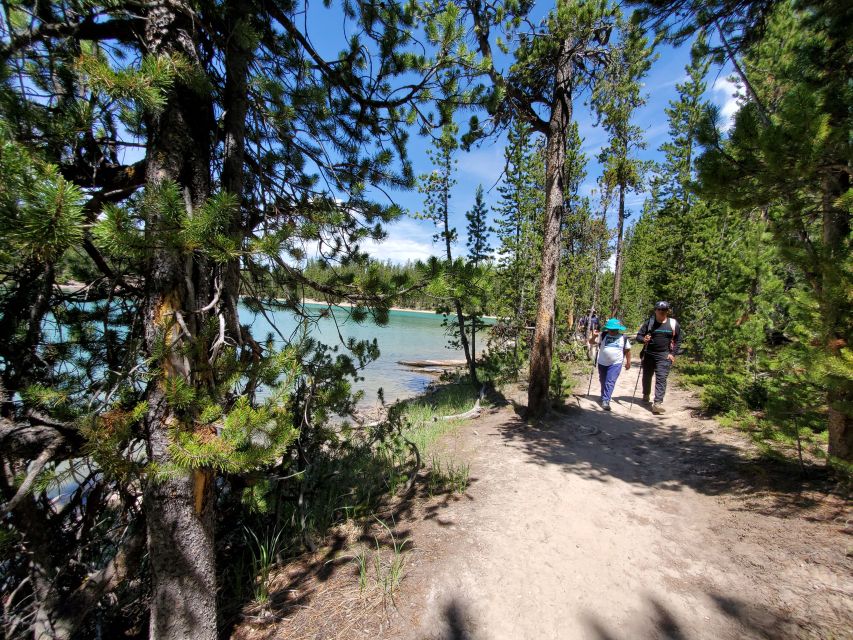
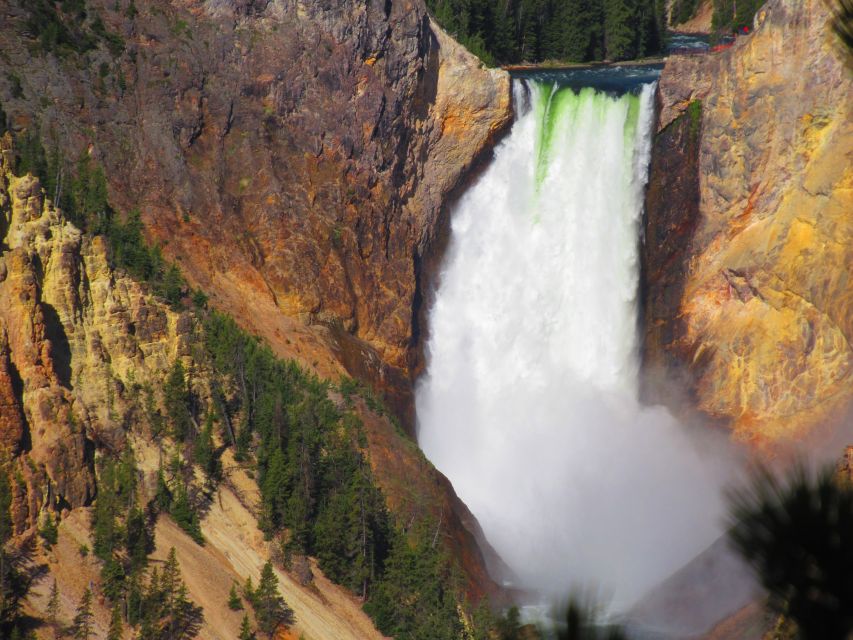
Lunch is a brown bag picnic you stop for on the trail. This matters in Yellowstone. When you’re outdoors for hours, having food already planned beats the stress of trying to time restaurants and picnic areas while you’re also trying to catch the best wildlife and water views.
The picnic break also gives your legs a short reset. You’re at about 8,000 feet, and even if you’re a capable hiker, that altitude adds effort. A scheduled meal helps you keep energy steady for the rest of the loop.
If you dislike eating outdoors or you want a full sit-down meal, adjust your expectations. This is a hike lunch, not a café lunch.
Thermal Area With Mud Pots and Steam Vents
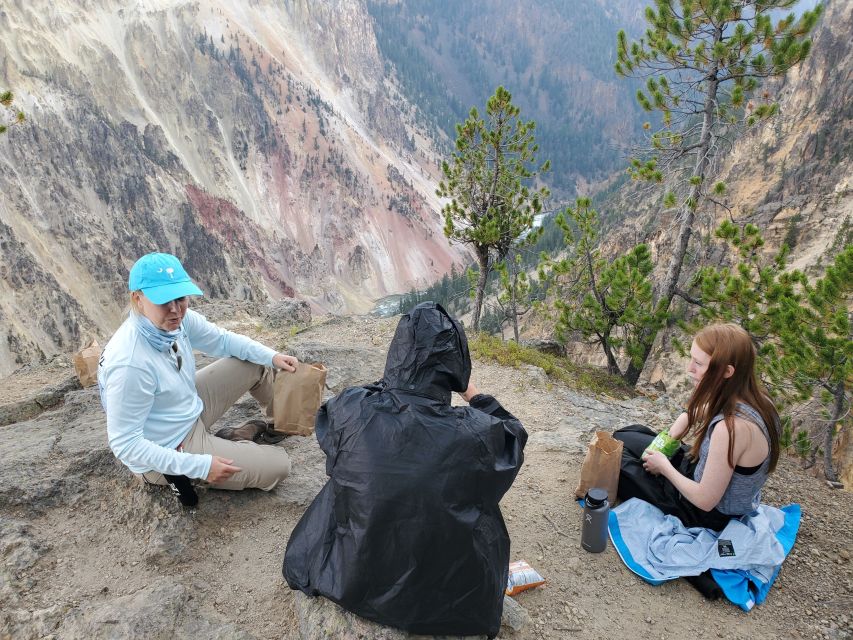
Next comes a very Yellowstone stop: a thermal area with mud pots and steam vents. Even if you’ve seen Yellowstone photos before, this kind of terrain is hard to fully appreciate until you’re close enough to notice the textures and the way the ground looks like it’s still in motion.
You don’t just pass through, either—you get time as part of the route. That gives you a chance to take in how steam rises, how the ground changes color, and how geothermal activity shapes the surrounding area.
This is also a section where following your guide’s rules matters. You’ll be reminded of park safety expectations, and you’ll want to stay where you’re directed. Touching wildlife or hot areas isn’t the point—watching is.
Clear Lake Views: Clouds Reflected on Turquoise Water
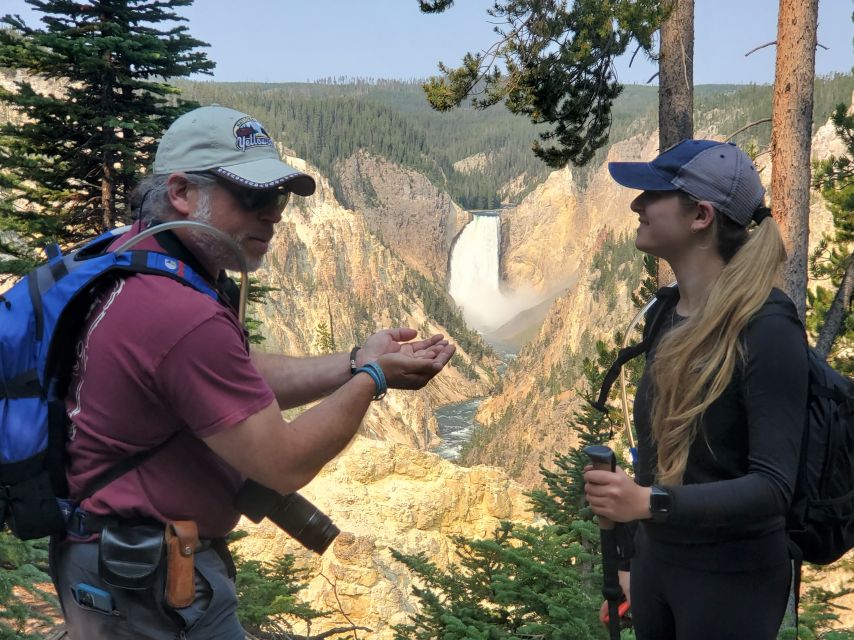
After the thermal stop, you’ll head along Clear Lake, with views of clouds reflecting on the water. This is one of those “pause and look” moments that can shift how the whole day feels.
The science and geology are cool, but the lake reflections add a mood. It’s calmer than the falls, and you’ll likely have an easier time taking photos because you’re not constantly fighting the wind that can show up around canyon edges.
If weather is rough, this section may still be worth it, but expect mist and changes in visibility. The hike is rain or shine, and your gear choices matter.
Hayden Valley Wildlife Viewing Time
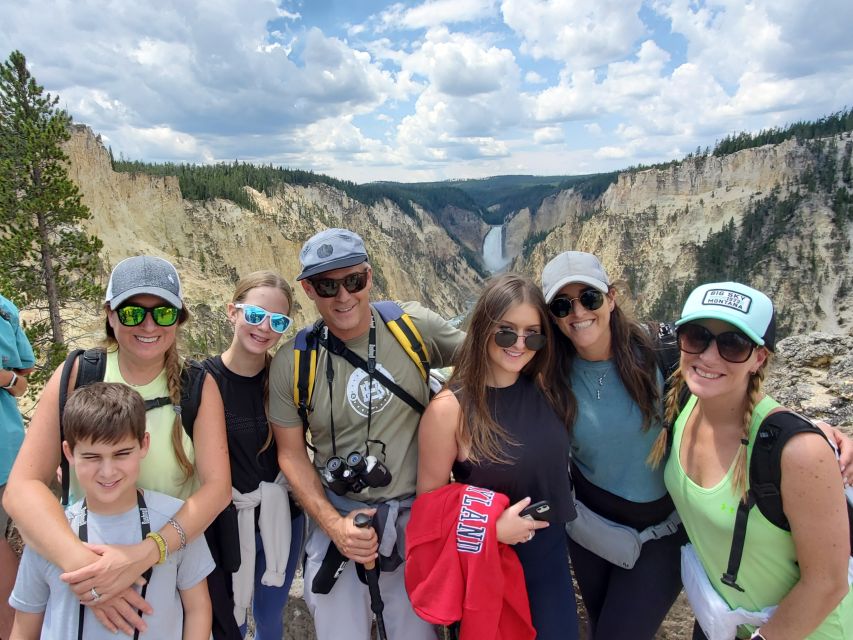
Then the route brings you toward Hayden Valley, where you’ll have time for wildlife spotting in the area. The idea here is smart: wildlife often shows up when there’s movement and quiet observation nearby.
From a practical standpoint, this is also where your binoculars come in. You’ve got them provided, which saves you from either buying or renting gear on arrival. Even basic wildlife viewing gets better when you can scan slowly and keep your eyes relaxed rather than constantly zooming your phone camera.
One consideration: wildlife isn’t guaranteed. The tour gives you the opportunity and time to look, but nature runs the schedule.
Back Along the Yellowstone River: Calm Water to Rapids to Falls
To close out the loop, you end along the Yellowstone River. You’ll watch the water change character—calm stretches shifting toward rapids—before you get the chance to see the river drop again over Upper Falls as you circle back toward the start.
This ending is satisfying because it ties your day together. You started with the falls; you spent hours learning how the terrain transitions between canyon, forest, geothermal features, and river habitat; then you finish with the river’s momentum again.
It’s a reminder that this loop isn’t a list of attractions. It’s one connected system you walk through.
Price and Value: What $192 Covers (and What It Doesn’t)
At $192 per person for about 6 hours, this is in the “guided Yellowstone experience” range. What makes it feel like value is what’s included versus what you still need to handle yourself.
Included:
- Morning snack and hot drink
- Binoculars, trekking pole, and a backpack for your necessities
- Bear spray
- Brown bag picnic lunch
- A professional naturalist guide
Not included (but required/planned for):
- Park entrance fees
- Hotel pickup and drop-off
- Water and rain jacket (water is required; rain gear is required but not provided)
To me, the best value piece is the guide and the safety gear. Bear spray and a naturalist guide aren’t add-ons you casually skip in Yellowstone. Add in binoculars and poles, and the tour reduces the amount of gear you’d otherwise need to pack or rent.
Getting There: Parking at the Upper Falls Viewpoints Lot
This hike starts at the Upper Falls Viewpoint Parking Area off the South Rim Drive.
From Canyon Village, the trailhead is about 3.4 miles (around 8 minutes). Go south on Grand Loop Road toward Yellowstone Lake, then continue until you reach the North Rim Drive. Stay straight, turn left on South Rim Drive, cross the Yellowstone River over a bridge, then go about 0.7 miles and turn left into the Upper Falls Viewpoints Parking Area.
From West Thumb Junction, it’s about 34 miles (about 1 hour and 5 minutes). Follow Grand Loop Road (Hwy 20) north along the lake and through Hayden Valley, then take the South Rim Drive turn shortly after leaving the valley.
There’s one helpful warning: if you arrive at a dead end (Artist Point), you’ve gone too far.
Who This Hike Fits Best (and Who Should Skip It)
This is not a gentle stroll. You’re hiking roughly 6 miles with up-and-down sections, and you’ll be at around 8,000 feet.
It’s not suitable for:
- Children under 8 years
- People with mobility impairments
- Wheelchair users
- People with heart problems
- People over 80 years
If you’re generally a steady walker with decent shoes and you’re comfortable with elevation, you’ll likely enjoy the day. It suits people who want more than viewpoints—people who like walking through different Yellowstone zones in one go.
What to Pack for Rain-or-Shine Yellowstone
The hike runs rain or shine, so plan accordingly. The basics listed for you are:
- Comfortable shoes
- Water
- Rain gear (a rain jacket is required, but it’s not included)
Beyond that, keep your load reasonable. The tour provides a backpack for necessities, so you don’t need to show up with a huge pack, but you do need to be ready for changing weather.
Also note the behavior rules:
- Pets aren’t allowed
- Drones aren’t allowed
- Feeding animals is not allowed
- Climbing and touching animals are not allowed
Should You Book This Loop Hike With Lunch?
Book it if you want a focused, guide-led Yellowstone day that connects Upper and Lower Falls, thermal features, lake views, and a wildlife-looking window in Hayden Valley—without spending your whole trip driving between sites.
Consider skipping (or choosing something easier) if you know you struggle with elevation, uneven terrain, or sustained uphill/downhill hiking. This isn’t billed as a low-effort walk, and the listed age and health limits are there for a reason.
FAQ
What time and where do I meet for the hike?
Meet at the Upper Falls Viewpoint Parking Area off the South Rim Drive at 8 AM.
How long is the hike, and how far do you cover?
The duration is about 6 hours, and the hike includes around 6 miles of trail with up and downhill sections.
Do I need to pay park entrance fees?
Park entrance fees are not included, so you’ll need to plan for those separately.
What’s included for gear and food?
You get a morning snack and hot drink, binoculars, a backpack for necessities, a trekking pole, bear spray, and a brown bag picnic lunch.
Is water provided?
No. Water is required but not included, so bring it with you.
What about rain gear and weather?
The experience runs rain or shine. A rain jacket is required, but it’s not included.
Are children or pets allowed?
Children under 8 years are not suitable. Pets are not allowed on this activity.