REVIEW · CAPE TOWN
BEST of Table Mountain! Exhilarating Full-day Guided Hike
Book on Viator →Operated by Santie Gouws Mountain Guide · Bookable on Viator
Table Mountain can be a whole different place when you hike it right. This full-day 14km guided route hits famous spots and quieter corners, with expert guidance from Santie Gouws so you’re not just walking, you’re understanding what you’re seeing. I especially loved how the day mixes big views with small details in the plants and rocks.
My second favorite part is the way you keep moving through varied terrain, from pipe-track paths to steeper corridor ravine sections, then up to Maclear’s Beacon for summit views. One drawback to plan for: lunch, snacks, and bottled water aren’t included, and if you miss the cableway (or need to hike down), expect extra time and fees.
In This Review
- Key points at a glance
- Why This Best-of Table Mountain Hike Feels Different
- Getting Started on Camps Bay Drive: The Day’s Tone Is Set Early
- Pipe Track and Slangolie Ravine: Quiet Power Before the Climb
- Twelve Apostles via Corridor Ravine: Where the Stairs Earn Their Reputation
- Tranquillity Cracks and Ancient Trees: The Mountain’s Subtle Geology
- Diving Board: Big Photo Energy Without Needing a Specialist Lens
- Back Table to Backwater Ravine: Finding the Quieter Table Mountain
- Echo Valley Stream Stop: Frog Chorus and Foot Soaking
- Maclear’s Beacon and the Front Edge: Summit Views That Actually Mean Something
- Price and Value: What You’re Paying For at $155
- Cableway Plans: Ending at Upper Cableway Station Changes Your Timing
- What to Bring (So the Day Doesn’t Feel Like Work)
- Who This Hike Fits Best
- Should You Book This Best-of Table Mountain Hike?
- FAQ
- How long is the Table Mountain best-of guided hike?
- How far is the hike?
- Where does the hike start and where does it end?
- What’s included in the price?
- Is lunch, snacks, or bottled water included?
- Are aerial cableway tickets included?
- What if I need to hike down instead of using the cableway?
- What fitness level do I need?
- Is this a private tour?
- Does the hike run year-round, and what about weather?
Key points at a glance
- Curated best-of route: Maclear’s Beacon, Diving Board, and lesser-known ravines in one day
- Expert guiding by Santie Gouws: route explanations and strong focus on mountain nature
- Big scenery, frequent photo chances: rock formations, ridges, and clear-day viewpoints
- A real workout: 9 hours approx. over 14km with steep sections and lots of steps
- Cableway adds the return plan: the hike ends near Upper Cableway Station, and tickets aren’t included
Why This Best-of Table Mountain Hike Feels Different
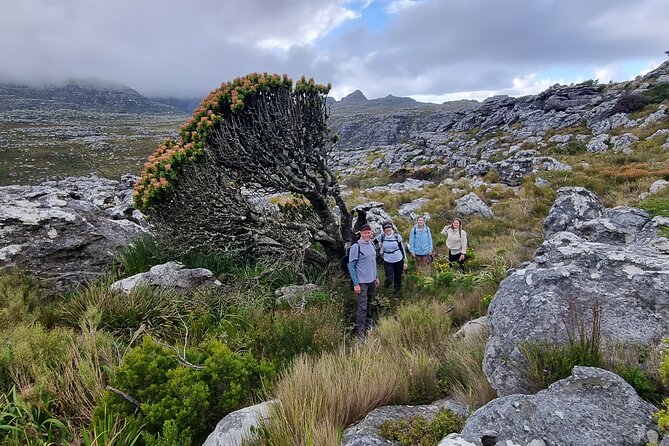
This is not the fastest “to the top” hike. It’s a full-day, best-of style traverse that keeps you on Table Mountain’s most dramatic sides, then guides you through the quieter parts most people miss.
I like it because it’s built around variety: ravines, corridors, fissures, and fynbos fields. One moment you’re moving along mountain tracks with ocean air in the distance; the next you’re stopping at rock features where your guide can explain what you’re looking at and why it matters. Santie’s style comes through in how she paces the day and keeps it informative without turning it into a lecture.
The other big reason this route is worth your attention: it ends at a practical place near the Upper Cableway Station. That means you’re not spending the last hours guessing where you’ll end up. You’re finishing with a clear exit strategy—just make sure you’ve thought about the cableway since tickets aren’t included.
You can also read our reviews of more guided tours in Cape Town

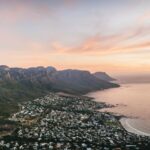
Getting Started on Camps Bay Drive: The Day’s Tone Is Set Early
Your hike begins at Camps Bay Drive (Camps Bay Dr, Bakoven, Cape Town). This matters more than it sounds. Starting here keeps you grounded in the Cape Town reality of the mountain: you’re not just hiking in the abstract. You’re starting from the city side of Table Mountain and working your way into the terrain that looks completely different once you’re deeper on the mountain.
From the start, you’ll be following the Pipe Track along the bottom of Slangolie Ravine. Expect that opening section to feel like a warm-up, not because it’s easy, but because it helps you learn the rhythm of the day: steady walking, watching your footing, and staying alert for changing weather.
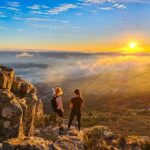
Good weather is key. This experience requires it, and Table Mountain can shift quickly. If skies are clear, you’ll get far better views, especially later near the summit edge.
Pipe Track and Slangolie Ravine: Quiet Power Before the Climb
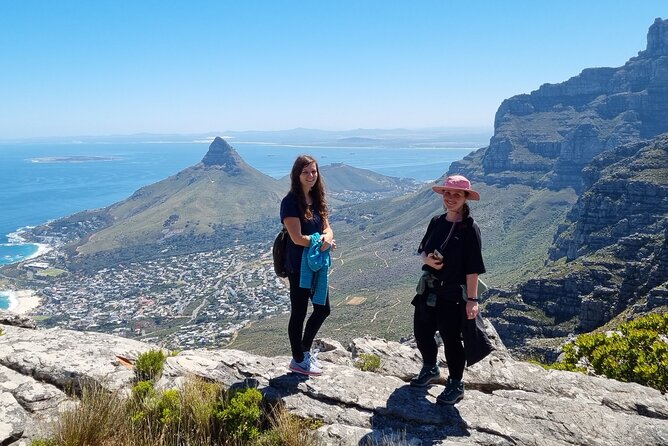
The Pipe Track section is one of those “don’t rush it” parts. Along the bottom of Slangolie Ravine, you get a sense of how cut-up and powerful Table Mountain really is—ravines carve into it, and the terrain shapes the way light lands on rocks and plants.
What I’d tell you to do here: keep your attention low for a while. Look for how the path threads through the mountain’s structure. In guides’ hands, these early sections become more than a route—they become an orientation.
You’re also starting to notice the vegetation changes as you move. Table Mountain is famous for its plant life, and a guided hike is one of the best ways to understand the difference between what looks similar up close.
Twelve Apostles via Corridor Ravine: Where the Stairs Earn Their Reputation
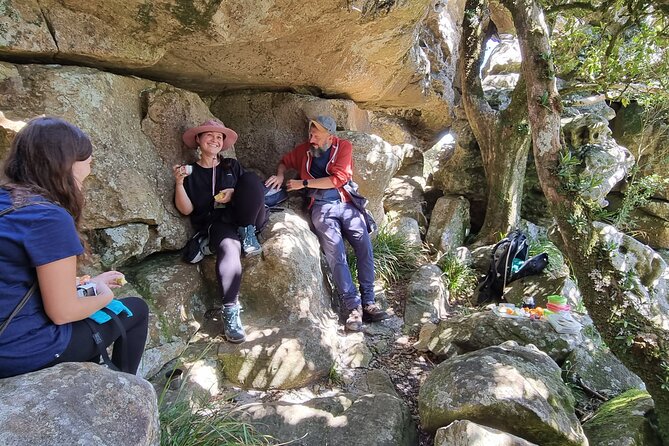
After the Pipe Track, you move up toward the Twelve Apostles via Corridor Ravine, and this is where the day becomes clearly physical. Corridor Ravine is known for steeper sections and a lot of steps, and you’ll feel it in your legs.
Here’s the practical part: pace yourself. A 9-hour day on the mountain with 14km is not the place to sprint in the morning because you want to “make up time.” Better strategy: treat the ascent as training. Small steady effort beats big stops.
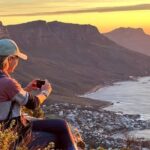
The payoff comes fast. Corridor Ravine brings some of the best mountain-ocean views on this route. Even if you’re not the type who stops for every photo, you’ll want to pause when the view opens. It’s the kind of scenery where your brain goes quiet for a second.
This section is also where a careful guide matters. In past hikes, participants praised Santie for keeping the mood positive and for being professional about safety—especially helpful if you’re not fully comfortable with heights.
Tranquillity Cracks and Ancient Trees: The Mountain’s Subtle Geology
Once you reach the top area, you explore Tranquillity Cracks, described as secretive rock fissures. This is one of those stops that feels like a break from “just hiking,” even though you’re still moving and looking.
A fissure isn’t just a cool photo spot. It’s a window into how the mountain was formed and how weather and time reshape the rock. Your guide can connect those features to the life growing around them, which is where the hike stops feeling generic.
You’ll also see ancient indigenous trees and hike through areas with fynbos flowers. Fynbos is one of the main reasons people fall in love with Table Mountain, and a guided stop helps you notice details you would otherwise ignore—like plant shapes, how they survive tough conditions, and why different patches look distinct from each other.
If you’re the type who likes learning while you walk (and not only at museum speed), this portion is a highlight.
You can also read our reviews of more hiking tours in Cape Town
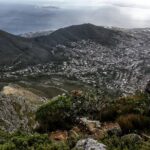
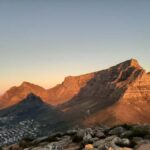
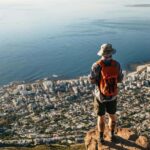
Diving Board: Big Photo Energy Without Needing a Specialist Lens
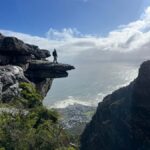
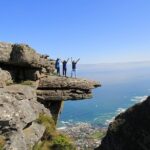
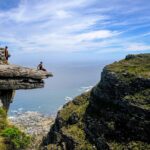
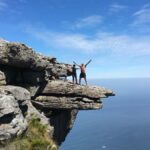
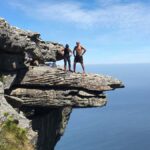
Next up is the Diving Board, a famous rock formation where the photo opportunities are the point. The key difference on this hike is how you reach it and what surrounds it. You’re not just dropping into one isolated viewpoint. You’ve been working through fissures, trees, and flower fields, and then you pop out onto a classic Table Mountain viewing moment.
For many people, the Diving Board stop is where the day clicks into place. The rocks make the view feel theatrical: you’re high, angled toward the city and coast, and framed by unique geology.
Tip for you: treat this as your “reset” stop. Eat something small if you brought it, take your best photos early, and then keep moving. Because after Diving Board, the route keeps changing character.
Back Table to Backwater Ravine: Finding the Quieter Table Mountain
From Diving Board, you cross over the Back Table into Backwater Ravine, which is where the route gets intentionally less obvious. This is part of why people rate this hike so highly: you’re not stuck doing only the standard show-reel areas.
In Backwater Ravine, you’ll take a mid-day break. That’s important because you’re switching into a section that sounds more “nature retreat” than “summit rush.” This break also gives your body time to adjust before the next stretch.
If you’re someone who loves a sense of remoteness—even while still on a world-famous mountain—Backwater Ravine is the kind of place you’ll remember after the hike is over.
Echo Valley Stream Stop: Frog Chorus and Foot Soaking
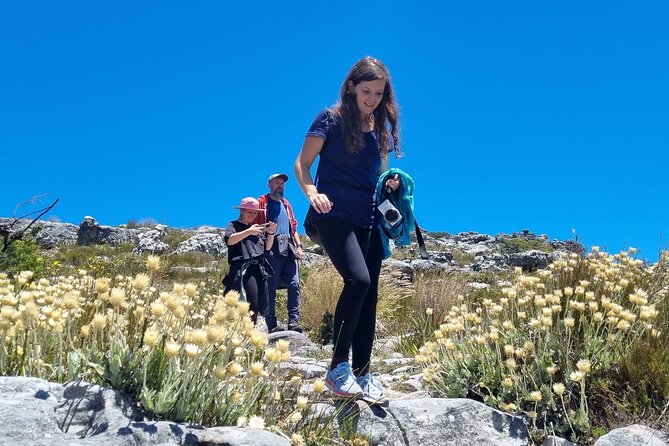
A standout detail on this route is dipping your feet into a high mountain stream at the edge of Echo Valley. The description is practical and sensory: expect cool water, and a strong sense of being away from the city.
The frogs are part of that atmosphere too—the chorus can feel loud in the stillness of the ravine. It’s one of those moments where you stop thinking about the next step and start experiencing the place as a habitat.
If you’re worried about “does my body feel okay doing something like this?”—don’t overthink it. You’re not required to turn into a nature video. Even just sitting briefly, letting the water cool your feet, and then continuing will reset you mentally.
Maclear’s Beacon and the Front Edge: Summit Views That Actually Mean Something
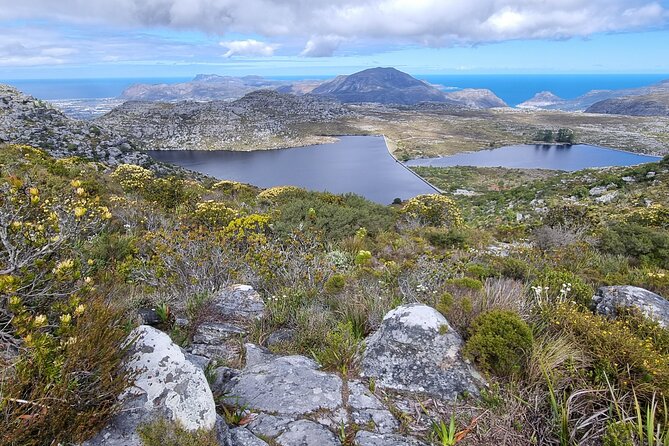
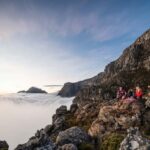
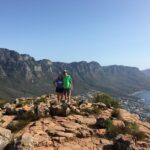
After the stream stop and break, you continue to Maclear’s Beacon, the highest point on Table Mountain. If the earlier parts of the hike are about variety—ravines, fissures, plants—this is the payoff about altitude and visibility.
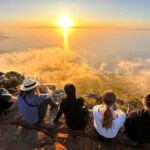
On a clear day, views across Cape Town and Table Bay can be magnificent. That’s not just nice wording. When you’re at the top, you understand how the city sits in relation to the coastline and how massive Table Mountain is compared to everything around it.
Then you hike along the front edge of Table Mountain to Upper Cableway Station, where the hike ends. That finishing leg is often where you can feel both proud and tired. You’ve done the hard work already. Now it’s about staying steady and enjoying the final ridgeline moments.
Price and Value: What You’re Paying For at $155
At $155 per person, this hike isn’t a bargain in the “cheap tour” sense. But it also isn’t overpriced for what it delivers: a full-day route over 14km with an experienced qualified registered mountain guide.
Here’s how I’d judge value if I were booking for my own trip:
- You’re not just buying walking time. You’re buying navigation across specific named areas like Corridor Ravine, Tranquillity Cracks, and Maclear’s Beacon—places that are easier and safer with a guide.
- You’re paying for a day that mixes major landmarks with quieter sections like Backwater Ravine, instead of doing one straight “standard route.”
- The route ends near a cableway station, which can make your exit smoother than if you started and ended somewhere hard to reach.
One more reality check: since lunch, snacks, and bottled water aren’t included, your total day cost will be partly shaped by what you bring and whether you buy cableway tickets. If you’re the type who likes buying everything on arrival, plan to spend more.
Cableway Plans: Ending at Upper Cableway Station Changes Your Timing
This hike ends back at the practical point near Upper Cableway Station, but aerial cableway tickets to get down aren’t included.
You should think about two scenarios:
- You take the cableway down using your own ticket.
- You hike down instead, which adds 1.5 to 2 hours plus additional fees if you need to hike down.
That timing piece matters. If your day includes dinner plans or you’re catching a flight, build in buffer. If you’re unsure about weather, you’ll also want to be realistic about how long your day might take.
What to Bring (So the Day Doesn’t Feel Like Work)
The tour data doesn’t list what’s provided beyond the guide, so I’d plan as if you’ll need your own essentials. At minimum:
- Water (since bottled water isn’t included)
- Snacks and lunch (since neither is included)
- Sun protection, even in cooler seasons (Table Mountain sun can be sneaky)
- Footwear with solid grip for steep, step-heavy sections
One subtle help: the guide’s pacing and encouragement can make the experience feel doable even when the stairs bite. Participants have talked about Santie keeping a positive mood through tough sections, and that kind of support can change how the day feels.
Also, in past experiences with Santie, people highlighted coffee and rusks during the morning break. Don’t count on a specific snack being part of the formal package, but it’s a good sign that a thoughtful guide usually adds small morale boosts.
Who This Hike Fits Best
This route is ideal if you:
- Want a full-day, guided Table Mountain experience that covers both famous and lesser-known spots
- Like hikes with both views and explanation, especially around fynbos and mountain features
- Feel comfortable with moderate fitness demands, knowing it includes steeper sections and lots of steps
It may be less ideal if you:
- Want a shorter hike or a low-effort day
- Don’t want to deal with the cableway question at the end
- Struggle with long, continuous walking for around 9 hours
If you’re anxious about heights, it’s still worth considering. People have specifically mentioned feeling safe and supported on this kind of route when their confidence was shaky.
Should You Book This Best-of Table Mountain Hike?
Book it if you want the feeling of checking off Table Mountain’s top highlights while still getting time in the quieter, more isolated-feeling parts of the mountain. The route makes sense as a single big day: start at Camps Bay, work through ravines and rock features, reach Maclear’s Beacon, and finish at Upper Cableway Station.
Skip it or rethink it if you’re not ready for a 14km hike with steep sections over roughly 9 hours, or if you’re hoping someone else will handle everything like lunch and water. You’ll get a great guide, but you still need to show up prepared.
If you value safety, clear route guidance, and a hike that’s more than just scenery, this one is a strong choice—especially with Santie Gouws leading the way.
FAQ
How long is the Table Mountain best-of guided hike?
The hike is approximately 9 hours long.
How far is the hike?
It covers about 14km.
Where does the hike start and where does it end?
It starts at Camps Bay Drive (Camps Bay Dr, Bakoven, Cape Town) and ends back at the same meeting point.
What’s included in the price?
The tour includes an experienced qualified registered mountain guide.
Is lunch, snacks, or bottled water included?
No. Lunch, snacks, and bottled water are not included.
Are aerial cableway tickets included?
No. Aerial cableway tickets are excluded from the price.
What if I need to hike down instead of using the cableway?
If cableway tickets aren’t used and you hike down, additional fees apply and it may add about 1.5 to 2 hours.
What fitness level do I need?
The hike is for travelers with a moderate physical fitness level.
Is this a private tour?
Yes. Only your group participates.
Does the hike run year-round, and what about weather?
It runs daily during 6:00 AM to 6:00 PM, and it requires good weather. If canceled due to poor weather, you’ll be offered a different date or a full refund.