REVIEW · PAGE ARIZONA
Antelope Canyon Lake Powell: Guided Kayaking & Hike Tour
Book on GetYourGuide →Operated by wazSUPkayaks LLC · Bookable on GetYourGuide
Antelope Canyon from a kayak changes everything. I love the kayak view on the way in, plus the slot-canyon hike once you park your boat. The one thing to consider is that paddling can get work-y, especially with wind or heavier boat traffic on Lake Powell.
This is a solid 4-hour outing for both first-timers and stronger paddlers, as long as you’re reasonably fit. Guides (including Ian, Ben, and Manny) tend to run the trip at a calm pace, explain what matters, and keep the agenda moving without feeling rushed.
In This Review
- Quick Hits: The Stuff That Actually Matters
- Kayaking the Main Channel to Antelope Canyon’s Door
- Antelope Point Launch Ramp: Find the Right Spot, Then Relax
- What Happens Before You Paddle: Equipment + Safety Setup
- Paddling on Lake Powell: Where Wind Turns Into the Real Test
- Entering the Canyon: Light, Stillness, and a Different Pace
- The Slot Canyon Hike: Easy Trail, Hot Sand, Great Photos
- Swim Break in Lake Powell: The Reset Button
- The Return Paddle: A Relaxed Finish (Still Watch Your Effort)
- What You Get for $119: Is This Good Value?
- What to Bring and Wear: Avoid the Usual Sun and Sand Mistakes
- Skill Level and Fitness: Beginner-Friendly, Not Couch-Safe
- Guide Style Makes the Day: Why Ian, Ben, and Manny Matter
- Quick Reality Checks Before You Book
- Should You Book This Antelope Canyon Kayak and Hike Tour?
- FAQ
- How long is the Antelope Canyon Lake Powell guided kayaking and hike tour?
- Where is the meeting point for the tour?
- How early should I arrive?
- What is included in the tour price?
- What additional fees should I expect?
- Is the tour offered in English?
- Do I need to be an experienced kayaker?
- What should I bring with me?
- What is not allowed during the tour?
- Can I cancel and get a refund?
Quick Hits: The Stuff That Actually Matters
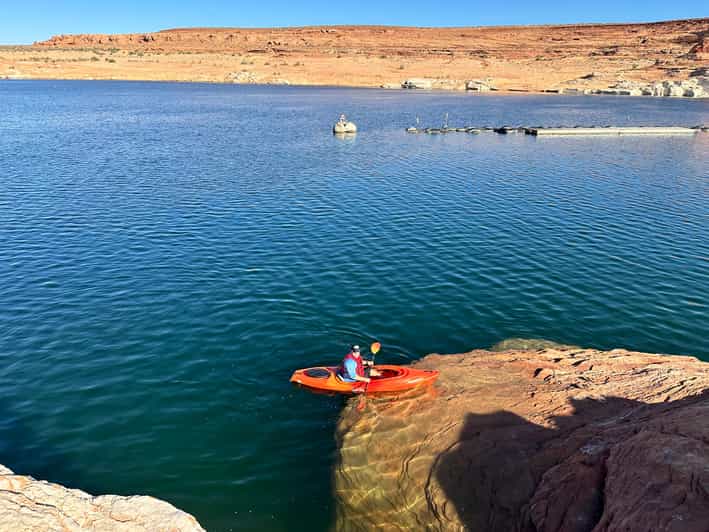
- Kayak + hike + swim in one loop at Antelope Point, so you see more than the usual land-only canyon tour.
- Main channel first, then Antelope Canyon waters, so you get a real sense of how the canyon changes the feel of the lake.
- No-nonsense guide support: you get a quick instruction set before you push off.
- Photo time happens naturally, especially on the hike where the canyon walls funnel the light.
- Bring real sun protection since the hike has little shade and the ground can get hot.
- Expect more effort than you think, with some groups finding the paddling the hardest part.
Kayaking the Main Channel to Antelope Canyon’s Door
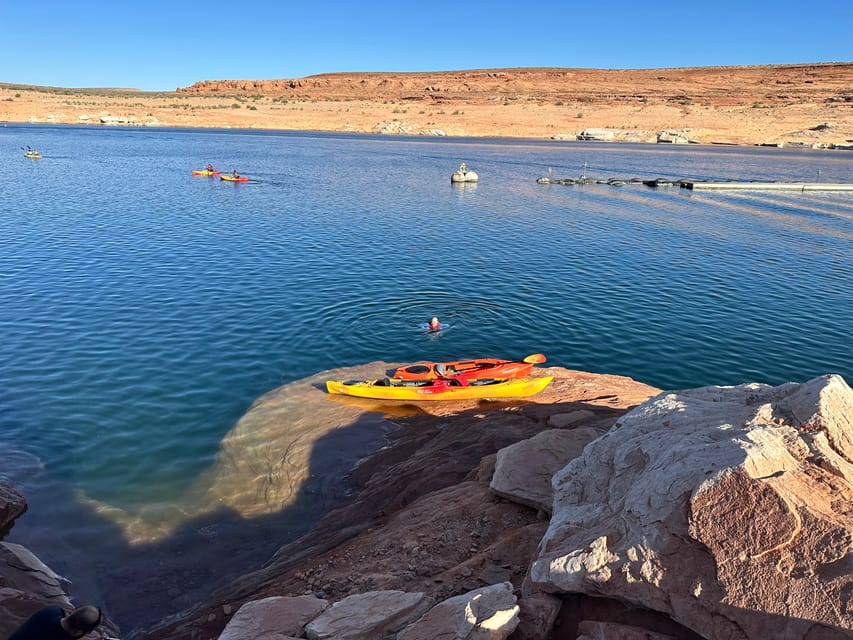
The tour is built around a straightforward idea: get you into the canyon system from the water first. That means you start on Lake Powell, with red rock cliffs and open water around you, before you enter the narrower slot canyon area. It’s a different angle than most people get, and it often feels more spacious at the start, even though the canyon looks tight and photogenic.
A big win here is how the activities connect. After paddling toward the canyon entrance, you hop out and transition straight into a slot-canyon walk. That switch keeps things interesting, and it also gives you a chance to stretch your legs after being seated.
You can also read our reviews of more guided tours in Page Arizona
Antelope Point Launch Ramp: Find the Right Spot, Then Relax
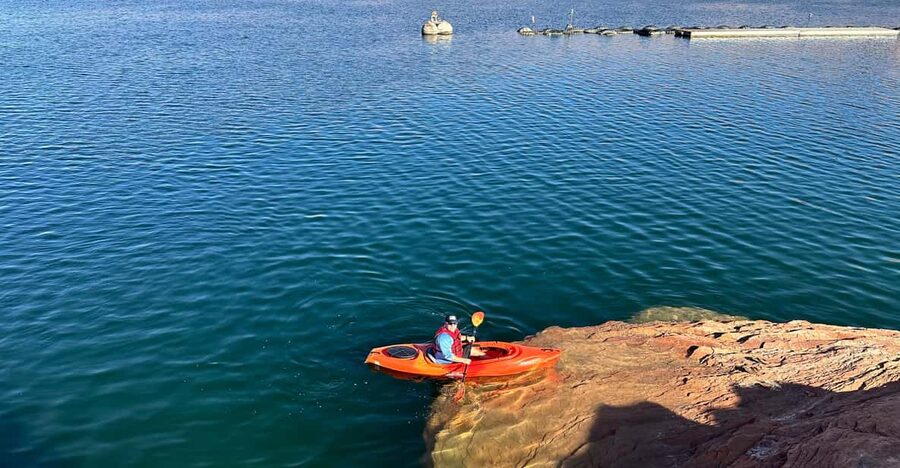
You meet at the bottom of the Antelope Point Launch Ramp, behind concrete barricades. Your guide will wear a shirt and hat with waSUPkayaks branding, so you’re not left guessing who’s running the show.
Plan to arrive 30 minutes early. That isn’t optional. You want time to find the meeting area, get your gear sorted, and get the safety and equipment rundown without feeling rushed. Also, they run on Arizona time, and phones sometimes grab Utah cell towers, which can make the time feel off by an hour. Double-check your schedule before you drive in.
What Happens Before You Paddle: Equipment + Safety Setup
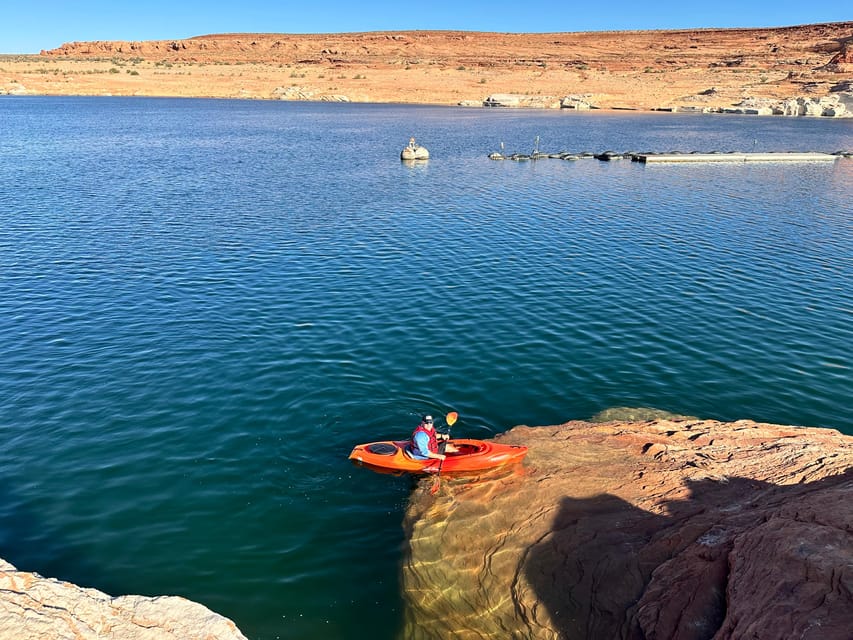
Once you meet your guide, you’re kitted out with the essentials: kayak, paddle, life jacket, and a dry bag. You’ll also get a brief tutorial, which matters because even strong paddlers benefit from knowing how the guide wants you to move as a group.
This is one of those tours where the safety briefing isn’t just paperwork. The water is part of the experience, and the guide’s job is to help you stay comfortable and get where you’re going. In the reviews, guides like Ian and Ben are repeatedly praised for keeping the agenda relaxed while still watching everyone closely.
Paddling on Lake Powell: Where Wind Turns Into the Real Test
The kayaking route starts in the main channel, then heads toward the entrance to Antelope Canyon. Early on, you’re mostly dealing with wide open water, which means wind and waves can affect how the kayak feels.
If you’re a beginner, don’t assume it will be effortless. Some groups describe the open-water paddling as a workout, especially when wind picks up. One review notes that boat activity can make the water choppy, and that you feel it more in the main section than after you transition into the calmer canyon-area water.
A helpful detail: near Antelope Creek, motorboats are limited to about 5 mph, which tends to make the water calmer once you’re in the right zone. Translation: the harder part is often before you reach the canyon entrance, and once you’re there, the paddling can feel more like flow than battle.
Entering the Canyon: Light, Stillness, and a Different Pace
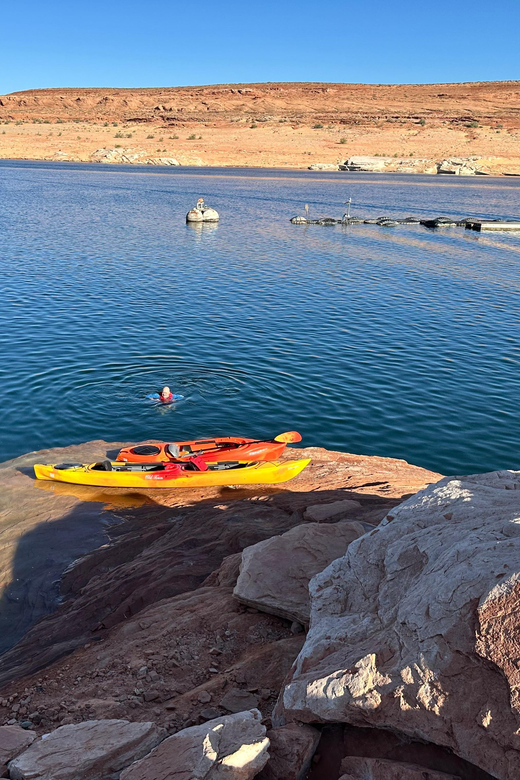
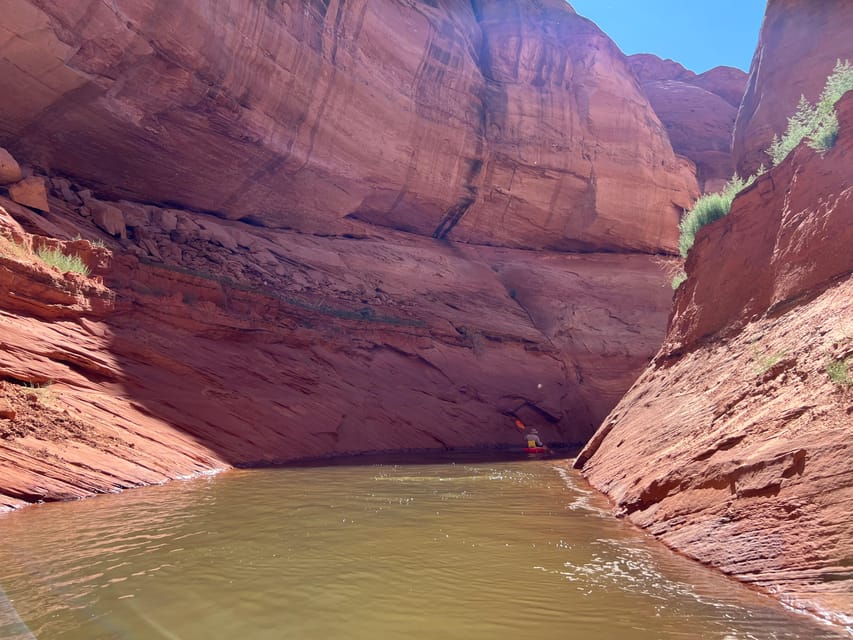
When you reach the canyon area, the visuals change fast. Towering sandstone walls rise on both sides, and the water can feel quieter and more protected. Even if you’ve seen Antelope Canyon photos, seeing it from just above the waterline is different. The canyon’s shape controls how light hits the sandstone, so shadows and highlights shift as you move.
This is where you’ll appreciate the guide’s pacing. Ian and Ben are both described as laid back and patient, and that matters because the canyon moment isn’t something you want to rush through while you’re still figuring out your stroke. You get time to look, take pictures, and settle into the rhythm.
You can also read our reviews of more hiking tours in Page Arizona


The Slot Canyon Hike: Easy Trail, Hot Sand, Great Photos
After you paddle to the back of the canyon area, you park your kayak and hike through the slot canyon. The walk is described as pretty approachable for many people, and it’s long enough to feel like a real canyon experience without turning into a long trek.
What you’re looking at is the canyon’s erosion work up close: narrow passages, sandstone formations, and sharp turns where the canyon walls guide your view. It’s also where the best photo opportunities tend to happen. People mention being able to capture unforgettable images because the walls funnel the light into narrow bands.
One practical note: there’s little shade, and sand can be very hot. Several reviews stress bringing or wearing shoes that handle sand well, like water shoes or closed hiking shoes. If you show up in flip-flops, your feet will get a say in how much you enjoy the hike.
Swim Break in Lake Powell: The Reset Button
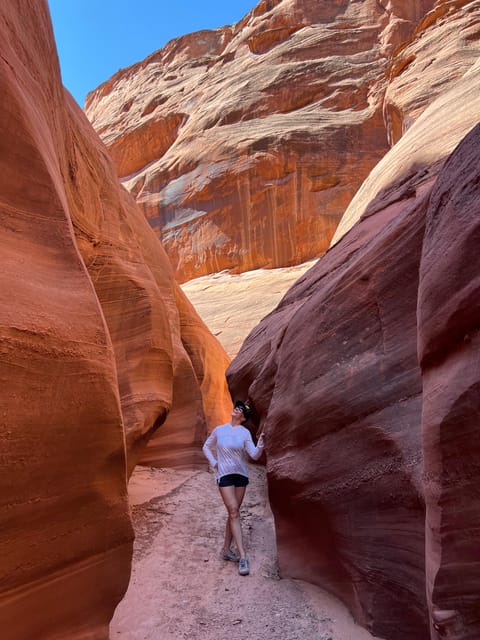
Once the hiking is done, you cool off with a swim. The swim spot is in the clear Lake Powell water, with canyon walls and open sky around you. How long the swim lasts can vary, with some groups describing around 15 minutes and others describing closer to 30.
This break is more than a fun pause. It helps you recover if the paddling felt strenuous and lets you enjoy the scenery without working continuously. The water temperature and conditions also matter, so the guide’s call on timing and where to stop is worth trusting.
The Return Paddle: A Relaxed Finish (Still Watch Your Effort)
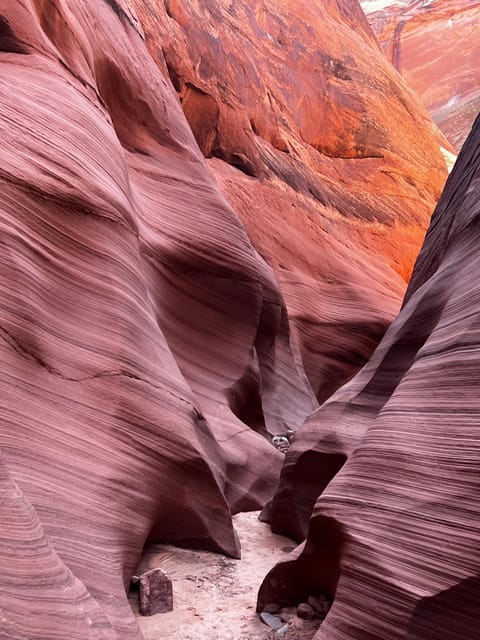
After swimming, you get back into your kayak for a leisurely paddle toward the starting point. The return is often calmer because you’re already familiar with the canyon-area feel, and you know what the water will do next.
Still, don’t treat the return as free labor. If you’re tired, your form matters. Keep an eye on your energy and follow your guide’s spacing and instructions, especially if wind changes again on the lake.
What You Get for $119: Is This Good Value?
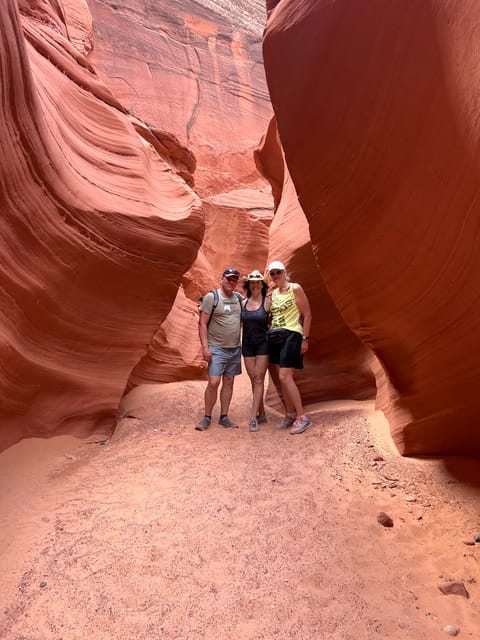
The price is $119 per person for a 4-hour guided experience. That includes kayaking equipment and the safety basics: kayak, paddle, and life jacket, plus a dry bag. You also get a guide, route direction, and the structure to combine paddling, canyon hiking, and swimming.
What’s not included is important for budgeting:
- $30 park entry fee
- transportation to the launch ramp
- water, sunscreen, towels, and snacks
So is it a bargain? In practice, it’s good value if you like having everything coordinated in one go. You’re paying for the combo experience plus the gear. If you were to try to stitch together kayak rental, your own route planning, and a separate guided hike, costs and friction would likely add up.
Also, they’re specific about timing and safety. That matters when you’re moving from open water to narrow canyon areas in one outing.
What to Bring and Wear: Avoid the Usual Sun and Sand Mistakes
Bring sunglasses and a sun hat. Bring sunscreen and water. Bring a towel and snacks if you don’t want to make this a hunt-for-food day.
For footwear, don’t treat this like a casual stroll. Closed shoes or water shoes are a recurring recommendation. The sand gets hot, and you’ll want something that doesn’t turn into a slipping hazard in wet or muddy spots.
Camera-wise, you’ll want something you can keep close and safe. A waterproof camera or waterproof phone setup is a smart move since you’ll be on and off the kayak.
Beachwear is fine, but have it work with your hike shoes. You want to be comfortable both in and out of the water.
Skill Level and Fitness: Beginner-Friendly, Not Couch-Safe
The tour is described as good for beginners and advanced kayakers, as long as you’re reasonably fit. Here’s the honest way to think about it: beginners can do it, but you’re still paddling on real water, and the effort can increase with wind and waves.
If you’re comfortable using a kayak and you don’t mind working for a bit, you’ll probably enjoy this a lot. If you’re not, the paddling portion will feel long and tiring. Several reviews point out that the hike itself can be pretty manageable, while paddling may be the main workout.
Age and weight limits are also clearly set. It’s not suitable for wheelchair users and it lists age restrictions at the young end (under 2, 3, 4, and 5) and also at the higher end (not for people over 70). Weight is capped at 309 lbs (140 kg). So check those limits before booking.
Guide Style Makes the Day: Why Ian, Ben, and Manny Matter
This trip lives or dies by how the guide handles the group and the environment. The reviews emphasize a few consistent things: guides like Ian and Ben keep things calm, explain what to look for, and manage pacing so you can go at your own comfort level. Manny and others are also praised for being welcoming and attentive, especially when people need a little extra help.
That guide mix is useful because this is both a sport and a sightseeing experience. You want instructions, but you also want time to look at canyon walls and take photos. A good guide helps you do both.
Quick Reality Checks Before You Book
Here’s what I’d be ready for if I were you:
- You get kayaking first, and that’s often the toughest part.
- The canyon hike is rewarding and usually not overly technical, but heat and sun are real.
- You’ll have a swim break, but you still need to show up prepared for a full 4-hour adventure.
- Park entry is extra, so factor the $30 fee into your total budget.
- You must arrive 30 minutes early and be ready for Arizona time planning.
Also, there are clear rules: no intoxication or alcohol/drugs, no glass objects, and no diving. Bring what you need for the day, and leave the distractions at home.
Should You Book This Antelope Canyon Kayak and Hike Tour?
If you want Antelope Canyon in a way that feels fresh, booking makes sense. The kayak angle gives you a different approach to the canyon, and the hike plus swim turns it into a full-value outing rather than a single short stop.
I’d recommend this especially if you like an active day but still want the trip to be guided and organized. It’s a great choice for many skill levels, and the guide support described in the reviews suggests you won’t be left to figure things out alone.
Skip it if you’re not comfortable with paddling as a real physical effort, if you can’t handle hot sun with minimal shade, or if you fall outside the listed age/weight limits. For everyone else who can handle a reasonable workout, this is one of the more complete ways to experience the canyon area without making the day overly complicated.
FAQ
How long is the Antelope Canyon Lake Powell guided kayaking and hike tour?
It lasts about 4 hours.
Where is the meeting point for the tour?
Meet at the bottom of Antelope Point Launch Ramp, behind concrete barricades. Your guide will be wearing a shirt and hat with waSUPkayaks branding.
How early should I arrive?
You need to arrive 30 minutes before the tour starts. This is mandatory.
What is included in the tour price?
The tour includes a kayak, paddle, life jacket, and a dry bag.
What additional fees should I expect?
You’ll need to pay a $30 park entry fee. Transportation to the launch ramp is not included.
Is the tour offered in English?
Yes, the live tour guide provides English-language guidance.
Do I need to be an experienced kayaker?
No. It’s suitable for beginners and advanced kayakers as long as you’re reasonably fit.
What should I bring with me?
Bring sunglasses, sun hat, towel, camera, snacks, hiking shoes, sunscreen, water, and waterproof camera gear if you have it. Beachwear is also listed as a good option.
What is not allowed during the tour?
Intoxication, alcohol and drugs, glass objects, electric wheelchairs, padlocks, alcohol on the vehicle, and diving are not allowed.
Can I cancel and get a refund?
Yes. You can cancel up to 24 hours in advance for a full refund.