REVIEW · REYKJAVIK
Sólheimajökull Glacier Hike
Book on GetYourGuide →Operated by Guide to Iceland · Bookable on GetYourGuide
Glacier walking turns Iceland into a science lab. I love the Sólheimajökull glacier hike because it’s well priced and run with real care, from the first safety briefing to the moment you strap on crampons.
I also like the pacing: you get a 30-minute walk over volcanic black-sand terrain before you’re on the ice for roughly 90 minutes, so it feels like an actual hike, not just a quick photo stop. You should note one possible drawback: ice-cave access and specific formations can vary with conditions, so it’s not a guaranteed show-and-tell stop.
In This Review
- Key things I think you’ll notice
- Where Sólheimajökull fits in Iceland’s glacier story
- The 30-minute approach: black sand, cliffs, and glacier retreat cues
- Getting your gear right: crampons, harness, ice axe, helmet
- Stepping onto the ice: learning technique in real time
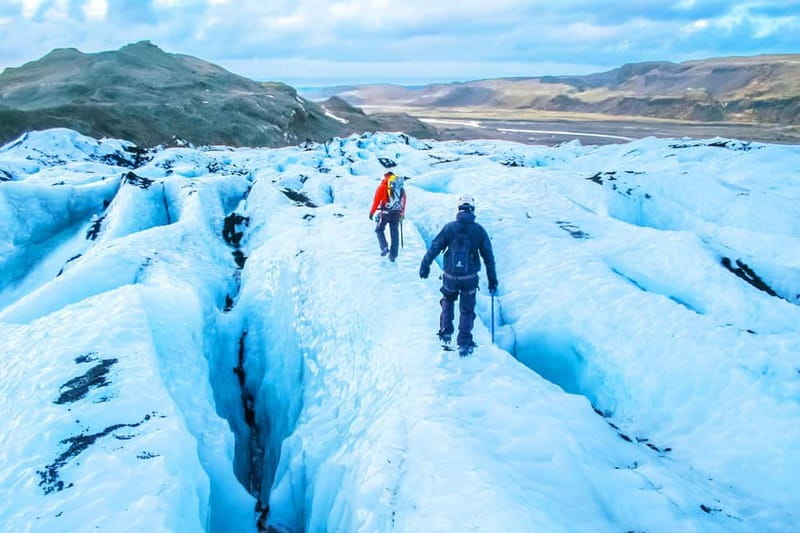
- The on-ice route: moulins, ice tunnels, and crevasse passes
- The return: mixing icy walking with volcanic terrain again
- Who this glacier hike is best for (and who should think twice)
- Price and value: is $91 a good deal?
- What to bring (and what to leave at home)
- Booking check: when the small details matter most
- Should you book the Sólheimajökull Glacier Hike?
- FAQ
- Where is the meeting point for the Sólheimajökull glacier hike?
- Is the tour guided in English?
- How long is the tour, and how much time do you spend on the glacier?
- What safety gear is included?
- Is food included?
- Can I cancel for a full refund?
Key things I think you’ll notice
- About 90 minutes on Sólheimajökull ice with guided technique for crampons and safe movement
- Crampons, helmet, ice axe, and harness provided so you’re not juggling gear decisions
- A volcanic black-sand approach that sets the mood and explains what you’re walking into
- Moulins, crevasses, ice ridges, and blue ice are part of the standard on-ice route
- Eyjafjallajökull views on clear days plus broader glacier-vs-volcano context
Where Sólheimajökull fits in Iceland’s glacier story
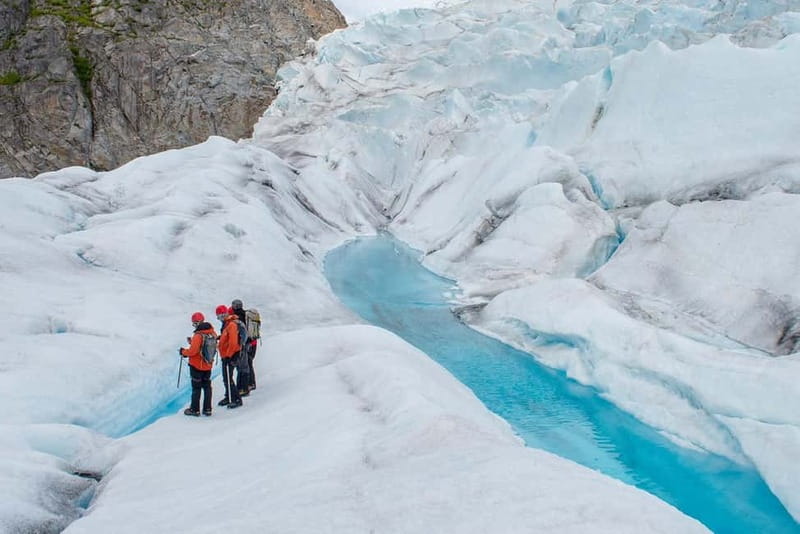
Sólheimajökull is one of the famous outlets of Mýrdalsjökull, and that matters because it’s not just dramatic ice. It’s also a living example of what glaciers are doing right now: retreat, meltwater pools, and ice shapes that look sculpted because they are. When you’re standing there, it hits differently than looking at a glacier from a viewpoint.
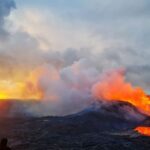
This hike is built around that feeling of being close to the real thing. The tour highlights Sólheimajökull first, but you also get Eyjafjallajökull in the conversation. On clear days, the route can include views toward Eyjafjallajökull, the volcano-glacier system that grabbed global attention after the 2010 eruption.
And yes, the guides are a big part of the experience. I’ve seen names like O’Neil, Leo, and Lorenzo attached to trips like this, and what stands out in the consistent feedback is how they balance fun (with humor) and serious safety—especially while people are learning how to walk on ice.
You can also read our reviews of more hiking tours in Reykjavik
The 30-minute approach: black sand, cliffs, and glacier retreat cues
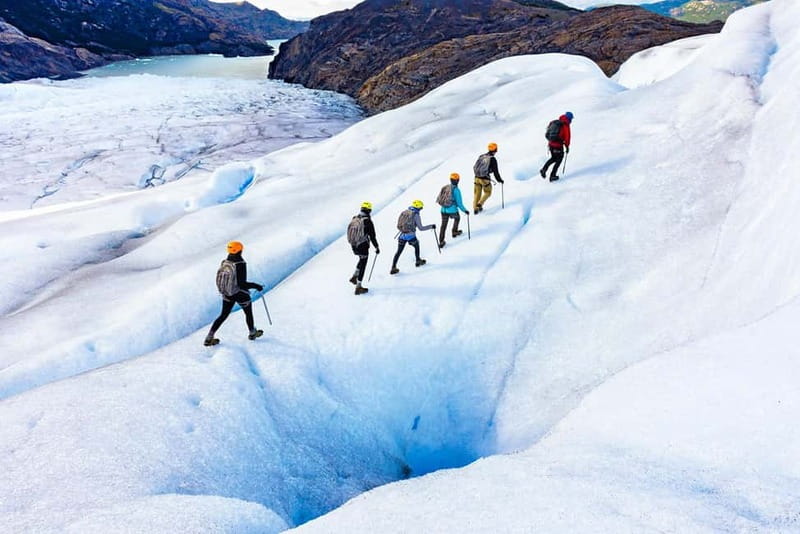
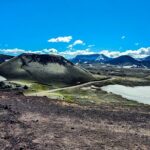
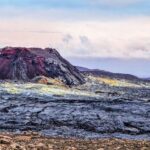
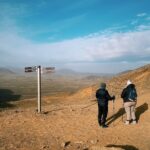
You meet at the Sólheimajökull parking lot, then you start moving. The first stretch is about 30 minutes on foot through rugged volcanic terrain. It’s not the “pretty postcard” portion. It’s the part that explains why Iceland’s glaciers look the way they do when they sit beside volcanic rock.
On this walk, you’ll notice black sands and rugged ground underfoot. As you get closer to the glacier, the guide points out signs of the ice’s current behavior—things like retreat effects and meltwater pools forming at the base. That background is useful because it makes what you’re about to step onto feel less random. You’re not just walking across a frozen surface; you’re walking through an active system.
A small but practical point: this approach is also how you get warmed up and settled into the group. If you’re a first-timer, this is the time to pay attention. The instructions you’ll get right after set you up for the whole glacier section.
Getting your gear right: crampons, harness, ice axe, helmet
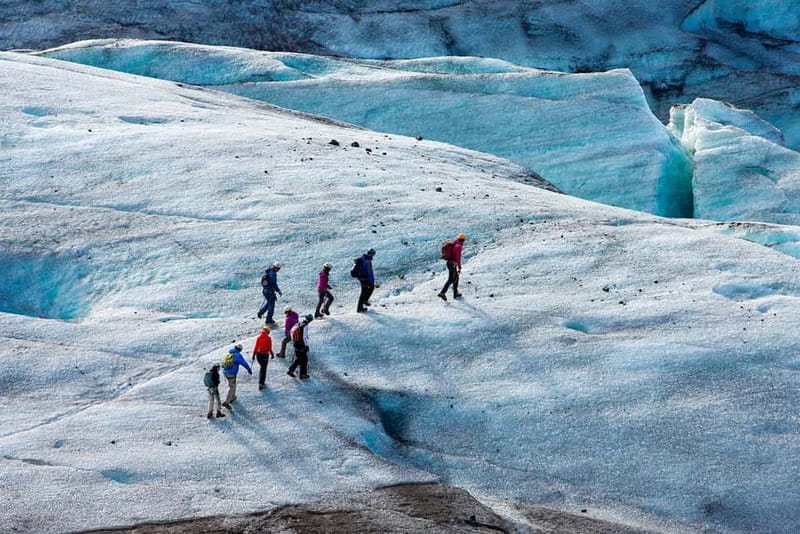
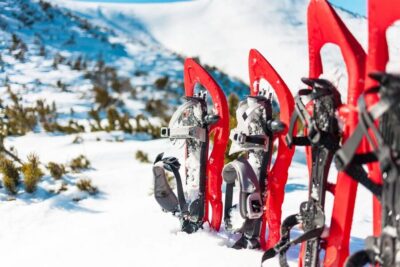
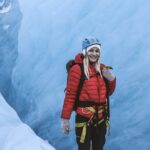
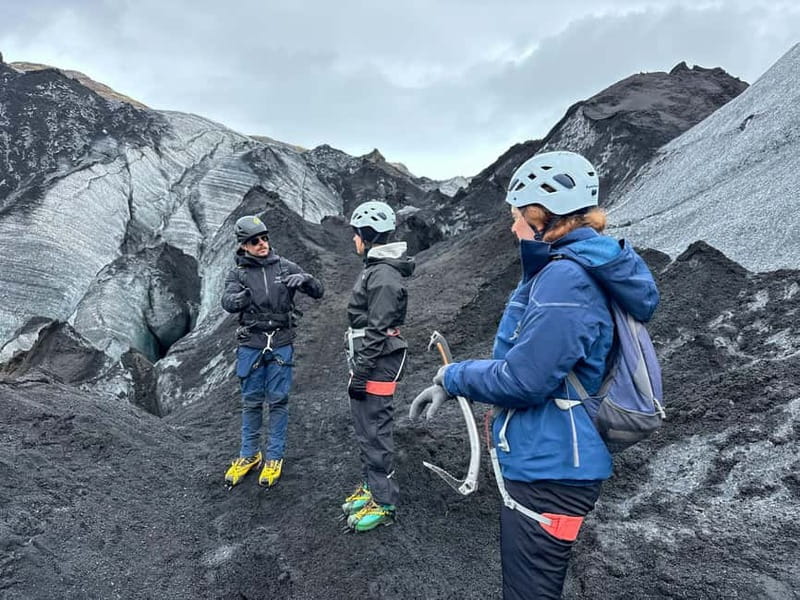
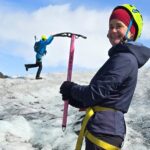
Once you’re ready, the tour focuses on equipment that’s not optional on a glacier: crampons, helmet, an ice axe, plus a climbing harness. The included gear means you can show up without hunting down rentals or trying to figure out what works with your boots.
Here’s what I find helpful to understand in advance:
- Crampons let you walk with traction on ice. They’re also what make you feel the crunch you’ve seen in photos—except up close.
- Helmet is there for basic head protection. Think of it as part of the “everyone’s safe” setup.
- Ice axe is used for stability and technique. Even if you never use it like a movie hero, you’ll learn how it fits your stance.
- Harness keeps you connected to the safety system if the team needs to manage risk in certain sections.
The best part is that a good guide treats this like a lesson, not a speedrun. I’ve seen guides like Petur and Peter emphasized for giving clear, calm instruction on how to use crampons, and for making sure everyone can move confidently before the group spreads out on the ice.
If you’ve ever watched someone step onto slick rock and immediately freeze, don’t worry—you’ll get training. The goal is simple: you should feel like you know what to do with your feet and body, not just where to point your camera.
Stepping onto the ice: learning technique in real time
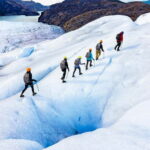
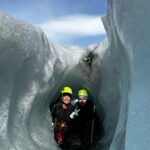
Then you step onto the ice. This is where your senses kick in: the surface feels different under crampons, and the glacier isn’t uniform. You’ll move past areas with deep features like crevasses and ice ridges, and you’ll see the striking look of blue ice in spots.
The guide will also explain how glaciers form and why certain shapes show up. You’re going to hear words you might not have used before, like moulins (those are vertical shafts where meltwater drains). You can literally see how water has carved its way through the ice over time.
One reason I recommend doing a guided hike like this is that the ice is fascinating but also confusing. From the ground, it can look solid and safe even when it isn’t. The guide’s job is to help you read the ice—where to step, how to distribute weight, and when to slow down. When guides like O’Neil are described as patient and safety-focused, that usually translates into real coaching, not just announcements.
And if weather is clear, you might get those Eyjafjallajökull views while you’re on the glacier. That combo—walking on a glacier outlet while seeing another glacier-volcano system in the distance—makes the whole day feel connected.
The on-ice route: moulins, ice tunnels, and crevasse passes
Plan for about 90 minutes on the ice. That timing matters because it gives you enough time to actually walk, pause, and look without feeling rushed. It’s also long enough to notice how your rhythm changes once you’re on crampons.
What you’ll likely encounter includes:
- Jagged ice sculpture-like formations
- Moulins (water-drain shafts)
- Natural ice tunnels or tunnel-like openings, depending on conditions
- Crevasses and ridge lines that show how the ice is moving and cracking
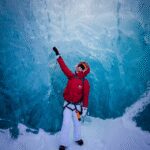
Some trips include a chance to see an ice cave, but access can depend on safety and timing. In the feedback I saw, that ice cave moment is often called a highlight, especially when conditions allow. The key is: the guide isn’t there to force a risky detour. They’re there to keep you on track and choose what’s safe.
Also, don’t underestimate the volcanic ash connection. The glacier can be covered in dark material in places, which makes the ice patterns look extra dramatic and helps explain how volcanic activity leaves fingerprints on glacial surfaces.
A quick realism note: the hike isn’t described as technically extreme for beginners, and the guides are set up for an entry-level experience. Still, you are walking on ice, so you should expect to pay attention and move with care.
The return: mixing icy walking with volcanic terrain again
After the main ice time (about 90 minutes), you head back. The return tends to feel like a cool-down for your body and a reset for your eyes: you go from the close-up weirdness of glacier features back to the volcanic black terrain you walked at the start.
Even though the route length stays reasonable, your legs may feel a bit “different” afterward—mostly because crampons change how you flex your ankles and how you place your weight. This is normal. If you’ve walked in traction on slippery ground before, you already know the drill. If not, give yourself a relaxed evening after.
It also helps to remember you’re not just getting views—you’re seeing process. Melting, retreat, water drainage, ice cracking. It’s geology you can walk through.
Who this glacier hike is best for (and who should think twice)
This tour works well if you:
- Want an intro to glacier hiking without needing technical climbing experience
- Enjoy being taught while you move, especially on new gear like crampons and an ice axe
- Like Iceland’s glaciers close-up, not just from a distance
- Want a day activity that’s still manageable within a typical south Iceland route
It may be less ideal if you:
- Are very sensitive to cold and wind. Reviews note that conditions can change how the hike feels.
- Want guaranteed access to specific ice formations like an ice cave every single time. Safety rules and ice conditions decide that.
- Have trouble with basic walking pace on uneven surfaces. The tour is designed for normal hikers wearing the right shoes, but you will be on rough terrain and then on ice.
Price and value: is $91 a good deal?
At $91 per person, this is one of those Iceland activities that’s easier to justify than the ultra-pricey “everything included” adventures—especially because key safety gear is included: crampons, helmet, ice axe, and a climbing harness.
That matters for value in two ways:
1) You avoid extra rental costs and fit questions
2) You get instruction tied directly to the gear, not just the equipment
Add in the professional glacier guide, plus VAT and taxes included, and you end up with a straightforward pricing model: you pay for the guidance and safety equipment, and you bring your own hiking shoes.
Food isn’t included, so budget for a snack or meal before or after. That’s normal for a 3-hour outing, but it’s still worth planning so the day doesn’t feel like it ends at peak hunger.
What to bring (and what to leave at home)
The requirement is simple: bring hiking shoes. Good traction matters, especially for the volcanic terrain at the start and end.
The tour also has clear no-go items:
- No weapons or sharp objects
- No bikes
- No alcohol or drugs
- No baby strollers or baby carriages
- No crutches
- No bare feet
If you’re thinking, what about gloves or layers? The data provided doesn’t list clothing requirements beyond shoes, so I’ll keep this practical: dress for Iceland’s cold and wind, and don’t rely on your first layer to save you.
For photos, you’ll want a phone or camera that you can manage while walking. Glacier hikes can mean you’re moving, pausing, and moving again—so keep gear secure and avoid fumbling with things in crampons.
Booking check: when the small details matter most
Since you meet at the Sólheimajökull parking lot, plan to get yourself there. Once you arrive, the guide team takes over with gear and instructions.
Also pay attention to timing. The tour is listed as about 3 hours, with 30 minutes of approach and about 90 minutes on the ice. That’s a good structure because it prevents the day from feeling like a long slog with a short reward. You get a real chunk of glacier time.
Should you book the Sólheimajökull Glacier Hike?
Yes, I’d book it if you want a hands-on glacier experience without turning it into an all-day ordeal. The included crampons and safety system, the structured coaching, and the chance to see things like moulins, crevasses, blue ice, and potentially an ice cave (when conditions allow) make it a strong value at $91.
Skip or rethink it if you’re not comfortable walking on icy ground or you need guaranteed access to specific ice features regardless of safety. Like most glacier experiences, conditions have a vote.
If you’re the type who likes learning while you walk, this is exactly the kind of day that stays with you—because you don’t just look at Sólheimajökull. You learn how to move on it.
FAQ
Where is the meeting point for the Sólheimajökull glacier hike?
You meet at the parking lot at Sólheimajökull, where the guides are waiting for you.
Is the tour guided in English?
Yes. The tour includes a live guide in English.
How long is the tour, and how much time do you spend on the glacier?
The total duration is about 3 hours, including a 30-minute walk before stepping onto the ice and about 90 minutes on the glacier.
What safety gear is included?
The tour includes crampons, a helmet, an ice axe, and a climbing harness, plus a professional glacier guide.
Is food included?
No. Food is not included.
Can I cancel for a full refund?
Yes. You can cancel up to 24 hours in advance for a full refund.