REVIEW · VATNAJOKULL NATIONAL PARK
Skaftafell: Blue Ice Cave & Glacier Hike on Vatnajökull
Book on GetYourGuide →Operated by Arctic Adventures · Bookable on GetYourGuide
Blue ice under your boots is hard to beat. I love the chance to step into a true natural ice cave and see those unbelievable blue tones up close, not through a screen. I also love how the hike feels guided and approachable, with expert help that keeps the focus on safe movement and what you’re actually seeing, with guides like Ola often called out for being fun and clear.
One thing to keep in mind: the ice cave is a limited-edition natural feature, so its shape and how impressive it looks can vary from day to day.
In This Review
- Key Things I’d Bet You’ll Care About
- Where Skaftafell Meets Vatnajökull: What This Trip Really Is
- Getting There by 4×4: Why the Transfer Matters
- Gear Up Fast: Crampons, Helmet, Axe, Harness (and Shoe Limits)
- The Hike Across Falljökull: Crevasses, Moulins, and a Real Pace
- Ice Cave Time: Why Every Cave Is a Limited Edition
- Guide Style Makes the Difference: Safety, Stories, and Photos
- Weather and Snow: When Conditions Change the Feel
- What to Bring (and What to Skip)
- Price and Value: Is $163 Worth It?
- Who Should Book This Glacier Hike (and Who Should Rethink It)
- Final Take: Should You Book the Skaftafell Blue Ice Cave & Falljökull Hike?
- FAQ
- How long is the Skaftafell Blue Ice Cave & Glacier Hike?
- Where do I meet for the tour?
- How do you get from Skaftafell to the glacier?
- What gear is included?
- Do I need to bring hiking boots?
- What shoe sizes are allowed for the crampons?
- What shoes are not allowed?
- Is the ice cave always the same?
- What age is the minimum for this tour?
- Is food included?
Key Things I’d Bet You’ll Care About
- Max 12 guests per guide means you get more attention on crampons, spacing, and pacing
- Pro glacier kit provided includes crampons, helmet, walking ice axe, and harness
- Falljökull glacier hike over ridges and crevasses turns photos into a real-world experience
- Blue ice cave timing and access depend on conditions, so your specific cave may differ
- Off-road 4×4 transport from Skaftafell cuts the stress of getting out there efficiently
Where Skaftafell Meets Vatnajökull: What This Trip Really Is
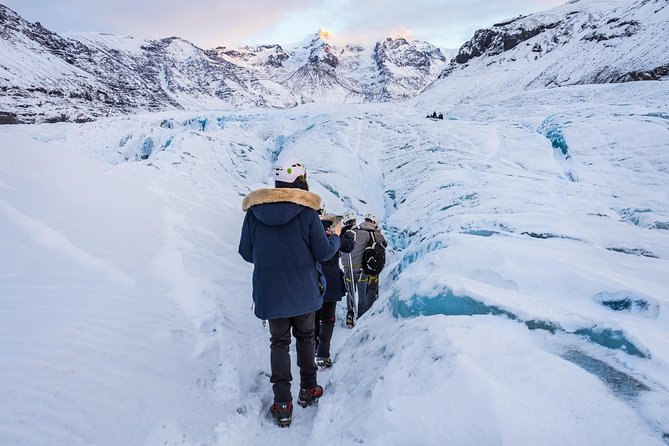
This is one of those Iceland days where the wow moment isn’t the waterfall viewpoint or the distant glacier photo. It’s your boots on the ice, your helmet on, and your guide keeping you safe while you move across a real glacier system.
Vatnajökull is the largest glacier in Europe, and this tour uses that scale to give you a tight, high-impact experience in about 4 hours. You’re based out of Skaftafell, then you’re transported to the foot of Falljökull and taken onto the ice. That means less time logistics-ing and more time learning and walking. You’ll also get the story angle: how these huge ice masses form and how they are changing now.
The best part, in plain terms? It feels adventurous without feeling like a total leap of faith. The tour is built around safety gear, a small group size, and a pace that lets you look, ask, and take photos without sprinting through the ice.
You can also read our reviews of more hiking tours in Vatnajokull National Park
Getting There by 4×4: Why the Transfer Matters
You meet at the Arctic Adventures base area in Vatnajökull National Park near the Skaftafell visitor centre. Then you hop into a 4×4 bus for about 20 minutes to reach the glacier foot.
That may sound like a minor detail, but it changes the tone of the day. A glacier hike is already a cold, physical experience. The less time you spend coordinating your own route on rough ground, the more energy you have for the walking and the ice cave time. It also helps the guides manage timing—crucial when glacier conditions can affect which ice cave is safe that day.
One small practical note from real-world feedback: the parking situation at the base area can be confusing at first because there are a couple of close options. Once you’re there, everything is usually set up clearly, but if you arrive early, give yourself a couple minutes to find the exact hut/meeting spot.
Gear Up Fast: Crampons, Helmet, Axe, Harness (and Shoe Limits)
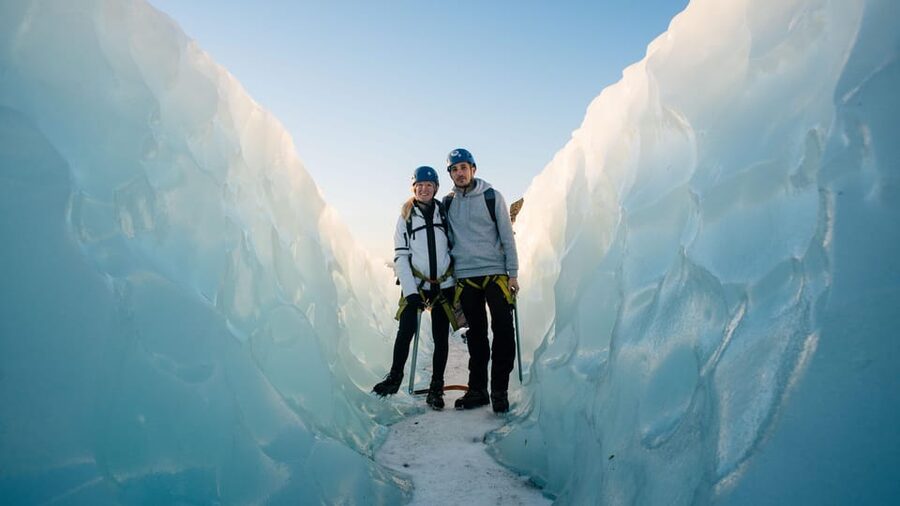
You don’t show up and figure out glacier equipment on the spot. You get it. The tour provides the glacier safety gear you need, including crampons, a helmet, a walking ice axe, and a harness. You also get a safety briefing before stepping onto the glacier.
This matters for two reasons:
- It boosts confidence right away. Multiple people mention feeling extremely safe once the guide explains the kit and the movement.
- It reduces guesswork. You’re not trying to guess what footwear works on ice ridges and crevasse-looking terrain.
Now the key limitation: the specialized crampons fit shoe sizes 35 to 50 EU. If your shoe size is outside that range, the tour won’t work for you. Also, the tour is strict about ankle-support hiking boots (and it explicitly does not allow open-toed or high-heeled shoes). If you don’t have boots, hiking boots with ankle support are available to rent for a fee.
What I’d do before the day: if you’re between shoe sizes, try them on early. Snug straps and good fit matter on crampons. If crampons feel loose or awkward, tell your guide right away.
The Hike Across Falljökull: Crevasses, Moulins, and a Real Pace
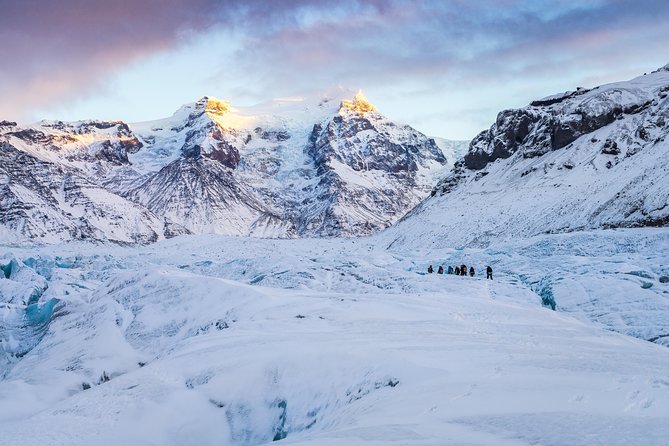
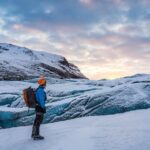
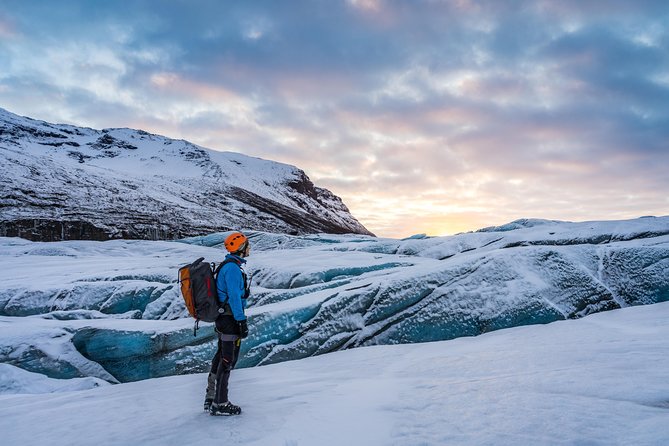
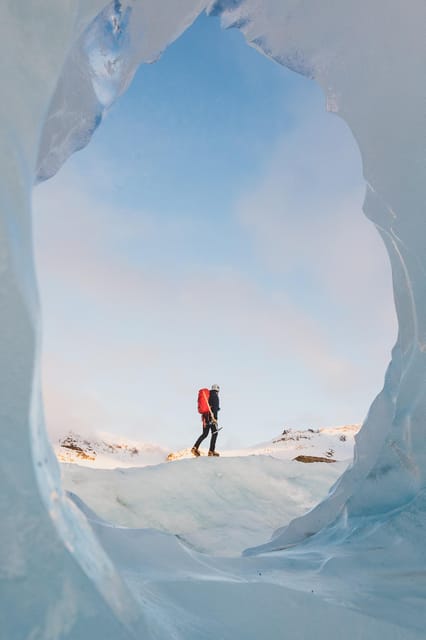
Once you’re on Falljökull, the hike is where the tour becomes unforgettable. You’re walking over frozen ridges and around deep blue crevasses. Some of the points you’ll likely see and hear about include moulins, those deep ice shafts where meltwater flows down into the glacier.
The hiking part is often described as not overly demanding, but it isn’t a flat stroll either. Glacier walking involves careful steps, and your guide will manage spacing between people for safety. In a small group (max 12 per guide), that spacing is easier to monitor, which is one reason the experience feels calmer than big-group glacier tours.
A few practical details you can use:
- Bring your energy. One person specifically mentioned feeling dizzy and shaky when they hadn’t had a proper breakfast, and the team responded kindly by letting them pause, drink water, and snack. So yes, eat first.
- Stay warm and move steadily. The guides tend to keep a relaxed pace so you can look and photograph while still making steady progress.
If you’re new to ice walking, this is a good first try. People doing their first glacier hike often say the guide makes it feel manageable, with clear instruction on how to walk with crampons and how to handle the axe.
Ice Cave Time: Why Every Cave Is a Limited Edition
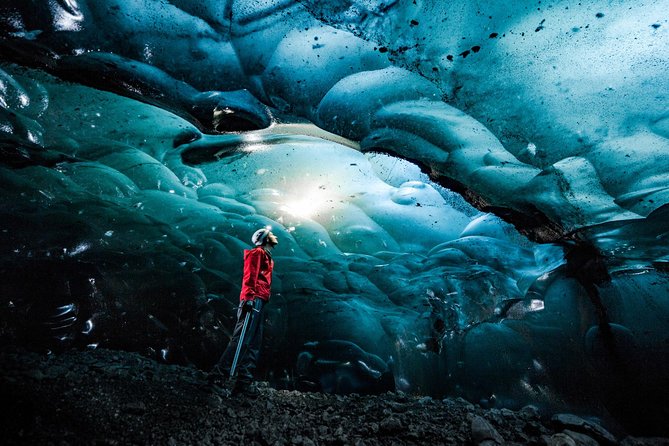
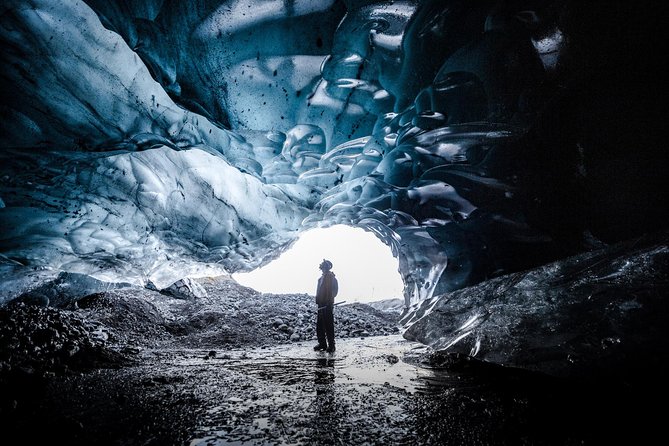
The headline is the natural blue ice cave. And the reason it looks so unreal is exactly why you shouldn’t expect a cookie-cutter scene.
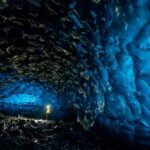
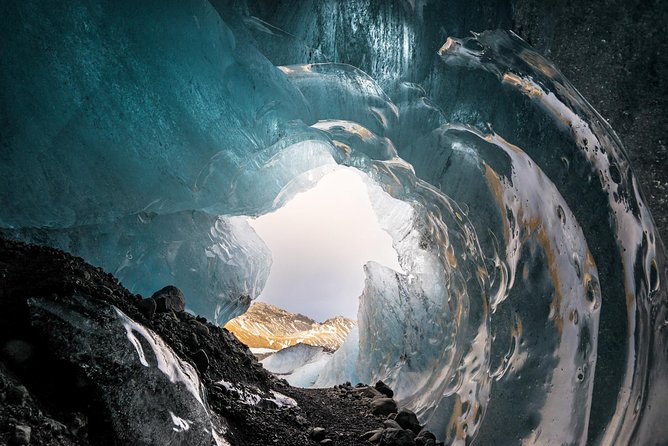
Glacier caves change constantly. The tour notes that the ice cave you visit is selected based on conditions and safety, and because the glacier is always changing, every cave is a limited edition. In plain language: your cave might be bigger, smaller, or shaped differently than what you’ve seen in photos.
Also, don’t assume you’ll be in the cave for a huge duration. Some people have found the cave itself relatively small, but still magical because the blue tones and the internal ice formations can be striking even with limited time. Even when the opening isn’t huge, the details inside can be mesmerizing—especially the cracks, walls, and the way light moves through the ice.
Photography tip: cave lighting can be tricky. If your phone camera struggles, it’s usually not your fault. Try a few angles and keep the main time for seeing the cave with your own eyes first.
Guide Style Makes the Difference: Safety, Stories, and Photos
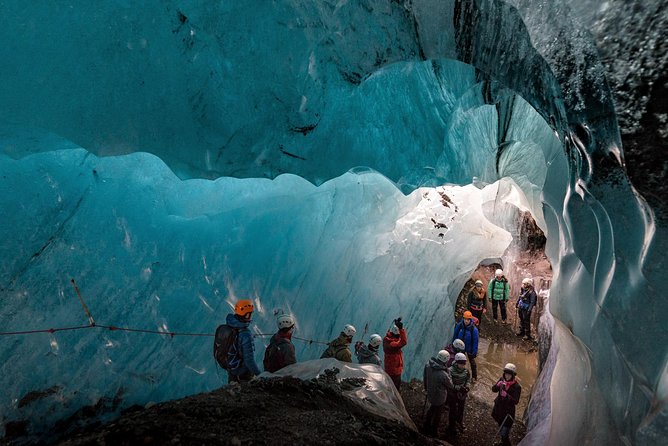
A glacier tour lives or dies by the guide. This one leans heavily on expert guidance, and it shows up again and again in the feedback.
You’ll hear glacier formation stories as you hike and explore. Guides explain how these massive glaciers formed and how they’re changing over time. That storytelling isn’t just trivia; it helps you understand why you’re seeing ridges, crevasses, and moulin features the way you do.
People also talk about guide personalities in a way that matters: they kept the mood upbeat, made beginners feel comfortable, and offered lots of photo chances. Some guides are specifically mentioned by name, including Ola, Albin (also called Dragon), Marketa, Jacek, Anya, James, and Martin (spelling may vary by review). The common thread is that you’re not just being led—you’re being coached.
If you’re the type who likes getting great shots, this is one of the tours where the guide can help you position for photos on the ice and inside the cave. Just be mindful of what your footing needs first.
Weather and Snow: When Conditions Change the Feel
Iceland weather has a habit of rewriting plans. On some days, the glacier can be covered in snow, which can change how the ice texture and crevasses look. One person mentioned that heavy snow still made the experience great, with the added bonus of feeling less crowded.
What I take from that: the tour is built to be flexible. The guides select the cave based on conditions and safety, so your day is designed around what’s realistically safe and visible. That’s better than rigidly chasing one exact cave shape no matter what the environment does.
So when you’re planning your Iceland schedule, try not to treat this as a single, fragile photo mission. Treat it as a glacier day that adapts. If you go with that mindset, you’ll get more enjoyment even when the weather isn’t perfect.
What to Bring (and What to Skip)
This tour is strict, and that’s for good reason. Here’s the practical checklist based on what the tour asks for:
Bring:
- Warm, waterproof jacket and pants
- Hiking boots with ankle support (mandatory)
- Headwear and gloves
- Hiking shoes if that’s how your boots are described in your gear setup, but expect that ankle support matters most
- Optional but smart: your own water bottle
Not allowed:
- High-heeled shoes
- Open-toed shoes
Food & drinks are not included, so plan to eat before you arrive and consider bringing a snack if you tend to get lightheaded when active in cold air.
Also remember: the tour provides a lot of cold-weather safety gear, but it can’t replace your personal base layer comfort. If you’re underdressed, you’ll notice it fast on the glacier.
Price and Value: Is $163 Worth It?
At $163 per person for 4 hours, the big question is what you’re actually buying: a walk on ice, yes, but also a serious safety setup.
You’re getting:
- Off-road 4×4 transport from Skaftafell
- A trained English-speaking glacier guide
- Full glacier safety gear (crampons, helmet, axe, harness)
- A small group limited to 12 per guide
Most budget tours promise safety in theory. This one builds it into the day through gear and guided movement. You’re also paying for the fact that the ice cave access is conditional. That means guides and operators have to be ready to pick a safe option and manage the hike accordingly.
So if you want a “stand on a platform and watch ice” experience, this isn’t that. But if you want to move on the glacier and see blue ice up close with real instruction, it’s a strong value in Iceland terms.
Who Should Book This Glacier Hike (and Who Should Rethink It)
This tour is a great fit if:
- You want your first glacier hike, not just a viewpoint
- You like guided explanations as you walk
- You’re comfortable following safety instructions and staying aware of footing
- You want a small-group experience where the guide can manage everyone closely
It’s not for:
- Children under 8 years old
- Anyone whose shoe size falls outside 35–50 EU (because crampons won’t fit)
- Anyone who can’t meet the boot requirement (ankle support is mandatory)
If you have knee issues, you might still manage it, especially with a small group pace and careful instruction. One person specifically mentioned having a knee issue and still doing it comfortably with a relaxed pace and a smaller group. That said, you should judge your mobility realistically—glacier steps require stable footing.
Final Take: Should You Book the Skaftafell Blue Ice Cave & Falljökull Hike?
If you’re spending time near Skaftafell, I’d book it. This is one of those Iceland experiences where the learning and the walking go together: you see blue ice, you move across real glacier terrain, and you leave with a new understanding of how glaciers change.
Book it if you:
- Want a small group glacier day with gear included
- Care about safety and instruction more than roughing it
- Enjoy photo moments, but also want them earned by actually being there
Skip it (or plan a different activity) if:
- You don’t have ankle-support boots and aren’t able to rent them
- Your shoe size doesn’t fit the crampon range
- You’re looking for a super short, easy, sightseeing-only stop
For me, the deciding factor is simple: stepping into blue ice with a guide who manages safety and explains what you’re seeing is way more satisfying than any frozen photo.
FAQ
How long is the Skaftafell Blue Ice Cave & Glacier Hike?
The tour lasts 4 hours.
Where do I meet for the tour?
You meet at the Arctic Adventures hut in Vatnajökull National Park, near the Skaftafell visitor centre.
How do you get from Skaftafell to the glacier?
You take a 4×4 bus for about 20 minutes to the foot of Falljökull Glacier.
What gear is included?
The tour includes glacier safety gear: glacier crampons, helmet, walking ice axe, and harness.
Do I need to bring hiking boots?
Yes. Sturdy hiking boots with ankle support are mandatory. If you don’t have them, hiking boots with ankle support are available to rent for a fee.
What shoe sizes are allowed for the crampons?
The specialized glacier crampons are available for shoe sizes 35–50 EU.
What shoes are not allowed?
You can’t wear high-heeled shoes or open-toed shoes.
Is the ice cave always the same?
No. The cave is a natural, changing feature, and the tour selects an ice cave based on conditions and safety. Every cave is described as a limited edition experience.
What age is the minimum for this tour?
The minimum age is 8 years old.
Is food included?
No. Food & drinks are not included.