REVIEW · AORAKI MOUNT COOK VILLAGE
Mount Cook: 3 Hour Heli Hike to the Tasman Glacier
Book on GetYourGuide →Operated by The Helicopter Line Mount Cook · Bookable on GetYourGuide
One helicopter ride and you are on ice. This Mount Cook experience flies you over the Southern Alps and lands you on the Tasman Glacier for a guided hike in the shadow of Aoraki (Mount Cook).
You get two things people come for: a proper glacier landing and a real 2-hour walk on ice, not just a stop for photos. Your guide team also teaches you how to move safely with glacier boots and crampons, with names like Kerry and Jess showing up in the guide lineup.
The trade-off is simple: at $564 per person, this is a splurge, and the helicopter flight depends on favorable weather and minimum passenger numbers.
In This Review
- Key things I’d watch for
- Why This Heli Hike Works: Real Glacier Walking From the Sky
- From Mount Cook Airport to the Tasman Glacier in Minutes
- Safety Briefing and Gear Fitting That Actually Builds Confidence
- The 2-Hour Tasman Glacier Walk: What You’ll See Up Close
- Scenery on the Return Flight: A Close Pass Near Hochstetter Icefall
- Price and Value: What $564 Buys You Here
- Who This Suits Best (and Who Should Rethink It)
- Practical Tips: How to Dress So the Day Feels Good
- Should You Book the Mount Cook Tasman Glacier Heli Hike?
- FAQ
- How long is the heli hike to the Tasman Glacier?
- Where does the tour start?
- What equipment is included?
- What should I bring?
- Is it suitable for children?
- What happens if weather cancels the helicopter flight?
Key things I’d watch for
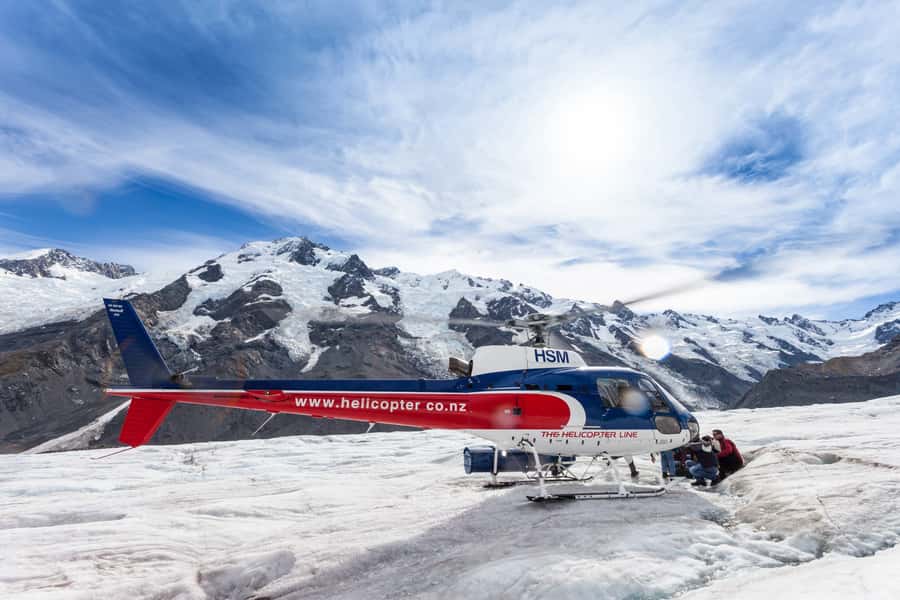
- Helicopter access to the glacier with a true landing, including glacier boots and crampons
- 2 hours on undulating ice under Aoraki and Mount Tasman, with guide-led walking
- Hochstetter Icefall: you fly close to the 1,000-meter-high eastern face of Aoraki
- Small group size (max 10) and an English live guide, plus a safety briefing before you go
- Conditions can shape the hike (snow can affect what you see on the ice)
- No drones or selfie sticks and no tablets/iPads, so plan on handheld photos
Why This Heli Hike Works: Real Glacier Walking From the Sky
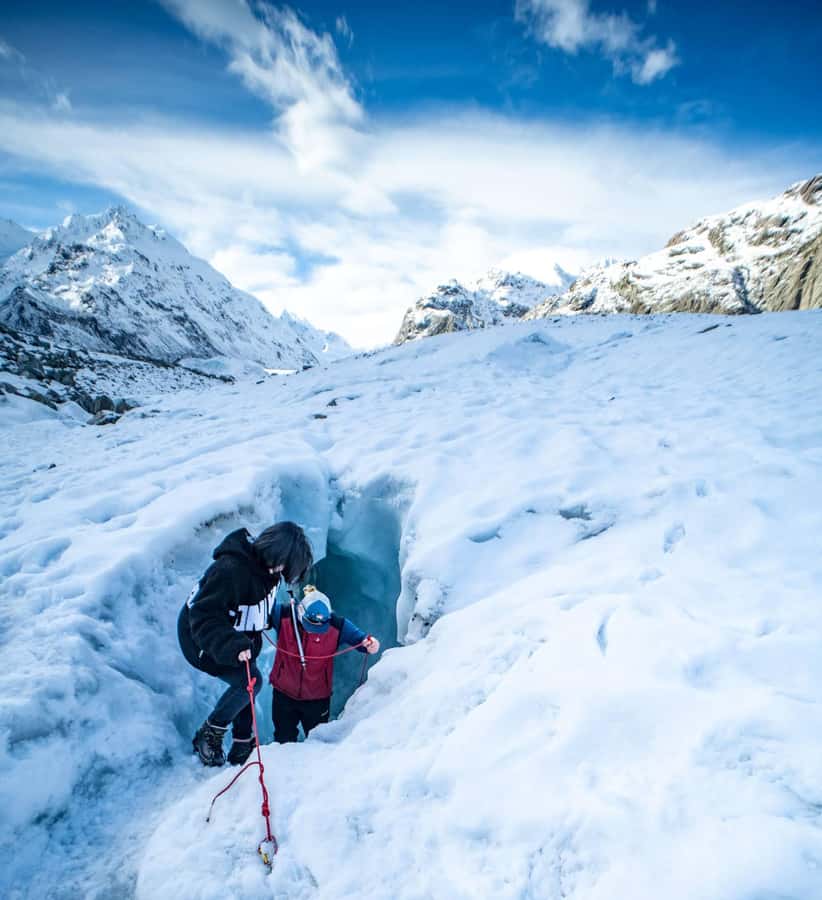
This is not a look-but-don’t-touch glacier tour. The whole point is that you trade a long approach for a short, scenic hop from Mount Cook Airport, then you spend your time where it matters: on the glacier itself. You’ll get wide views from the air on the way in and out, and you’ll also get hands-on experience walking across uneven, surprising ice terrain.
What makes the experience feel worth the money is the mix of access and instruction. You land on the glacier, get kitted out, and spend 2 hours hiking with a professional guide. The best part is how much the guide helps you read the ice features and move with confidence using the gear you’re given.
The day is weather-driven, too. If conditions aren’t right, the flight can be adjusted, canceled, or moved to another date. That’s normal for glacial country, and it’s why you should treat this as a top priority activity rather than something you plan as a backup to everything else.
From Mount Cook Airport to the Tasman Glacier in Minutes
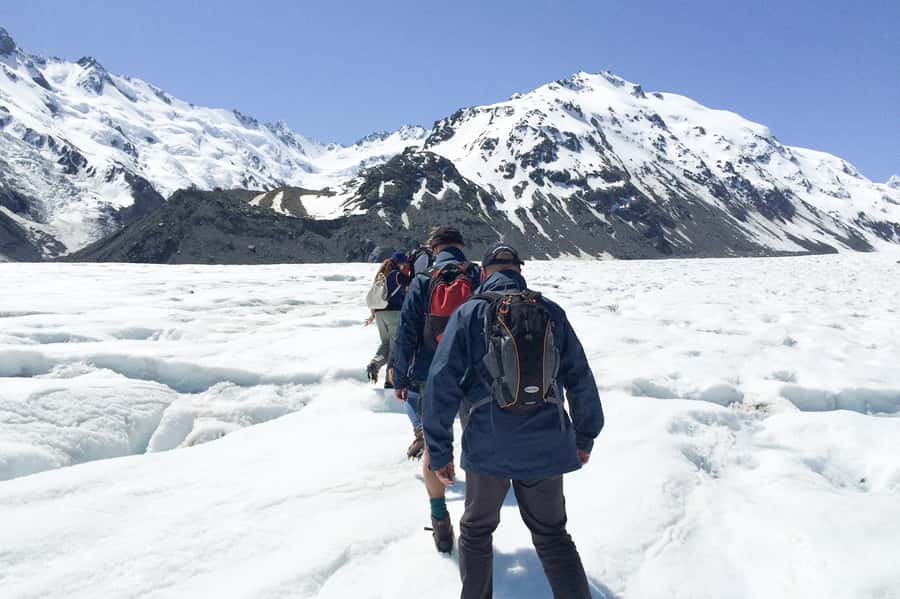
Your tour starts at Mount Cook Airport, with check-in taking place at the meeting point inside the office upstairs in the terminal area. Your requested time is your check-in time, and you should plan on at least 45 minutes after check-in for the safety briefing and equipment fitting. This buffer matters because glacier gear and procedures aren’t something you want to rush.
From there, you’ll get a 20-minute safety briefing, then you’re airborne. The helicopter portion is short on paper (about 15 minutes), but it’s part of what makes this feel like a storybook day. You fly over the Tasman Glacier Lake and the surrounding ice formations, and you’ll see the Southern Alps stretch out below you.
The helicopter ride is also where you get your first sense of scale. A glacier can look small from the road, but from the air you see how the ice system sits across the terrain. It sets you up for the hike, because once you land, you’re no longer guessing where you are in the bigger picture.
Safety Briefing and Gear Fitting That Actually Builds Confidence
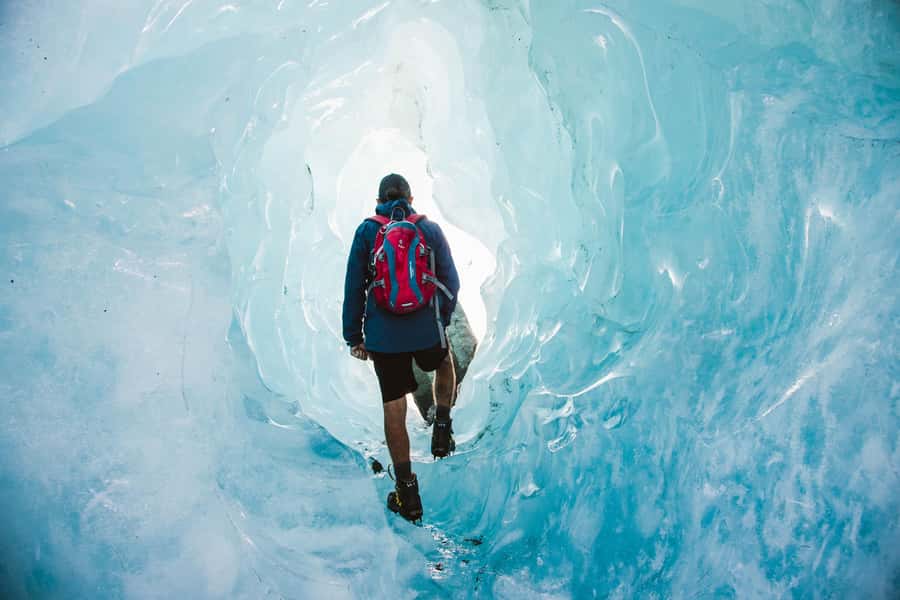
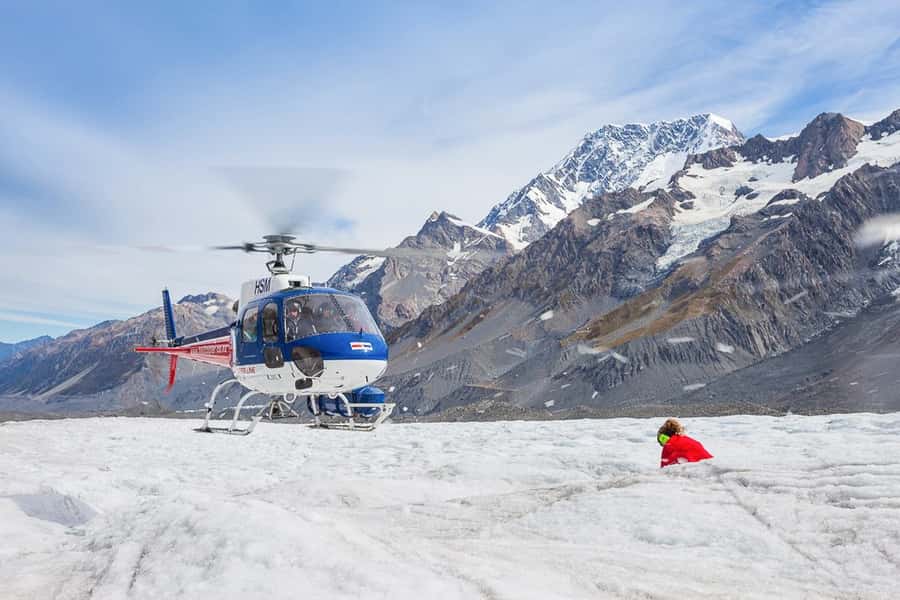
Before anyone steps onto the ice, you do the boring-but-important stuff: safety briefing first, then gear. You’ll be equipped with glacier boots and ice crampons, and if you need it, you’ll also get a waterproof jacket. The equipment is included, so you’re not trying to source gear in a small town before a hike on the world’s ice.
This is also where the guides set expectations for how you walk. You’re going to deal with crampons underfoot and an ice surface that can be uneven or slippery. The guides do a big job here, and many people highlight that the team is careful and safety-conscious from the moment you arrive.
A name you might hear in the guide lineup is Kerry or Jess, and the overall pattern is consistent: they explain what you’re stepping on, how to keep balanced, and what to watch for as you move across the ice. You should expect some guided coaching, not just a quick handoff.
The 2-Hour Tasman Glacier Walk: What You’ll See Up Close
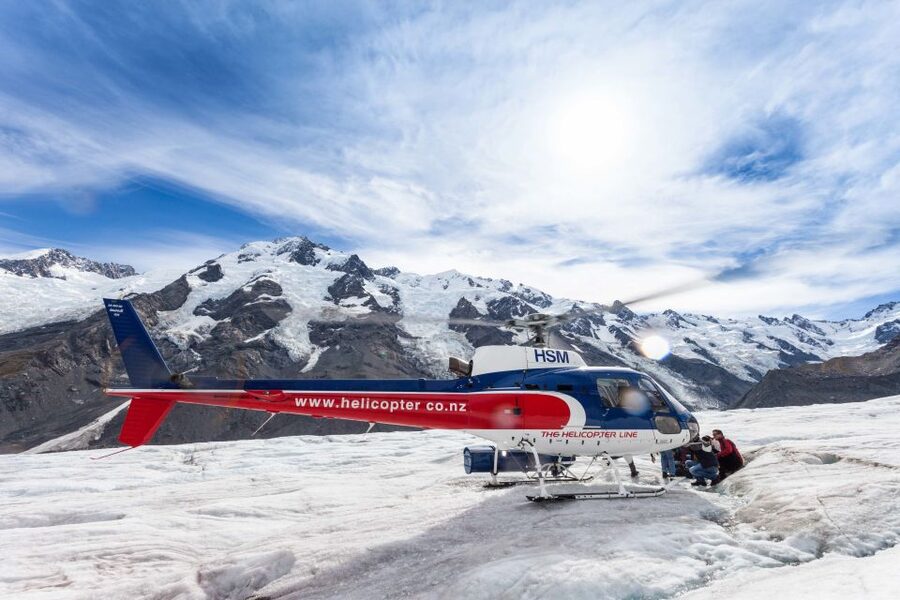
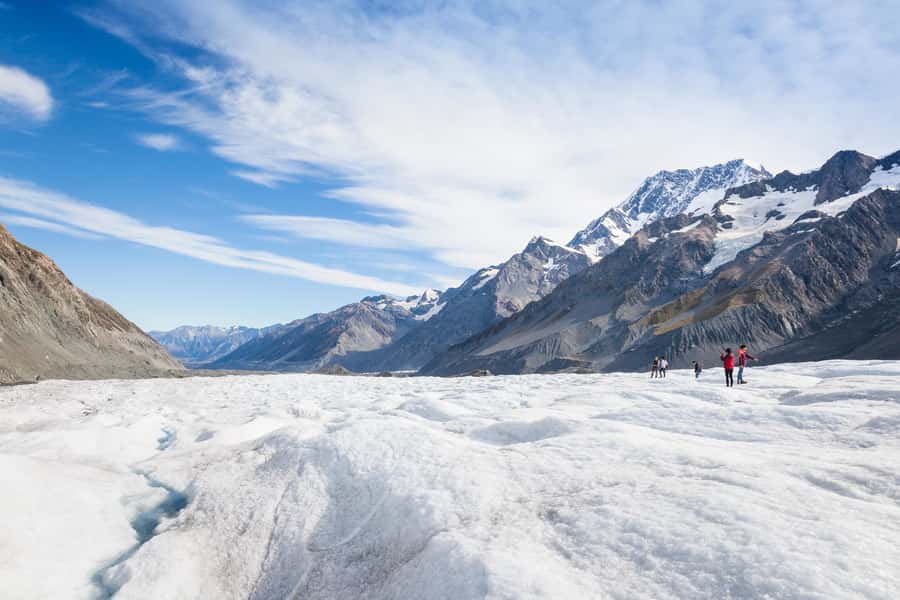
Landing on the Tasman Glacier is the moment the day clicks into gear. You’re in Aoraki (Mount Cook) National Park, and the hike takes place in the shadow of Aoraki and Mount Tasman, with terrain that’s described as surprisingly undulating.
Those small ups and downs matter because glacier hiking is less about speed and more about steady footwork. You’ll move through sections of ice terrain where crampons do real work, and you’ll learn how to keep your steps controlled. Plan for effort. This isn’t a stroll, even if you’re comfortable on regular hikes.
One of the most praised parts is the way the guide turns the walk into something you can understand. People point out how much they learn about the glacier features and how to move on ice safely. In some cases, guides also show techniques related to safety and rescue procedures using rope systems (so you see the practical side of why they take training seriously).
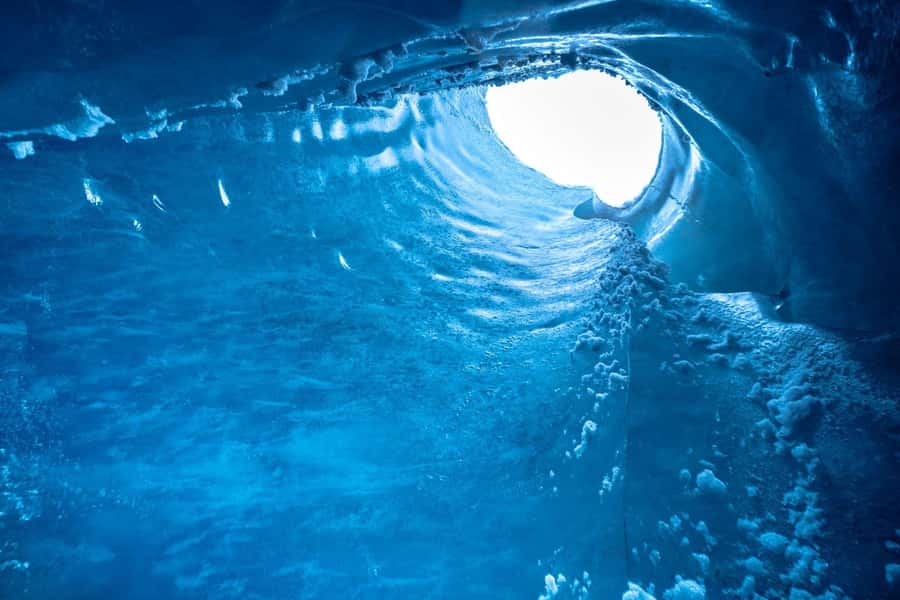
Ice features can include dramatic formations, and on some days you might get access to spots like ice caves. That said, conditions can limit what’s possible. Heavy snowfall in the days before can change what the route includes, so don’t lock in your hopes for a specific ice cave photo. Still, even without the cave stops, the ice formations and the time on the glacier are the real payoff.
Scenery on the Return Flight: A Close Pass Near Hochstetter Icefall
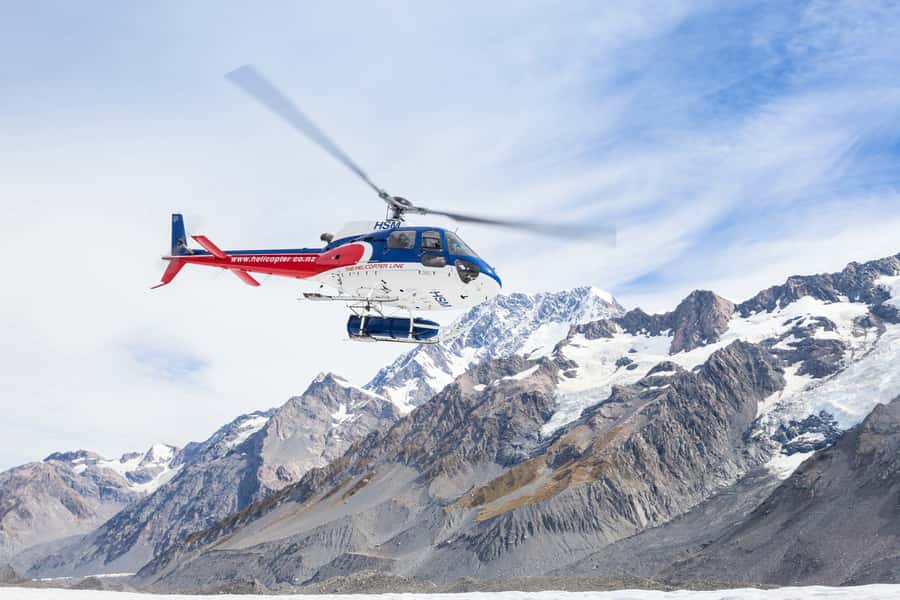
After the hike, you’re back on the helicopter for the return scenic flight. This second flight is also about 15 minutes, but it gives you a final look at the Aoraki area and the ice systems you just walked on.
One detail worth knowing: you fly close to the Hochstetter Icefall, described as around 1,000 meters high on the eastern face of Aoraki. From the air, icefall terrain is easier to read than from the ground because you can see the shape and flow patterns across the face.
This part is great for two reasons. First, it confirms how massive the glacier is compared to the narrow hiking path you were on. Second, it’s often when your photos really come together: you get wide views of snow and ice, plus the peaks that frame the whole Mount Cook region.
Price and Value: What $564 Buys You Here
Yes, $564 per person is a lot. But it’s not just the hike you’re paying for. You’re buying three major things:
- Helicopter transport with scenic flights both ways
- A glacier landing that lets you start the hike directly on the ice
- A guided 2-hour glacier walk with professional guidance and included equipment (boots, crampons, and waterproof layer if needed)
If you’re imagining a glacier hike where you drive hours and then walk in for the same amount of time on ice, this experience is priced like what it is: access by helicopter and a structured, safety-first activity designed for non-technical hikers with moderate fitness.
That said, manage expectations about pacing. The hike is 2 hours, and it’s planned around safe glacier movement and group balance. A few people felt the walk could be faster or feel less rushed, which often comes down to group mix and safety pacing. You’re not buying a fitness challenge; you’re buying a guided glacier experience with time to take photos and absorb what the guide is pointing out.
Who This Suits Best (and Who Should Rethink It)
This tour is designed for people who want to experience a glacier without climbing gear or technical instruction. You should have moderate fitness and hiking ability, and you’ll need to handle crampons and cold conditions on ice.
It’s also not a fit for everyone:
- Not recommended for pregnant participants
- Not suitable for children under 10
- You must be under the 150 kg weight limit, and the limit includes equipment
If you’re traveling as a family, the minimum age matters. Bring realistic energy for a cold environment and short helicopter segments where you’re still paying attention to instructions. If you’re an experienced hiker who wants something different, this is a strong choice because the glacier changes how you move and how you see the mountains.
This is also a good pick if you want the Mount Cook region highlight you can tell friends about: helicopter flight over the Southern Alps, landing on the Tasman Glacier, and a return pass near the Hochstetter Icefall.
Practical Tips: How to Dress So the Day Feels Good
Glaciers have a way of turning bad clothing into a bad memory. This tour tells you to bring warm clothing and rain gear, and I agree with that advice in a very basic way: you’re walking in cold, and you’re flying through wind that can feel sharper than you expect.
Pack like you’re going to be outside for a while in wet cold:
- warm layers and a real jacket
- sturdy, closed-toe shoes (even though the boot system adds grip)
- sunscreen and sunglasses for the bright ice conditions
- your phone or camera for photos (handheld only)
Also note what you can’t bring: drones, selfie sticks, and tablets/iPads aren’t allowed. That affects your photo planning. If you want steady shots, plan on bracing your hands and using your normal camera settings instead of gear.
Finally, pace yourself at the check-in stage. With safety briefing and fitting taking time, arriving ready (and not rushed) helps your day start calmer. Your time is precious once you’re on the clock.
Should You Book the Mount Cook Tasman Glacier Heli Hike?
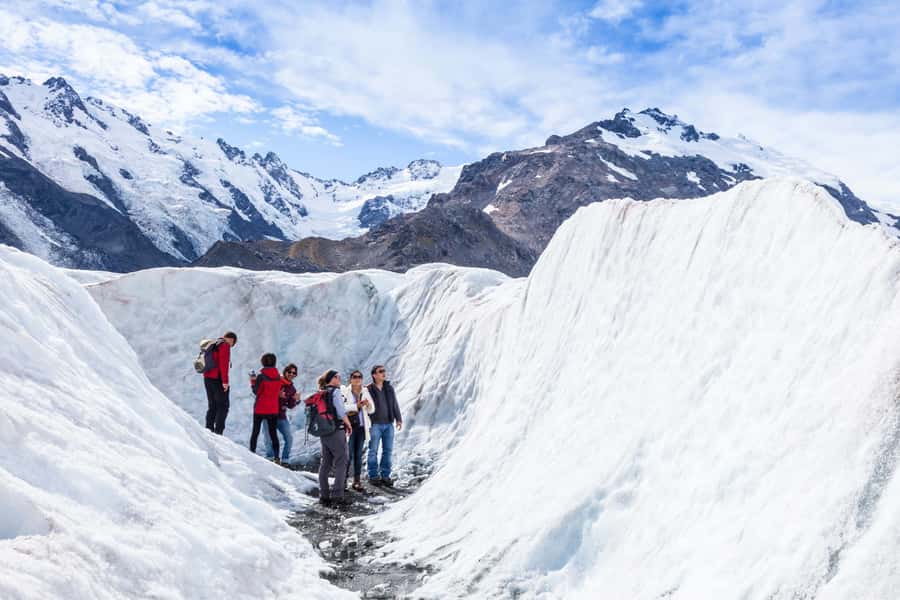
If you want a glacier experience that feels like a highlight movie scene, book it. The combination of helicopter views, glacier landing, and a guided 2-hour walk is rare, and it’s built around safety and clear instruction with equipment that removes a lot of guesswork.
I’d pass or at least rethink if you hate cold weather, want an easy stroll, or can’t handle uneven ice terrain. And because the flight depends on favorable weather and minimum passenger numbers, treat it as something you schedule when you’re already in the Mount Cook area with flexibility.
If you’re a 10+ traveler with moderate fitness who wants to walk on the Tasman Glacier, this is the kind of day you’ll remember for how it felt under your feet, not just what it looked like from a viewpoint.
FAQ
How long is the heli hike to the Tasman Glacier?
The total duration is about 3 hours, including a safety briefing, helicopter flight time, and approximately 2 hours on the glacier hiking.
Where does the tour start?
You start at Mount Cook Airport. The meeting point is an upstairs office in the airport building.
What equipment is included?
The tour includes glacier boots, ice crampons, and a waterproof jacket if required. Glacier landing and the guided hike gear support are part of the included setup.
What should I bring?
Bring comfortable shoes, warm clothing, and rain gear. It’s also recommended to bring sunscreen and sunglasses, plus your phone or camera.
Is it suitable for children?
Participants must be at least 10 years old. The tour is not suitable for children under 10.
What happens if weather cancels the helicopter flight?
The flight is subject to favorable weather conditions and minimum passenger numbers. If it’s canceled, you’ll be offered an alternative date or a full refund.