REVIEW · ODDA
Odda: Trolltunga Winter Hike on Snowshoes
Book on GetYourGuide →Operated by Trolltunga Active AS · Bookable on GetYourGuide
Trolltunga in winter is pure effort plus reward. You start with a cold-morning trek on snowshoes, then end with the fun part: sliding down the road on a snowracer. I love how the guides keep the day organized with safety gear, first-aid know-how, and frequent pauses to regroup. I also love the payoff: Trolltunga rises above the Ringedalen valley, with the Folgefonna glacier sitting out in the distance on clear days. The one catch is real-world winter: the weather can flip fast, and the steep uphill at Gryteskar is not a casual stroll.
You’ll meet the group at the Trolltunga Active store in Skjeggedal next to P2 parking, then get a briefing and gear check before you move. After a 7:30 AM start and a short walk to get going, you switch to snowshoes and tackle the main climb—then the rest of the hike is more about steady rhythm and watching the snowforms roll by. A possible drawback: this isn’t just “see Trolltunga.” It’s a long day (about 10 hours) that asks for solid winter layering, stamina, and good footing.
One more practical consideration: meals and drinks are not included, and the tour asks you to bring a lot of food and water for the full hike. If you show up with light snacks or just a single bottle, you’ll feel it in the cold. So think of this as a guided winter outing that runs on preparation as much as excitement.
In This Review
- Key things to know before you go
- Entering Trolltunga in winter: what makes this hike different
- Getting started at the Trolltunga Active store (Skjeggedal/P2)
- The 7:30 AM warm-up walk to Mågelitopp
- Switching to snowshoes and tackling Gryteskar
- Through Floren Endåne and Tyssebotn: the in-between segments that build the magic
- Reaching Trolltunga: Lake of the Rings and the Folgefonna glacier
- Ringedalen’s frozen details: how the guides turn effort into meaning
- The return down: snow trail walking and a sunset gamble
- The snowracer finale: fun, fast, and built into the tour
- Price and value: what $194 buys you in winter conditions
- What to pack for snowshoe winter hiking (and what to skip)
- Who this Trolltunga winter hike suits best
- Weather reality and safety: how the guides manage uncertainty
- FAQ
- How long is the Trolltunga winter hike on snowshoes?
- What time does the tour start?
- Where do I meet the guide?
- Is the hike guided, and is English available?
- What gear is included?
- Do I get help with photos?
- Is the Trolltunga area the main destination?
- Is snowracing included?
- Do I need to bring food and drinks?
- Is this hike okay for everyone?
- Should you book this Trolltunga winter snowshoe hike?
Key things to know before you go
- 7:30 AM start in Skjeggedal: you’ll want warm gear ready before you’re standing around.
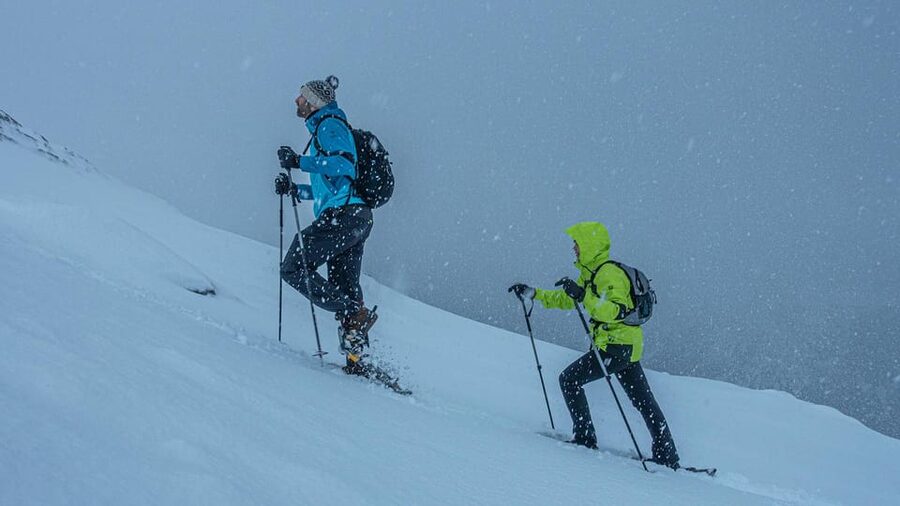
- Steep uphill at Gryteskar: expect the hardest part early enough to plan your energy.
- You’ll pass through multiple spots: Gryteskar, Floren Endåne, and Tyssebotn on the way to Trolltunga.
- Guides help with photos: you’re not left guessing where to stand in wind and snow.
- Snowracer return is part of the deal: the day ends with sliding from P3 to P2.
- Bring enough calories: meals aren’t included, and the tour calls for about double your normal day’s food.
Entering Trolltunga in winter: what makes this hike different
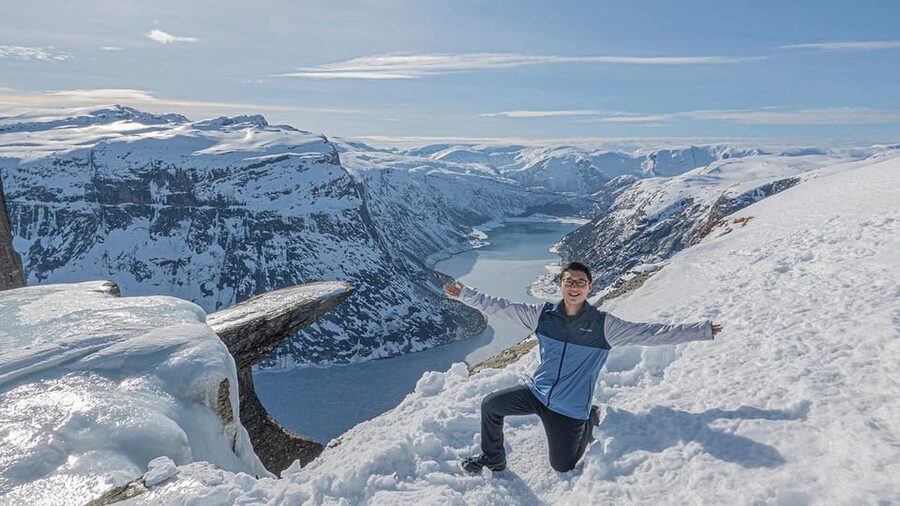
Trolltunga is famous in any season, but winter changes the feeling. The “trail” isn’t a warm hiking path—it’s snow travel where traction, pacing, and wind protection matter. That’s exactly why this experience is guided and why the right gear is a big deal.
The day has two moods. Up top, it’s the slow wow factor—Trolltunga sitting above the Ringedalen valley with frozen waterfalls and dramatic snow shapes shaped by wind. Down low, it turns into motion and adrenaline: you end the day gliding on a snowracer, which makes the long effort feel worth it.
Getting started at the Trolltunga Active store (Skjeggedal/P2)
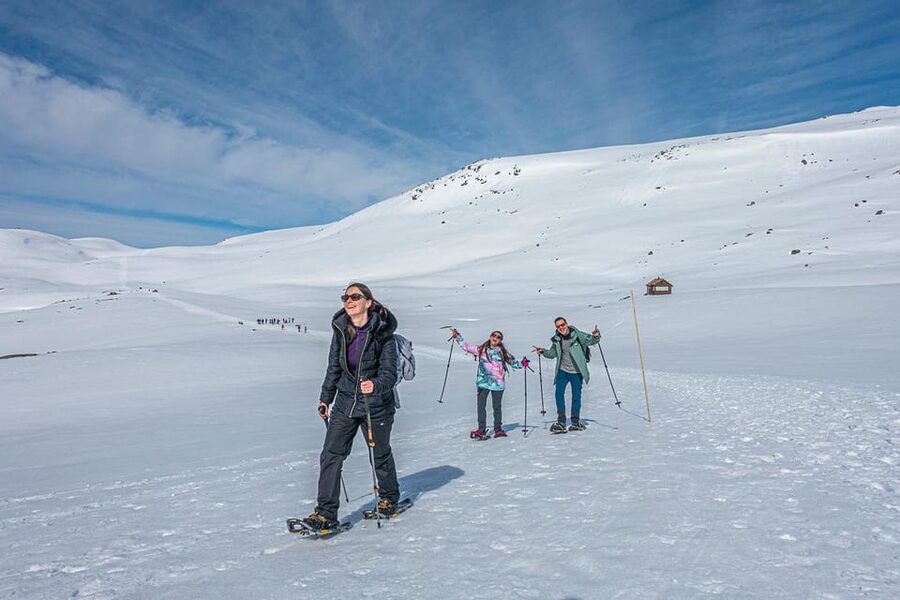
Meet at the Trolltunga Active store right next to the P2 parking in Skjeggedal. After you gather, the guides brief you on the tour, the weather, and what to expect on the mountain. There’s also a practical check that everyone is properly prepared.
If you need it, gear rental is available, and you’ll use equipment appropriate for winter conditions—either micro spikes or snowshoes (depending on what the day calls for). Hiking poles are included, which helps a lot on uneven snow and on the steep uphill section later.
This first phase isn’t just admin. It’s when you learn how to read the conditions so you don’t waste energy sliding sideways or stopping every five minutes.
The 7:30 AM warm-up walk to Mågelitopp
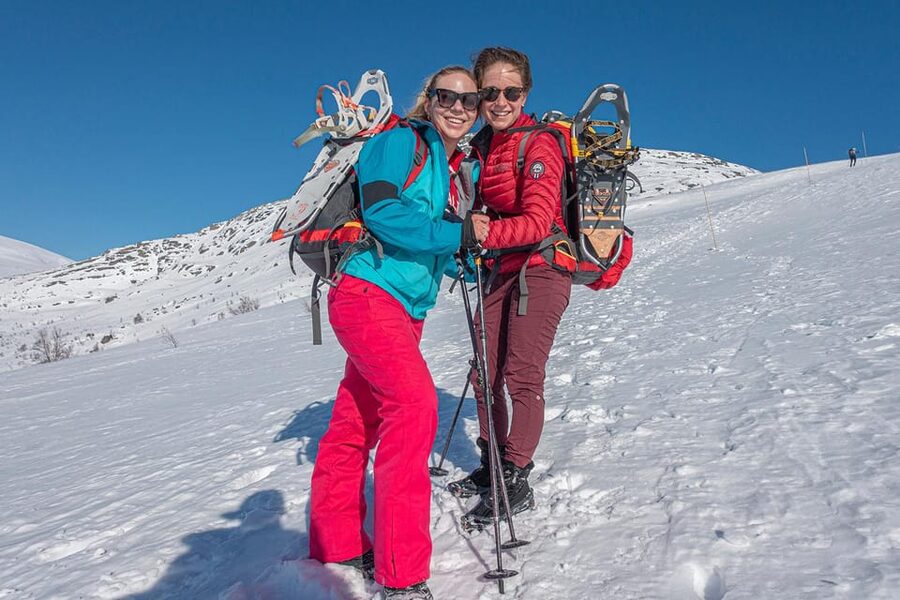
The tour starts at 7:30 AM with a 4 km walk from Skjeggedal up to Mågelitopp. This part is about getting your legs going and your breathing under control before you switch traction gear.
In winter, “just walking” still takes effort. Your body works harder in cold air, and your layers matter more than you think. The good news is that this portion gives you time to settle in before the steeper section.
Switching to snowshoes and tackling Gryteskar
Once you reach the top area at Mågelitopp, you switch to snowshoes. Then comes the main test: the steepest uphill of the hike at Gryteskar.
This is where you’ll feel the difference between winter hiking that’s exhausting and winter hiking that’s manageable. The right approach is steady: small steps, poles working with you, and pacing that keeps your breathing controlled rather than sprinting. The guides also plan breaks into the day, which helps when you’re working uphill with snowshoes on.
The views start showing up even before the summit feel. As the terrain climbs, you’ll see snowy mountain angles opening up, which makes it easier to keep moving.
Through Floren Endåne and Tyssebotn: the in-between segments that build the magic
After Gryteskar, the route becomes more forgiving—easy up and down terrain until you reach the Trolltunga area. The hike doesn’t just go straight from A to B; your route includes scenic stops along the way through places like Floren Endåne and Tyssebotn before you finally arrive.
This is one of the best parts of the day because winter scenery rewards attention. Along the way, you pass the Ringedalen valley with steep mountain walls, frozen waterfalls, and snow formations carved by wind. You’ll also get chances to refresh and snack at breaks, with guides sharing local history and nature facts while you catch your breath.
Even if you only care about the final photo, those middle sections are what turn it into a real experience rather than a simple destination.
Reaching Trolltunga: Lake of the Rings and the Folgefonna glacier
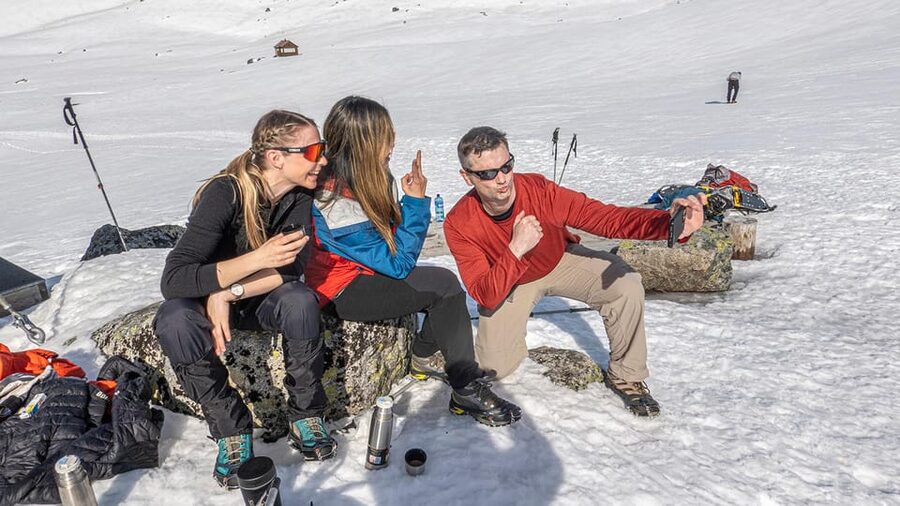
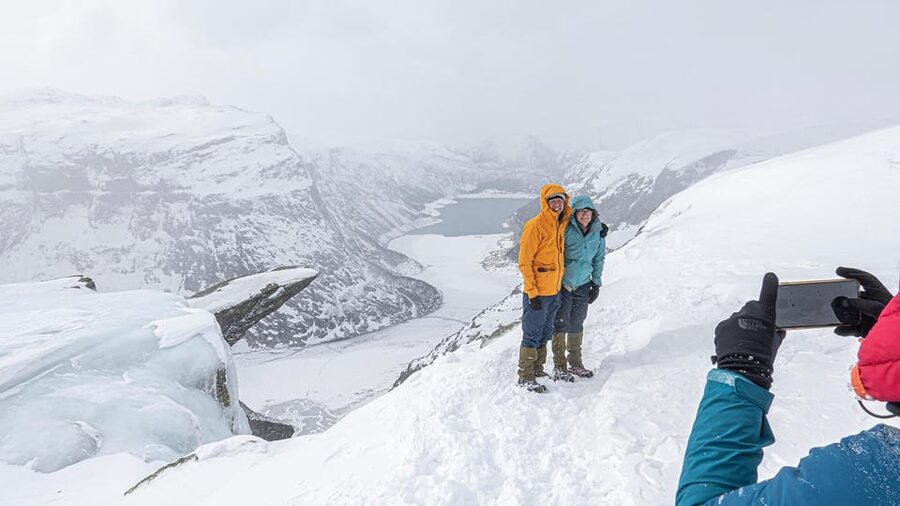
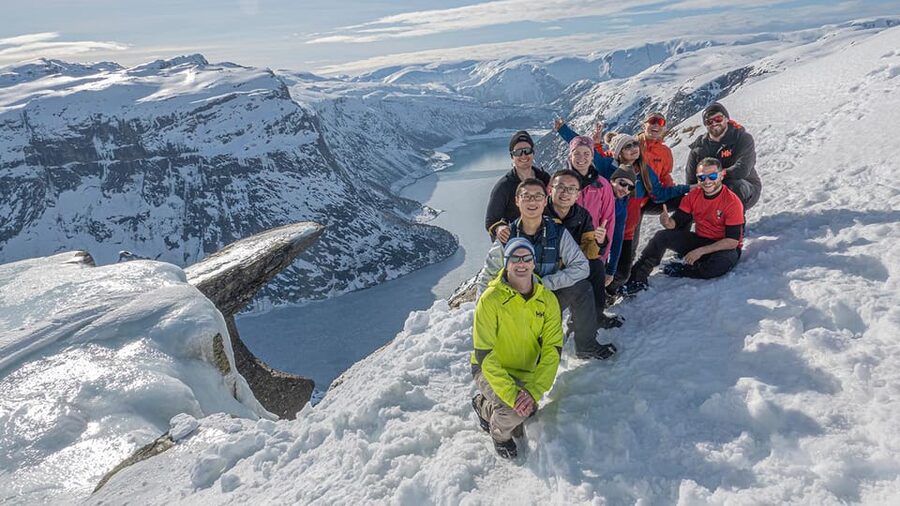
Eventually, you arrive at Trolltunga in its winter outfit—rising above the Lake of the Rings (Ringedalen) with the Folgefonna glacier visible in the distance on clear days.
This moment is the whole reason most people book. But here’s the practical version: you’ll want to take your photos quickly and then let your body calm down. Standing still on cold rock and snow can drain heat fast, especially if wind picks up.
Guides help you with photo positioning during the tour, so you’re not stuck figuring out where to stand while trying to keep balance. Expect more stories and explanations up there, tying the scenery to the place’s nature and local character.
Ringedalen’s frozen details: how the guides turn effort into meaning
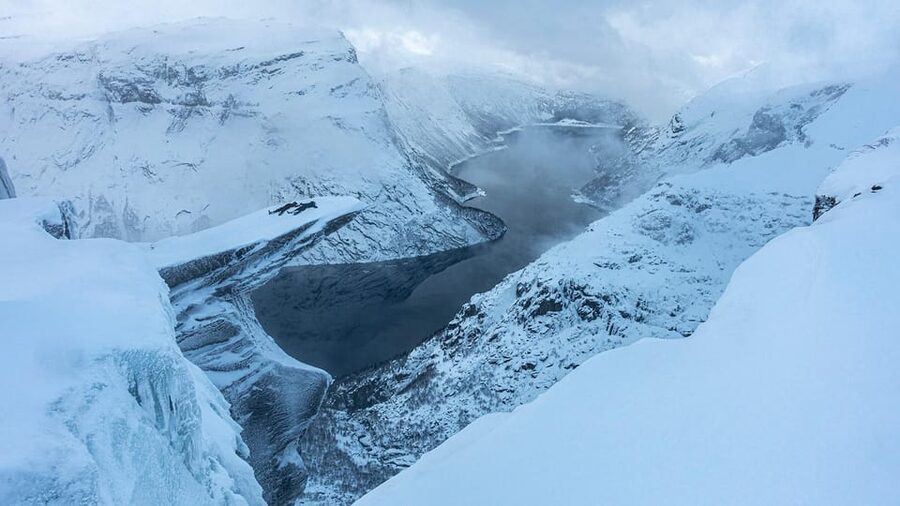
A big strength of this hike is the way the guides connect what you’re seeing to what you’re standing on. The tour includes information about local nature and history, and the guides point out photo spots while explaining what’s happening in the winter environment.
You’ll notice the difference between random snow and wind-shaped snow formations when someone points out what to look for. Frozen waterfalls and valley walls can look similar from far away, but up close they become textures—blocks, ridges, and patterns. That’s the kind of detail that makes winter travel feel special instead of just cold.
Also, the group rhythm matters here. The guides manage breaks at times that keep you from burning out or getting stiff. That helps the hike feel like a journey instead of a long slog.
The return down: snow trail walking and a sunset gamble
The trip back is often easier because you follow a good snow trail with more downhill than uphill. The sense of relief kicks in gradually—your legs still work, but you’re not fighting the steep sections anymore.
There’s even sometimes a sunset moment on the way down Gryteskar. It’s not guaranteed in the information you’re given, but it’s worth keeping in mind because a winter sunset can turn the whole valley lighting into something dramatic.
At the end, you get that nice “reward closes the loop” feeling: new hiking friends to talk with, shared memories, and the kind of exhaustion that feels earned rather than miserable.
The snowracer finale: fun, fast, and built into the tour
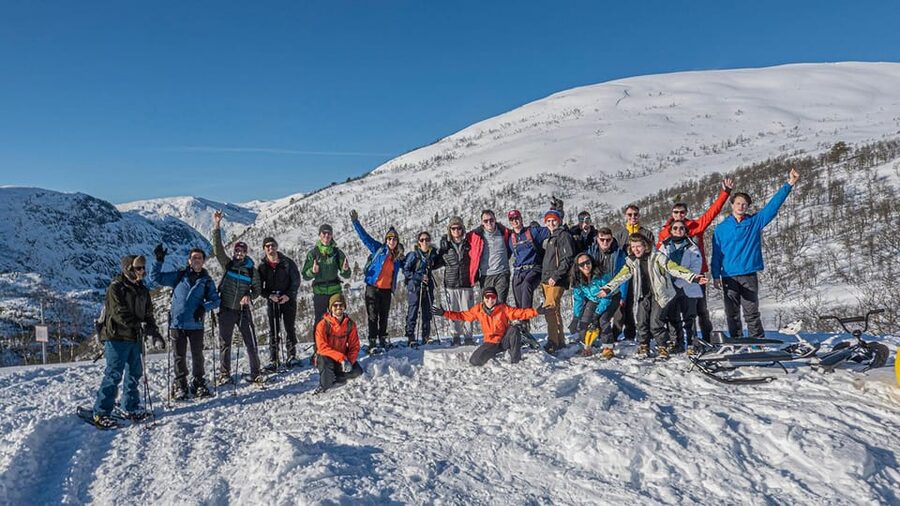
This is the part that makes the day feel different from a standard point-to-point hike. You slide down the road from P3 to P2 on a snowracer, which is included as part of the experience.
It’s a simple idea—let gravity do the work—but it changes your mood. After hours of climbing and balanced stepping, it’s a release. You still get to feel connected to the mountain, just in a way that’s lighter and more playful.
If you like a tour that has both effort and entertainment, this ending is a big plus.
Price and value: what $194 buys you in winter conditions
At $194 per person for about a 10-hour guided winter hike, you’re paying for more than “someone walking with you.” In winter at Trolltunga, the value is in risk reduction and structure.
You get:
- a professional guide/instructor with safety and first-aid equipment
- hiking poles
- micro spikes or snowshoes if needed
- guide-led photo help
- local nature and history guidance
- snowracer return from P3 to P2
- free transport to the meeting point only if your accommodation includes a partner arrangement at Trolltunga Hotel
The cost makes sense if you don’t want to self-manage gear, navigation, timing, and weather uncertainty. You also get an English-speaking guide and a private group setup, which can be a comfort in winter travel when conditions are changing.
The only way the value drops is if you show up underprepared—wrong clothing or too little food. That’s not a “tour problem.” It’s you losing time and energy, which the tour schedule can’t fix.
What to pack for snowshoe winter hiking (and what to skip)
This is a long, cold day, and the tour is clear about what you should bring. The big theme: layers, warmth that stays warm when wet, and enough fuel.
Bring:
- warm clothing in layers
- sturdy, waterproof winter hiking boots and warm wool socks
- wool base layer (avoid cotton since it freezes when wet)
- warm mid layer
- wind- and waterproof shell jacket and pants
- gloves or mittens plus a spare pair
- beanie or warm headband
- sunglasses or goggles for snow glare and wind
- sunscreen
- headlamp
- water plus snacks
The food requirement is specific: bring at least double what you’d eat on a normal day. Think sandwiches, nuts, chocolate, or bananas—anything easy to grab during breaks. Plan for about 2 liters of water, and a thermos with hot water can be a nice comfort if you have one.
Also keep your phone charged for emergencies.
Your backpack should be around 40 liters, with space to manage micro spikes and straps to attach snowshoes to the outside if needed. Little planning like this saves you frustration when you’re already tired and cold.
Who this Trolltunga winter hike suits best
This tour is best for people who can handle winter hiking and who are comfortable with heights and exposure.
It’s not suitable for:
- pregnant women
- people with heart problems
- people afraid of heights
- people with vertigo
- people with low fitness
That list is honest, and you should take it seriously. Trolltunga is a nature attraction where footing and nerves matter. If you struggle with fear of heights, don’t “tough it out.” It won’t make for a good experience for you or anyone in your group.
If you’re generally fit, can dress properly for winter, and you like big viewpoints earned the hard way, you’ll probably love this.
Weather reality and safety: how the guides manage uncertainty
Norwegian winter weather can change quickly. The tour is built around that reality, with experienced guides since 2015 and an emphasis on reading conditions and planning safely.
You’ll get safety gear with the guide/instructor, and you’ll learn the basics of winter preparation and how to respond when conditions shift. The big reason to book a guided experience in a place like this is that weather uncertainty isn’t something you solve alone.
If you’re the type who checks forecasts and comes prepared, you’ll fit in well.
FAQ
How long is the Trolltunga winter hike on snowshoes?
The experience runs about 10 hours, with the hike described as lasting 10 to 12 hours depending on conditions.
What time does the tour start?
It starts at 7:30 AM.
Where do I meet the guide?
Meet at the Trolltunga Active store, in the building next to P2 parking in Skjeggedal.
Is the hike guided, and is English available?
Yes. You’ll have a live tour guide in English.
What gear is included?
The tour includes a professional guide/instructor with safety and first-aid equipment, hiking poles, and snow traction support such as micro spikes or snowshoes if needed.
Do I get help with photos?
Yes. The guides help you take photos during the entire tour.
Is the Trolltunga area the main destination?
Yes. The hike ends at Trolltunga, after trekking via areas including Gryteskar, Floren Endåne, and Tyssebotn.
Is snowracing included?
Yes. The snowracer ride is included for the return from P3 to P2.
Do I need to bring food and drinks?
Yes. Meals and drinks aren’t included. The tour guidance specifically asks you to bring a lot of food (at least double your normal amount) and about 2 liters of water.
Is this hike okay for everyone?
No. It’s not suitable for pregnant women, people with heart problems, people afraid of heights, people with vertigo, or people with low fitness.
Should you book this Trolltunga winter snowshoe hike?
If you want the full Trolltunga experience in winter—the snowshoe trek, the Ringedalen frozen valley views, and the snowracer finish—this is a strong choice. The guides’ role is the value engine here: safety gear, winter know-how, and active help with pacing and photos.
Book it if you’re fit enough for a long winter hike and you can pack properly (especially food, water, and warm wool layers). Skip it if you’re uncomfortable with heights or vertigo, or if you’d struggle with the steep uphill at Gryteskar and the reality of unpredictable weather.