REVIEW · MONTERREY
Nido de Aguiluchos: Hiking, rappel and breathtaking photos
Book on GetYourGuide →Operated by LyliAventuras Guerreros · Bookable on GetYourGuide
A nest, a summit, and a vertical finale. Nido de Aguiluchos pairs a hard hike with real rappels, and the payback is a 360º summit view over Monterrey’s mountains. I also liked how guides like Lily and Miguel keep the day flowing and the risks managed. One catch: this is a workout day, not a casual stroll.
You’re in Nuevo Leon, right in the La Huasteca area, where the rock formations and big viewpoints make the effort feel earned. Plan on about 6.5 hours total, with roughly 4 hours of hiking that ramps from steady walking into scrambling terrain. If you’re comfortable with heights and don’t mind getting a little scraped up (in a controlled way), you’ll have a great time.
In This Review
- Nido de Aguiluchos in Plain English: What You’re Really Doing
- Getting To Nido de Aguiluchos: The 10-Minute KIA Van Pickup and Timing
- The 4-Hour Hike That Builds Into Climbing Toward 1,250m
- The Summit Payoff: 360º Views Over Chipinque, Cerro de la Silla, and Cerro de las Mitras
- Entering the 10m Chimney and Moving Through the Rocky Descent Road
- Rappelling 35–40m: Why the Safety Setup Is a Big Part of the Value
- Price and Value: What $134 Covers (and Why It Adds Up)
- What To Bring: The Real Packing List That Helps on a Rock Adventure
- Fitness Level: Who Will Love This and Who Should Sit It Out
- The Guide Factor: Lily and Miguel’s Professional Approach
- Should You Book Nido de Aguiluchos? A Decision Checklist
- FAQ
- How long is the Nido de Aguiluchos tour?
- How much hiking is involved?
- What safety gear is included?
- How many rappels do you do, and how tall are they?
- Is the tour suitable for children?
- What should I bring with me?
Nido de Aguiluchos in Plain English: What You’re Really Doing
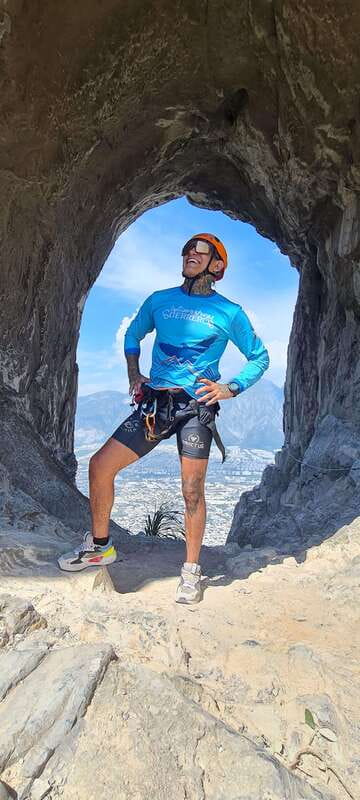
This tour is a mix of hiking, climbing, chimney work, and then rappelling down rock faces. The route is built around the eaglets’ nest viewpoint, which sits at 1,250m and gives you that signature wraparound perspective over the mountains.
The day also has an adrenaline section near the descent: you’ll go into a chimney section about 10m tall, then move through a rocky descent path before you hit the rappels. It’s not random chaos. The structure is clear: get up, enjoy the views, then move down in stages with safety systems doing the heavy lifting.
Getting To Nido de Aguiluchos: The 10-Minute KIA Van Pickup and Timing
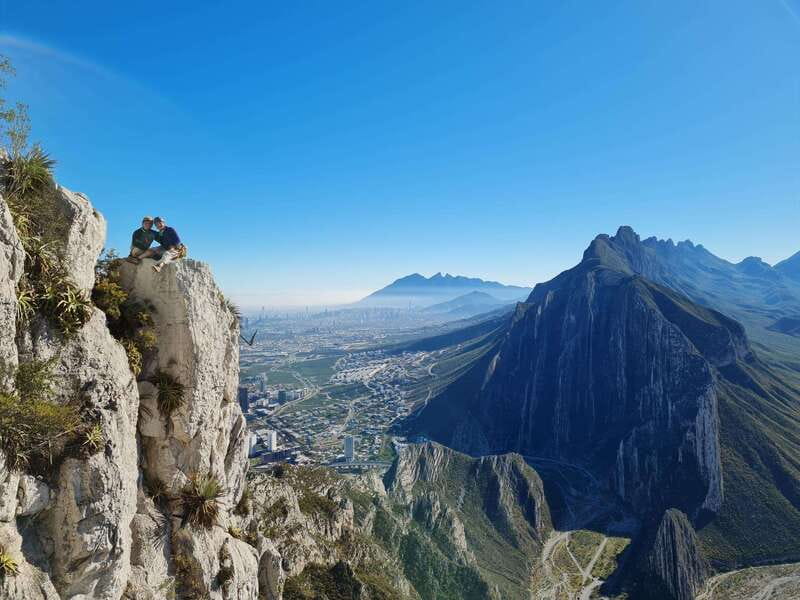
Your day starts with pickup included. You’ll wait in your accommodation lobby or at the door about 10 minutes before the scheduled pickup time, and you’ll board a gray KIA van. Starting times depend on availability, so check what’s offered for your travel dates.
The tour runs for 6.5 hours. That time includes the long approach hike, the summit break and photos, and the vertical descent segments with three rappels. If you like to travel with a plan, this one feels organized: you’re not just thrown into a challenge. You get guidance, gear, and a clear sequence of what comes next.
Language-wise, the live guide supports Spanish, English, and Portuguese. Reviews consistently point to strong guiding—professional, careful, and supportive when the route gets intense.
You can also read our reviews of more hiking tours in Monterrey
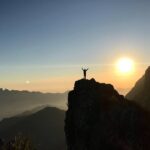
The 4-Hour Hike That Builds Into Climbing Toward 1,250m
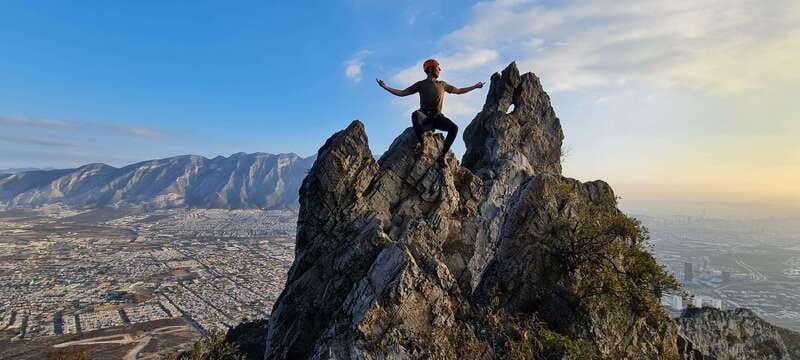
Before you even think about rappels, you earn the viewpoint with a steady climb. Expect about 4 hours of hiking, and a moderate fitness level is required. At first it’s quieter walking on trails, then it shifts into rocky terrain where your feet and balance matter more.
The terrain changes as you go:
- You move along rocky trails with uneven ground.
- You do easy climbs to gain elevation and access the summit area above the nest.
- You stop when needed for the route to make sense and to keep you safe.
This is the part where you’ll feel whether you came prepared. Proper hiking shoes matter. Gloves can help if the route gets rough underfoot or you’re grabbing rock during climbing moves. If you’re the type who gets frustrated by slow uphill effort, give yourself permission to go at a steady pace—this tour rewards persistence, not speed.
The Summit Payoff: 360º Views Over Chipinque, Cerro de la Silla, and Cerro de las Mitras
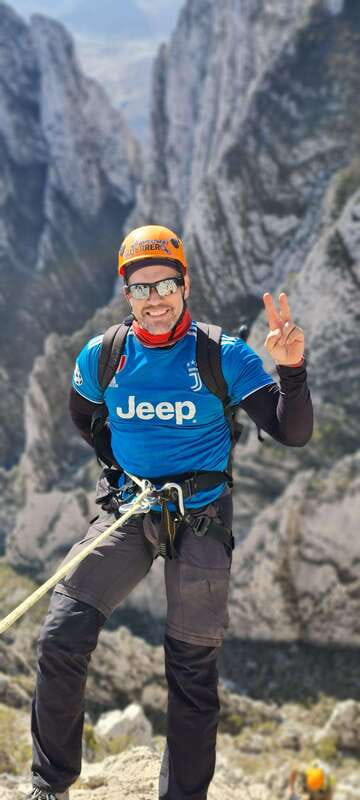
Reaching the top is the emotional reset of the day. At 1,250m, you get a true 360º lookout—wide, open, and hard to forget once you’re there.
From the nest area, you can take in major surrounding landmarks, including:
- the peaks of Chipinque
- Cerro de la Silla in the background
- Cerro de las Mitras, with dramatic rock shapes that photograph beautifully
This isn’t just a view from one direction. You’re standing in a natural rock feature that’s part of the bigger wall-like geography around La Huasteca. That context helps the scenery click: you’re not just looking at random hills. You’re seeing how Monterrey’s mountain system wraps around the region.
Photo note: bring a windbreaker and sunglasses. Even if the hike builds heat, the top can feel sharper, and camera time often takes longer than you think when you’re trying to frame peaks and sky at the same time. Take a few minutes before the descent to fully rotate around the viewpoint. Once you’re back in motion, you won’t want to stop and redo it.
Entering the 10m Chimney and Moving Through the Rocky Descent Road
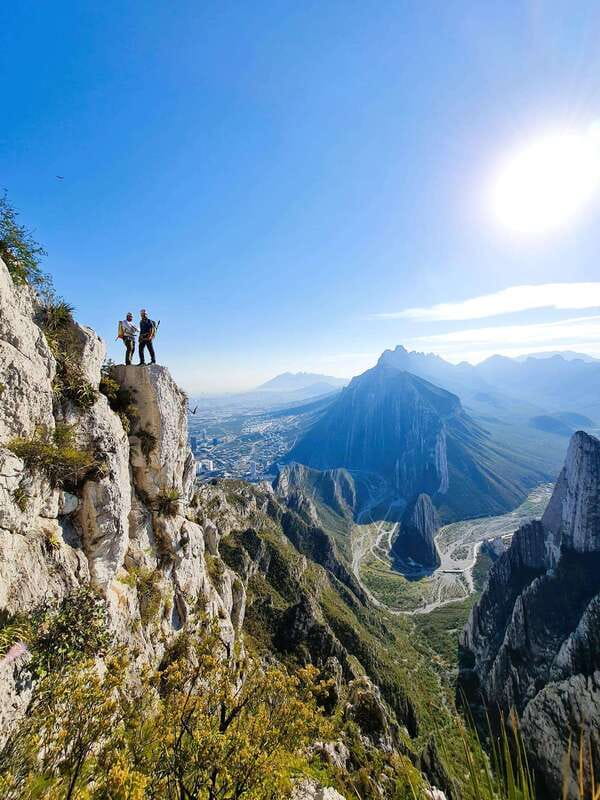
Just when you think you’ve seen the best part, the tour flips the switch to adrenaline. The descent starts with an entrance into a chimney section about 10m tall. If you’ve never done chimney-style movement, the idea is simple: you use the rock walls and your body position to move through a narrow, vertical-ish channel.
After the chimney, you continue with climbing segments and then a rocky descent road. This is where your mental game matters as much as your legs. It’s not only about strength; it’s about listening to your guide, staying calm, and moving with the system you’re given.
A good guide makes a big difference here. In the reviews, guides are repeatedly described as professional and helpful through the tougher parts. That support matters most right where you’d rather rush or freeze. The goal is steady progress—not heroics.
Rappelling 35–40m: Why the Safety Setup Is a Big Part of the Value
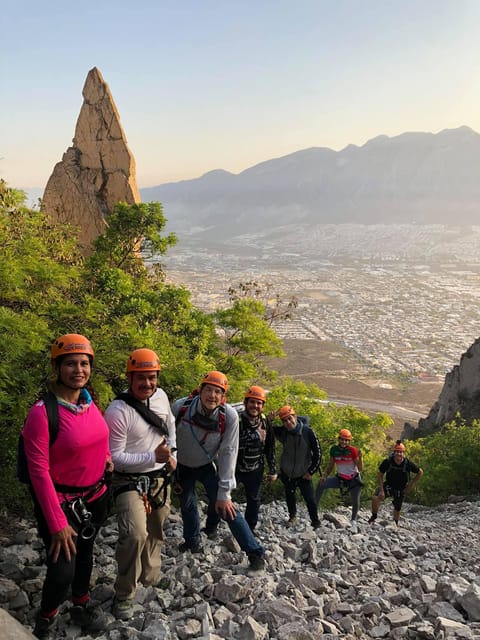
The finale is the rappels: three of them, each roughly 35 to 40 meters. That’s real height and real commitment. The good news is you’re not doing this as a DIY stunt. You get the full safety toolkit and guidance.
What’s included for the descent:
- a canyoning helmet
- a canyoning harness
- life lines
- a descent system
- certified guides focused on safety throughout
- an accident insurance component
- a first aid kit on hand
This matters because rappelling isn’t just about hanging on. It’s about controlled movement, correct setup, and using the gear the right way. The three-run structure also helps. You’ll get familiar once you’re in, then you can focus on technique and comfort rather than panicking from the first rappel only.
If you’re worried about heights, don’t ignore that feeling—acknowledge it and use the fact that you’ll be supported by the team. The tour description and the strong guide reviews both point to a “help you through it” approach, not a “good luck” situation.


Price and Value: What $134 Covers (and Why It Adds Up)
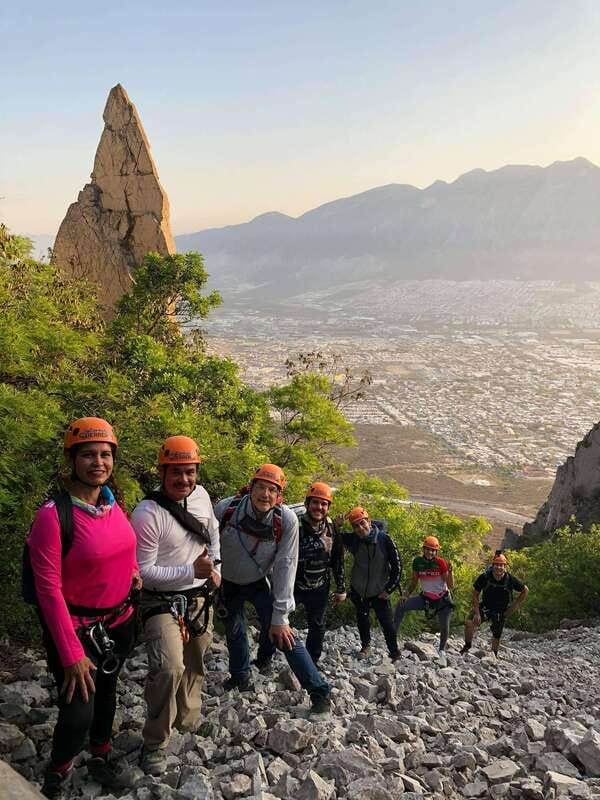
At $134 per person for about 6.5 hours, this tour is priced like an adventure product that includes more than just leadership. You’re paying for:
- the guides and certified safety supervision
- safety equipment (helmet, harness, life lines, descent system)
- accident insurance
- local permits and logistics
- a photo shoot, delivered via link
- first aid kit coverage
If you’ve ever tried to compare adventure costs, the hidden parts usually kill the value: gear rental, insurance, permits, and trained support. Here, those pieces are explicitly included. You also get photos of the day, which is a real bonus because the scenery and action happen fast. If you want proof you did something hard—and you want it without carrying extra camera pressure during the climb—that photo component is part of the deal.
Could you pay less and do a similar day on your own? Possibly, depending on access and risk. But in a tour like this, the insurance, equipment, and guide system are the difference between a fun challenge and a stressful risk.
What To Bring: The Real Packing List That Helps on a Rock Adventure
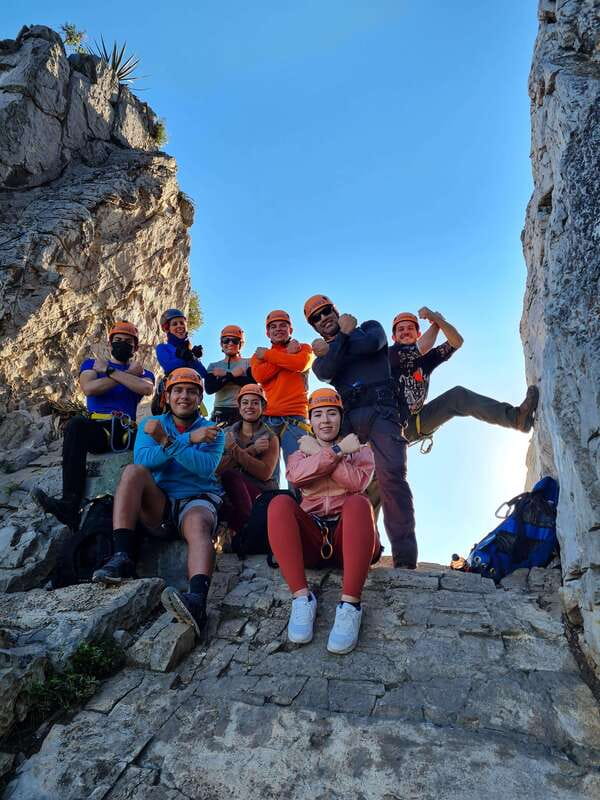
For this kind of route—sun exposure, rocky surfaces, and vertical movement—your packing matters. Bring:
- Windbreaker (top and wind can cool you down fast)
- Sunglasses
- Hiking shoes
- Sunscreen
- Gloves
- Long-sleeved shirt
- Outdoor clothing / sportswear
- A garbage bag (yes, it’s listed; you’ll be glad you have it)
Also bring food and drinks. Even though the day is packed with motion, you’ll still want energy and water during the long hike. The reviews stress that water is a must, and that line of advice holds up for every mountain route in dry sun.
If you hate discomfort, don’t wear new blister-prone shoes. This is not the day to test footwear.
Fitness Level: Who Will Love This and Who Should Sit It Out
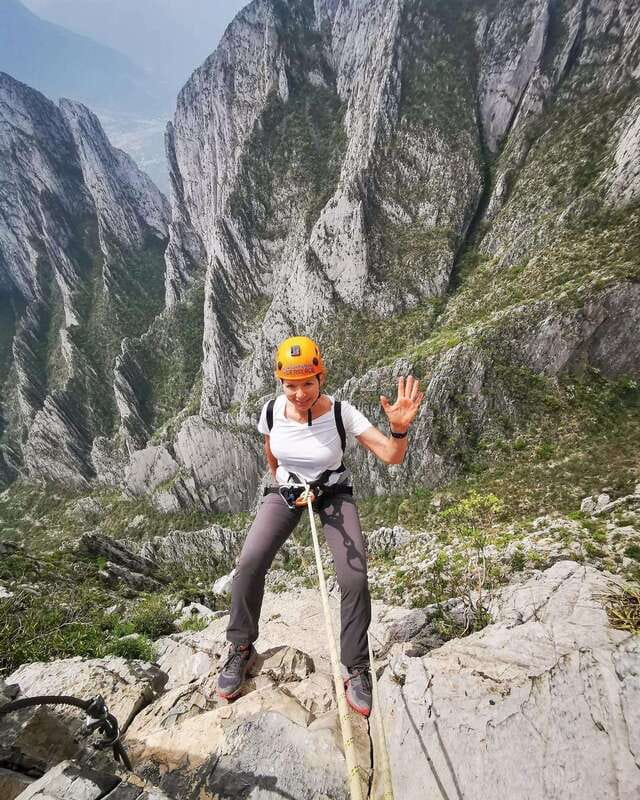
The tour involves a 4-hour hike with moderate fitness required. You should be ready for:
- rocky trails
- easy climbs
- physical movement in awkward angles during chimney/descent segments
- rappels that require calm control under height exposure
It’s also not suitable for children under 10. That’s a clear boundary in the tour info, and it makes sense: there’s too much technical movement and too much safety equipment to be casual about age.
Who it suits best:
- adults and teens (within the age guidance) who exercise regularly
- travelers who enjoy challenge days, not just scenic walks
- people who want both views and action
- anyone who values guides who stay professional and supportive
If you’re recovering from an injury, have major mobility limits, or know you get panicky with vertical exposure, talk to the provider before you book. The tour is designed for physical and mental effort, and you’ll enjoy it most when you feel aligned with that.
The Guide Factor: Lily and Miguel’s Professional Approach
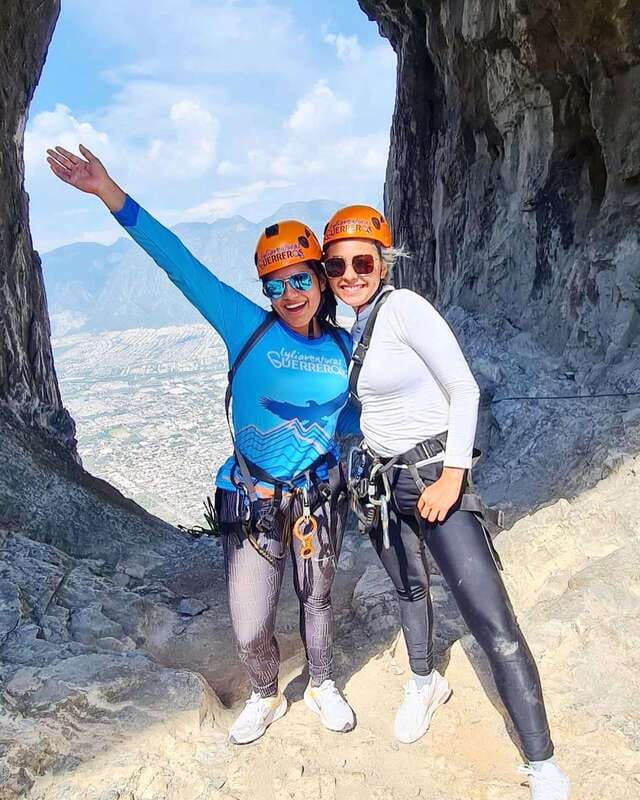
One of the strongest themes in the feedback is confidence in the guides. People highlight guides like Lily and Miguel as professional, attentive, and skilled at keeping the experience both challenging and safe.
That shows up most clearly in the “hard climb but worth it” type of reactions. Guides don’t remove the effort, but they help you get through the moments where you might second-guess yourself—like the chimney section or your first rappel setup.
The best part for you as a future participant: a strong guide reduces wasted effort. You’re less likely to fight the route or waste energy guessing what comes next. You follow instructions, move through obstacles correctly, and spend your time on the parts that matter—progress and views.
Should You Book Nido de Aguiluchos? A Decision Checklist
Book this tour if you want:
- a summit with 360º mountain views over Monterrey landmarks
- a real workout that turns from hiking into climbing
- three rappels of about 35–40m
- safety gear, insurance, and professional guides included
- a photo shoot so you can focus on being in the moment
Skip it or reconsider if:
- you’re not comfortable with physical climbing or heights
- you’re expecting an easy sightseeing walk
- you’re traveling with kids under 10
- you don’t plan to bring proper shoes, water, and the listed clothing
If you like adventure that feels structured—get up, enjoy the view, then descend with gear and guidance—this is a standout choice for the La Huasteca area.
FAQ
How long is the Nido de Aguiluchos tour?
The tour lasts 6.5 hours total.
How much hiking is involved?
There is a 4-hour hike, so a moderate level of fitness is required.
What safety gear is included?
The tour includes all necessary safety gear such as a canyoning helmet, canyoning harness, life lines, and a descent system, plus a first aid kit and accident insurance.
How many rappels do you do, and how tall are they?
You do 3 rappels, each approximately 35 to 40 meters.
Is the tour suitable for children?
No. The activity is not suitable for children under 10 years.
What should I bring with me?
Bring hiking shoes, sunscreen, sunglasses, a windbreaker, gloves, a long-sleeved shirt/outdoor clothing/sportswear, and food and drinks. A garbage bag is also recommended.