REVIEW · MOAB
Moab: The Windows Astro-Photography and Stargazing Hike
Book on GetYourGuide →Operated by Moab dark sky tours · Bookable on GetYourGuide
Two miles. One sky full of stars.
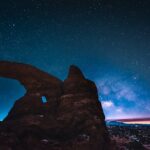
This Moab astro-photography and stargazing hike takes you away from city light and right through Arches National Park after dark, where the Milky Way can show up clearly. I love the chance to see that sky with your own eyes, and I love that the guide helps you translate what you see into photos you can actually take home.
What I really like is the hands-on teaching. I’ve seen guides like Sam and Brandon work with people using anything from phones to a rented DSLR setup, with patient tips and practical camera habits you can reuse later. One heads-up: the route is about a 2-mile hike over uneven rock, and it’s not suitable for wheelchair users or people with mobility impairments, so be honest about your footing.
In This Review
- The Windows trail after dark: why this hike works
- Small group size means more camera time
- Itinerary: what happens from the meeting point to Double Arch
- Getting set up: headlamps, tripods, and a fast astrophoto lesson
- Practice time: learn, shoot, tweak
- North and South Windows plus Turret Arch: framing the stars
- Double Arch: the highlight you work toward
- Phone vs DSLR: how this tour helps you get real results
- Sky conditions: moonlight, lunar cycles, and even northern lights
- What’s included, what costs extra, and the real value
- Safety and comfort: small group, but you still need to plan
- Tips that make or break your shots (and your night)
- Bring the right gear mindset
- Expect to see more on your camera than your eyes
- Use the tripod if you can
- Take breaks and look up too
- Who should book this Moab night photography hike
- Should you book Moab Dark Sky Tours in the Windows area?
- FAQ
- FAQ
- How long is the Moab Windows astro-photography and stargazing hike?
- Where do I meet the guide?
- What is included in the price?
- What extra costs should I plan for?
- Can I use my own phone, or do I need a DSLR?
- What should I bring?
- Is this tour suitable for kids or anyone with mobility limitations?
The Windows trail after dark: why this hike works
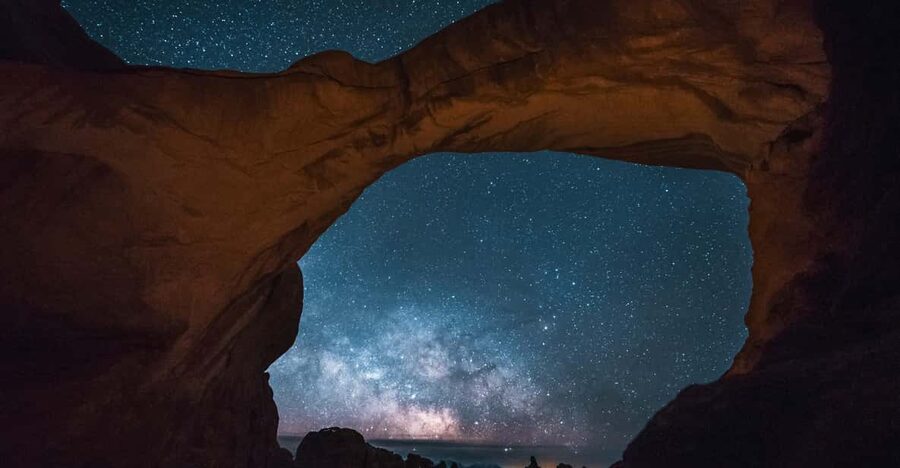
Arches gets a reputation for daytime drama, but the real trick here is simple: you’re hiking in a spot where the stars can do their job. Once you’re away from city glow, the sky stops looking like a dark ceiling and starts looking like a real place you can study.
The tour route is built around iconic rock framing—North and South Windows, Turret Arch, and then the area near Double Arch—so you’re not only chasing stars. You’re also practicing night photography composition: how to balance a bright arch silhouette against faint star fields, and how to keep your images from turning into blurry messes.
Small group size means more camera time
This is limited to 6 participants, and that matters. In a small group, you’re not just watching your guide talk. You can ask questions while you’re standing in the dark with your camera settings in hand, and the guide can see what you’re getting (or not getting) in real time.
Red LED headlamps are included, and they’re a big deal for comfort and safety. The light stays low so it doesn’t ruin night vision, but you still get enough visibility to move confidently through the rock garden.
Itinerary: what happens from the meeting point to Double Arch
You start at the Windows parking area in the first lot on the right (meet your guide after dark). From there, it’s a guided night walk on the Windows trail area, roughly 2 miles total. Plan for temperatures to drop after sunset, and wear hiking shoes you trust on uneven ground.
Getting set up: headlamps, tripods, and a fast astrophoto lesson
Before you chase photos, you get organized. You’ll use the included red LED headlamps, and you’ll have access to tripods if you need them. That matters because night shots often depend on steady support and longer exposures.
The guide then covers the basics of astrophotography and how to run your camera at night—what settings to start with, how to think about exposure and focus, and how to adjust for what the sky is doing that night. If you’re using a phone, you still get guidance; several reviews specifically mention learning to take better night shots with iPhone features.
Practice time: learn, shoot, tweak
A good night photo tour has a problem: you can’t fix settings while you’re rushing to the next location. This format gives you time to practice before the main highlight. You’ll try your settings, review what you captured (at least in-camera or by guidance), then adjust and try again.
You also get a useful reality check: pictures can pick up light you can’t see with the naked eye. So you’re not just photographing stars; you’re learning how your camera interprets the dark.
North and South Windows plus Turret Arch: framing the stars
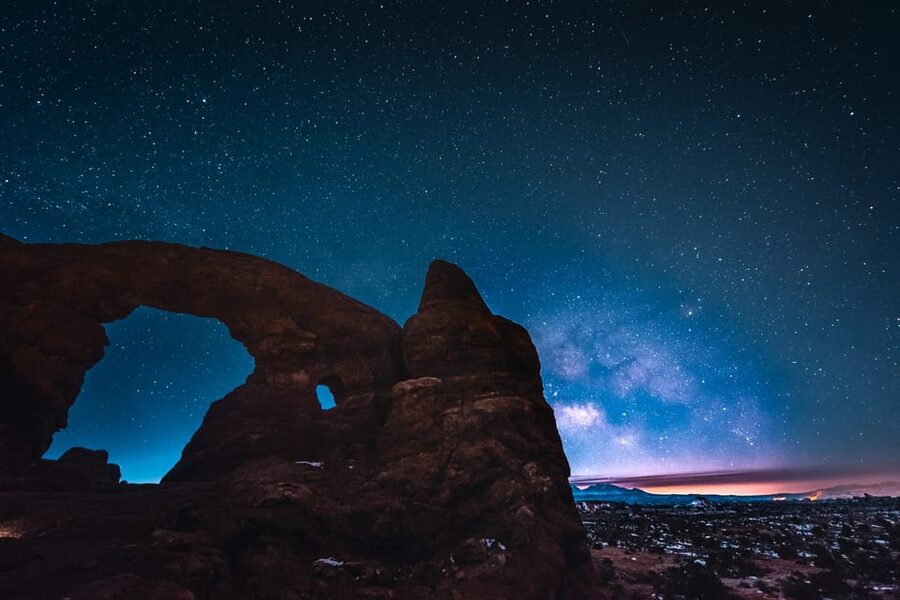
As you head out, you pass the North and South Windows and then Turret Arch. These stops are great for two reasons.
First, they’re natural frames. Even if you’re not a professional, you can compose with the arch silhouette while your camera catches the sky behind it. Second, the guide connects the rock shapes to forces that created them. That adds meaning to what you’re seeing: it’s not just cool shapes, it’s geology doing its thing over time—now lit by moon and stars.
The dark also adds a safety layer. One review notes the guide stayed on top of where the drop-offs were, especially when people got too close. That’s a good sign. In a place like this, you want someone who keeps your feet in the right place while you’re busy looking up.
Double Arch: the highlight you work toward
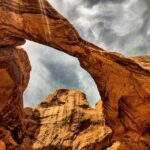
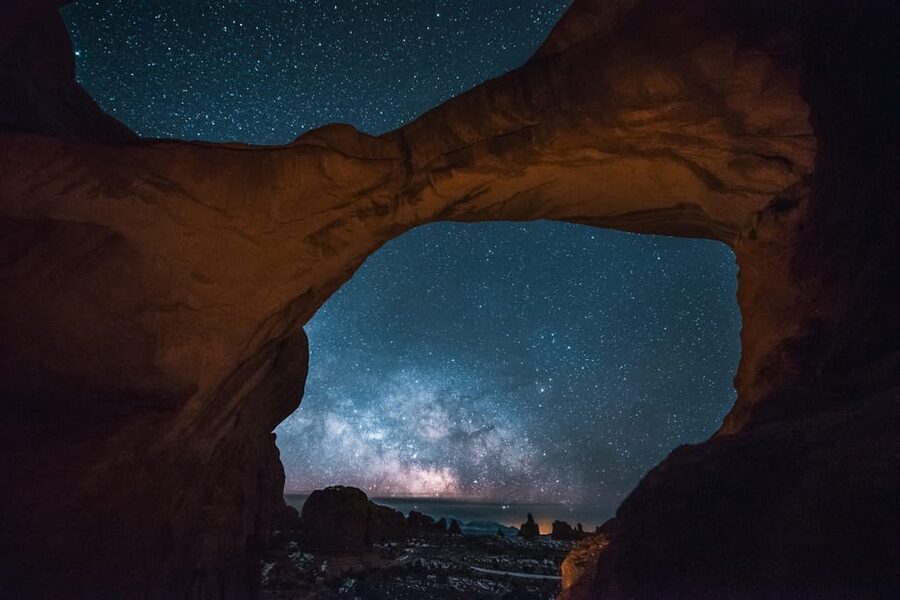
You get time to build your confidence and then you head toward Double Arch, the highlight of the area. This is where your earlier practice pays off. You’ll have a chance to capture starry shots with the arch forms as your foreground anchor.
And yes, you’re aiming for once-in-a-lifetime photos. One of the most common outcomes in reviews: people see the Milky Way clearly, then manage to capture it with their own camera or phone.
Phone vs DSLR: how this tour helps you get real results
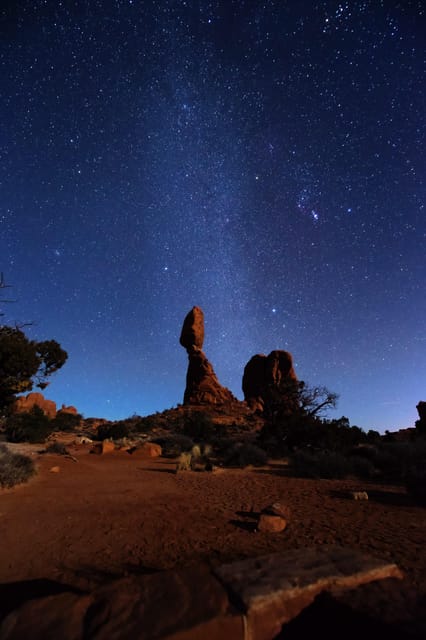
You can absolutely do this with a phone. The included instruction is designed for that, and reviews back up that the guide can teach how to get better results using phone settings and features.
That said, if you want top-tier results, the option to rent a DSLR camera and/or DSLR lens can be worth it. You request it before the tour starts, for an additional fee. The tour mentions supported mounts for rentals: Canon EF/EFS and Nikon F.
Here’s the practical way to think about the DSLR option:
- If you already own a DSLR and know your way around manual settings, you might not need the rental.
- If you’re relying on a phone, the guide’s teaching can help you get strong shots, but a DSLR setup generally gives more control for longer exposures and sharper star detail.
One review also notes a group rented a camera, and the guide edited a few pictures. That’s not something I’d assume every time, but it’s a sign the guide takes results seriously.
Sky conditions: moonlight, lunar cycles, and even northern lights
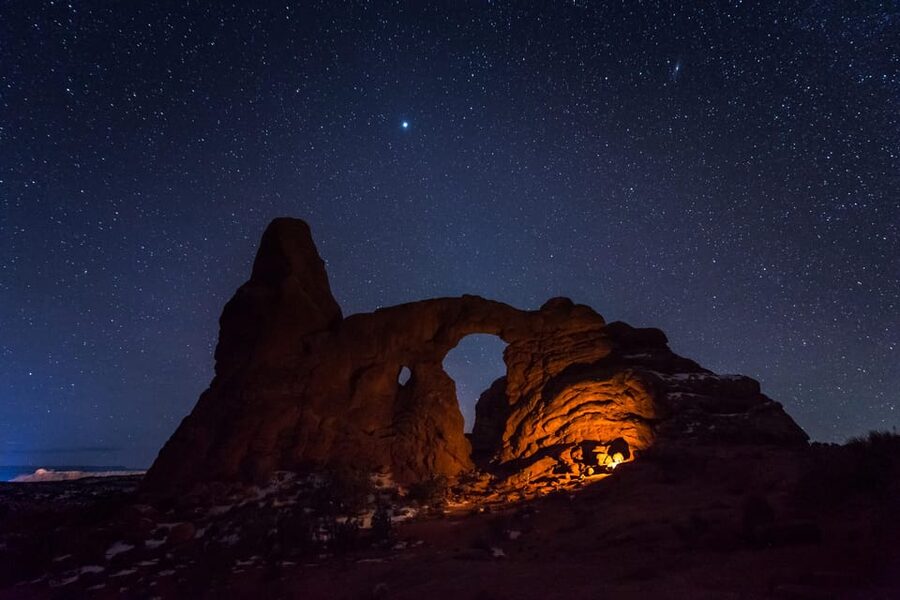
Stargazing is weather-and-sky-dependent, but this tour doesn’t treat that as bad luck. The guidance specifically encourages photographers to enjoy the tour at any point in the lunar cycle, because each phase creates different looks.
A full moon changes the vibe. One review describes a full moon night as just beautiful, even if the stars look different. Another review mentions the northern lights were visible on a clear night, which was pure luck—yet a reminder that when the sky cooperates, you can get surprises.
If you’re picky about darkness, you can contact the provider in advance so they can make sure the schedule fits your preference for a darker sky.
What’s included, what costs extra, and the real value
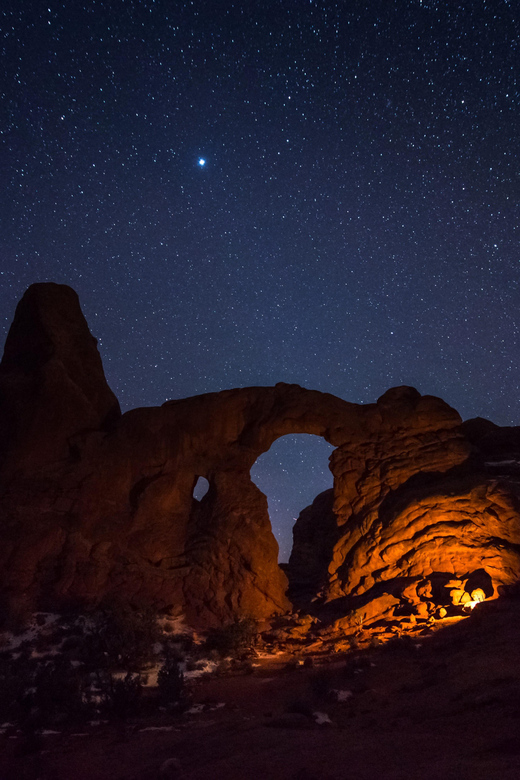
$175 per person covers the guide and the guided walking tour, plus the equipment you need to function in the dark: red LED headlamps and tripods if needed.
Not included:
- Transportation to the meeting point
- Arches National Park entry pass (listed as $30 per standard vehicle)
- DSLR camera/lens rental (available for an additional fee)
Is $175 reasonable? For me, it lands in the “yes, if you want instruction” category. You’re paying for two things that are hard to DIY:
- A guided route at night through the Windows area and toward Double Arch.
- A teachable moment for photography basics—camera settings for night skies, plus composition tips that help you turn a pretty idea into a usable photo.
If you’re the type who likes to “figure it out later,” DIY might be cheaper. But if you want results and you don’t want to waste the best night of your trip experimenting in the dark, this format is the shortcut.
Safety and comfort: small group, but you still need to plan
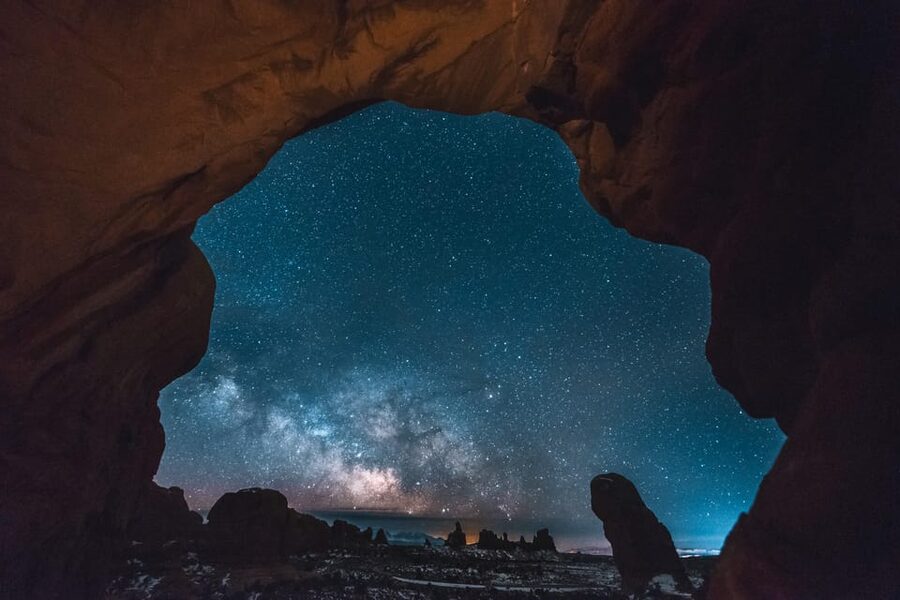
This is not a sit-and-stare stargazing experience. It’s a night hike. You’ll want:
- Hiking shoes you trust on rocky, uneven ground
- Water
- A camera (or your smartphone)
- A charged smartphone (useful for photos and general navigation)
It’s also explicitly not for pets, and it’s not suitable for children under 6. That’s worth taking seriously. Night photography has enough complexity already without adding kids who want to run off or need lots of help moving through the dark.
Tips that make or break your shots (and your night)
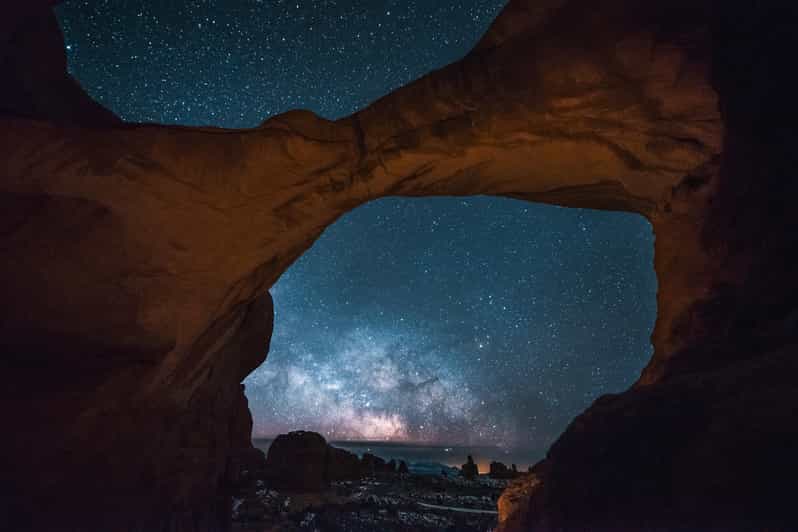
Even before you arrive, here’s how to think about success:
Bring the right gear mindset
Bring your camera and be ready to adjust settings on-site. This tour is about fundamentals—so you’ll learn what to change and why, not just copy one magic setting.
Expect to see more on your camera than your eyes
The guide warns that photos may pick up light you can’t see naked-eye. That’s normal. Don’t panic if your first attempts look different than what you saw when you looked up.
Use the tripod if you can
Tripods help with stability for longer exposures. If your camera or phone supports it, use it when the guide suggests.
Take breaks and look up too
Night hiking can get tiring, and it’s easy to focus only on the screen. Some of the best moments are the unplanned ones: you stop, catch your breath, and the sky hits you. Reviews consistently point to that wonder.
Who should book this Moab night photography hike
You’ll probably love it if:
- You’re visiting Arches National Park for the stars, not only the rocks
- You want practical photography help for night shooting
- You like small groups and getting personal answers
- You’re okay hiking about 2 miles on uneven ground in the dark
You might skip it if:
- You need an accessible route or rely on wheelchair access
- You’re not comfortable on rocky terrain at night
- You’re traveling with pets (they’re not allowed)
If you’re planning this as your end-of-day “wow” moment, it can work beautifully. One review called it a perfect ending to the day.
Should you book Moab Dark Sky Tours in the Windows area?
If you want the stars framed by Arches National Park, and you want someone to teach you how to actually capture the Milky Way (not just point your camera at the sky), I’d book it. The small group size, the red headlamps, and the guided practice time are the difference between a random night hike and a night photography skill-building session.
But don’t treat this like a gentle stroll. It’s a real hike, about 2 miles, through darker terrain. Make sure that fits your comfort level and your group’s ability to move safely.
FAQ
FAQ
How long is the Moab Windows astro-photography and stargazing hike?
It runs about 2 hours.
Where do I meet the guide?
Meet at the Windows parking area in the first parking lot on the right.
What is included in the price?
The tour includes a guide, a walking tour, red LED headlamps, and tripods if needed.
What extra costs should I plan for?
You’ll need to budget for the Arches entry pass (listed as $30 per standard vehicle). DSLR camera and/or DSLR lens rentals are also available for an additional fee.
Can I use my own phone, or do I need a DSLR?
You can use your own camera or your smartphone. DSLR camera and lens rentals are optional if you want extra help getting high-quality night shots.
What should I bring?
Bring your camera, hiking shoes, water, and a charged smartphone.
Is this tour suitable for kids or anyone with mobility limitations?
It’s not suitable for children under 6. It also isn’t suitable for people with mobility impairments or wheelchair users.