REVIEW · MOAB
Moab: The Windows Astro-Photography and Stargazing Hike
Book on GetYourGuide →Operated by Moab dark sky tours · Bookable on GetYourGuide
The night sky feels close here. On this guided hike to The Windows in Moab’s Arches National Park, I love how stargazing turns into a hands-on astro-photography lesson you can use right away. You’ll walk in the dark, set up your camera, and learn how to frame the Milky Way as it moves overhead.
I also like that the guide coaching works whether you’re using your cellphone or you choose an optional DSLR camera/lens rental. One consideration: this is a dark, uneven, roughly 2-mile hike and it is not suitable for kids under 6 or for people with mobility impairments or wheelchair users.
In This Review
- Key Things You’ll Notice on This Moab Night Hike
- Meeting at The Windows: Setting Up for Dark-Sky Photos
- The Two-Mile Night Hike Through Arches (and How Safety Actually Works)
- Astro-Photography Fundamentals: What the Guide Teaches You to Do
- Walking Past the North and South Windows and Turret Arch
- Milky Way Views, Full-Moon Nights, and Lunar Timing
- Double Arch: Where Your Best Frames Take Shape
- Price and Value: Is $175 Worth It?
- Who Should Book This Tour (and Who Might Want to Skip)
- Should You Book the Moab Windows Astro-Photography and Stargazing Hike?
- FAQ
- Where does the tour meet?
- How long is the experience?
- What does the tour cost, and what’s included?
- Do I need an Arches entry pass?
- Can I rent a DSLR camera or lens?
- What should I bring?
- Is it okay to bring pets or kids?
- Is the tour refundable if plans change?
Key Things You’ll Notice on This Moab Night Hike
- Small group (up to 6) means you get real time with the guide, not just a “good luck out there”
- Red LED headlamps help you keep moving without blasting your night vision
- Tripods on hand (if needed) make long-exposure shots easier and more consistent
- You hit multiple icons: North and South Windows, plus Turret Arch before the big stop
- Practice time built in so you can test settings before aiming for Double Arch
- DSLR rental available for extra detail, with lens/camera compatibility for Canon EF/EFS and Nikon F mounts
Meeting at The Windows: Setting Up for Dark-Sky Photos
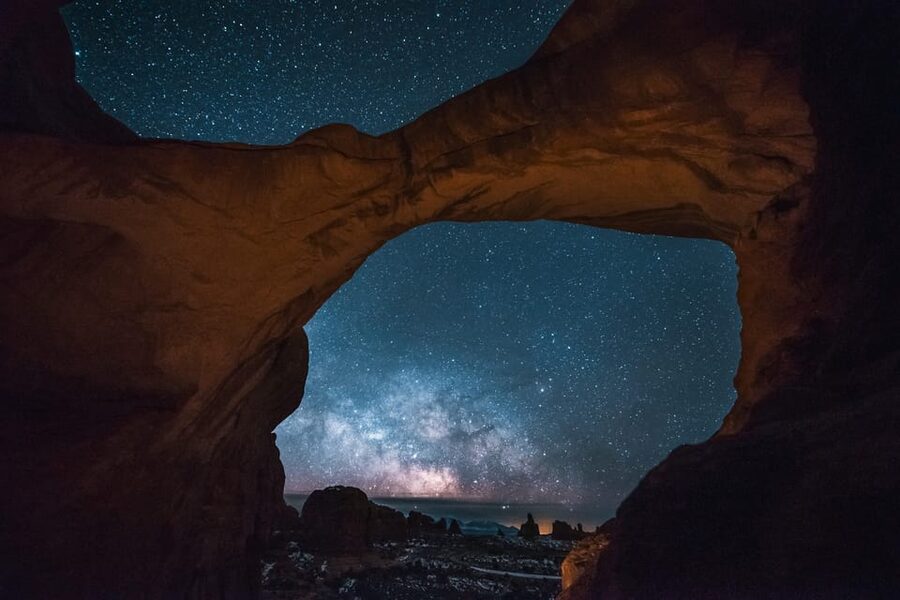
The tour starts after dark at the Windows trailhead parking area, in the first parking lot on the right. Expect to meet your guide, then get oriented fast—because in the dark, you want to feel ready before you start taking pictures.
Right away, you’ll get red LED headlamps. They’re a small thing, but they matter. White light makes your eyes take longer to adjust, and night photography is basically an eyesight game. Red light keeps you mobile while still letting the stars stay visible.
Then comes the practical part: getting your gear positioned for the first photo attempts. You’ll have tripods available if you need them, plus time with your guide to learn the basics of night shooting and how to operate your camera so you aren’t guessing in the moment. If you want the optional upgrade, you can request a DSLR camera and/or DSLR lens rental before the start (extra fee). That option is geared for people who want sharper results and more control.
If you’re bringing a smartphone, you’re not out of luck. Guides in this program have a track record of showing people how to get strong results using their own phones, not forcing everyone into the same gear path.
The Two-Mile Night Hike Through Arches (and How Safety Actually Works)
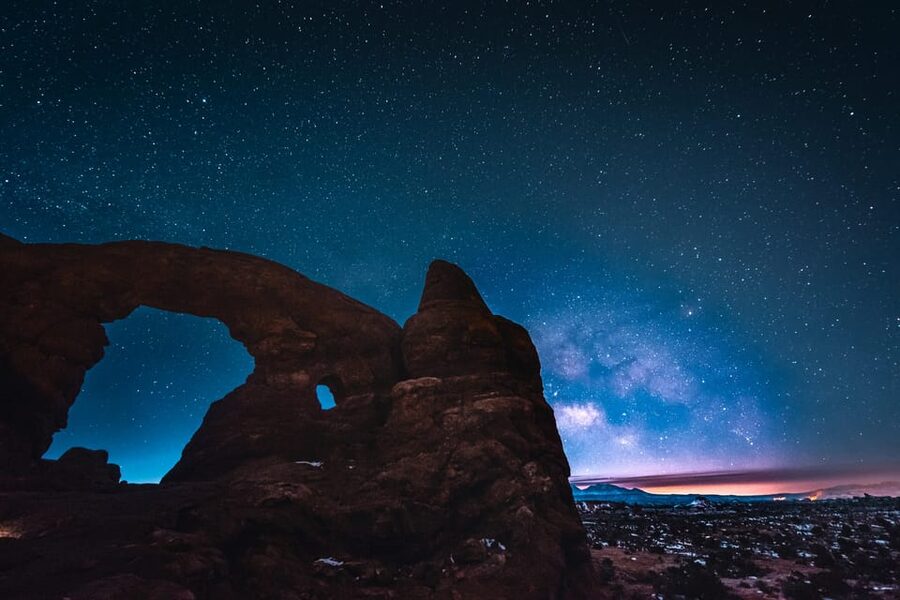
This is a guided walking tour from The Windows trailhead area and it’s about 2 miles. You’re moving through a rockier section that can feel more intense at night—not because it’s long, but because your depth perception goes out the window.
That’s why the guide’s job isn’t just photography. You’ll be guided through the route while navigating dark terrain, with attention to safe footing and awareness around drop-off edges. One of the most helpful things you can do is listen when the guide points out where you should not drift—especially when you’re trying to frame a shot and your brain wants to step closer for a better angle.
You’ll also be in a “slow down and set up” rhythm. Night photography isn’t a sprint. You’ll get moments where the group pauses, you set your camera, you test, and you try again. The hike is part of the experience, but it’s also there to place you at the right spots for the best views.
If you’re someone who hates uneven ground at night, you’ll want to take that seriously. If you’re comfortable walking in the dark with proper footwear and you pay attention to the guide, the whole thing feels more like an adventure than a chore.
Astro-Photography Fundamentals: What the Guide Teaches You to Do
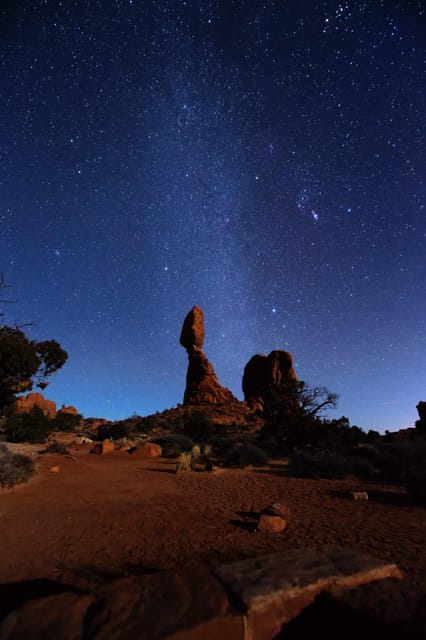
This tour is built around learning how to make the camera behave in low light. That’s the difference between taking a few blurry pictures and coming home with images you’re proud to show.
You’ll start by learning the fundamentals of astrophotography and how to operate your camera for night scenes. The guide helps you understand the basics so you can aim, expose, and adjust rather than just pressing the shutter and hoping.
Here’s what makes this valuable: you’re not learning in theory. You’re learning while you can still see the sky shifting above you and while the arches are lighting up in your frame.
Two tech paths show up during this type of tour:
- Your cellphone: Expect phone-based tips, including ways to help your phone capture stars more effectively.
- Optional DSLR: If you rent, you’ll have a setup that’s better suited for controlling long exposures. The rental options include DSLR camera and/or DSLR lens with compatibility for Canon EF/EFS and Nikon F mounts.
And regardless of device, you’ll get guided instruction on the process of capturing night images: setting up, composing, and practicing enough to improve during the tour. That practice time matters because the first attempt is rarely your best attempt.
One more detail worth knowing: your camera may pick up light you can’t see with your naked eye. That’s why these photos can look dramatic. If you go in expecting the stars to look exactly the way they appear in your final photo, you’ll get frustrated. The goal is to train your eye for what’s possible and then use the camera to pull more out of the scene.
Walking Past the North and South Windows and Turret Arch
After setup, you’ll follow the guide along the route through the rock formations and classic Arches viewpoints. The big targets come in stages, and each stage gives you a different framing problem.
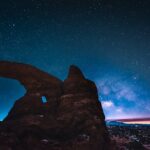
You’ll get to see the North Window and South Window, plus Turret Arch along the way. In daylight, these are impressive shapes. At night, they become silhouettes and frames, and that changes how you think about composition. You’re not just documenting a landmark—you’re trying to align that landmark with star patterns overhead.
This is where the tour pacing feels smart. Instead of rushing you straight to the hardest shot, the guide takes you through multiple photo opportunities while you’re still fresh. You get to experiment while you’re walking, then refine your approach before the highlight stop.
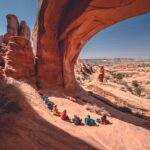
You’ll also have a moment to think about the forces that created the arches you’re seeing under starlight. That adds meaning beyond the photo session. It’s one thing to photograph The Windows. It’s another to pause and consider that these shapes exist because of long-term geologic power—then watch the galaxy roll above them in real time.
Milky Way Views, Full-Moon Nights, and Lunar Timing
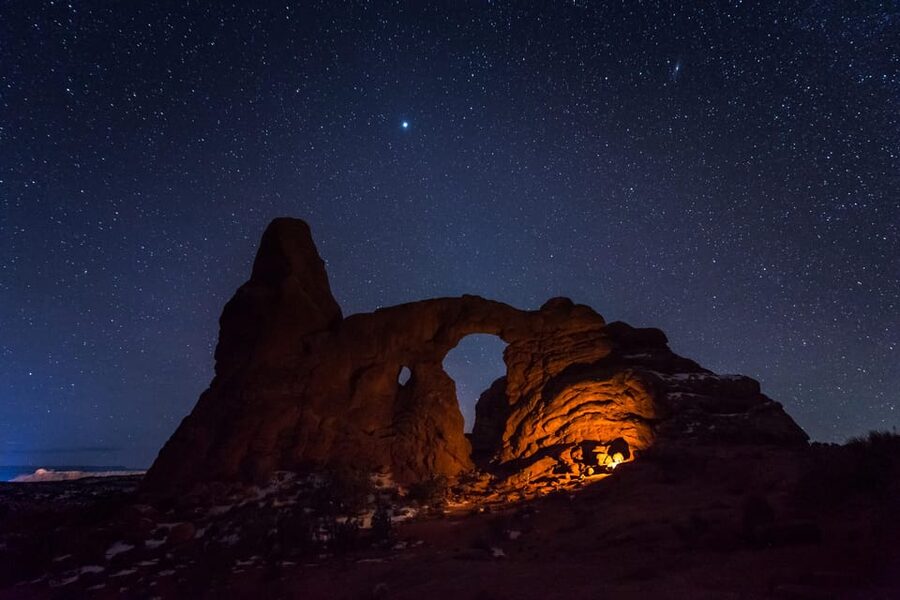
Moab’s dark skies are the main reason people do this. Being away from city light matters, and it shows up quickly: you can see the Milky Way with the naked eye on the right night. Even when the sky is brighter, the view isn’t automatically “bad.” It’s just different.
The program specifically encourages photographers to enjoy any point in the lunar cycle. Each phase offers its own style of beauty—bright Moon nights can give you more visible arch detail, while darker nights bring out more star density. If you want a darker-sky experience, you can contact the provider ahead of time so they can help match the adventure to your preference.
One review detail that rings true in real life: even during a full moon, the sky can still look incredible. The stars aren’t gone—they’re just competing with lunar brightness. That’s why your photos might look surprising compared to what you can see with your eyes.
Also, don’t ignore the practical side: you’ll be photographing while the sky changes. Over a short tour window, star positions shift, and so do your opportunities. The guide helps you keep working toward a few strong shots instead of chasing every single photo idea at once.
Double Arch: Where Your Best Frames Take Shape
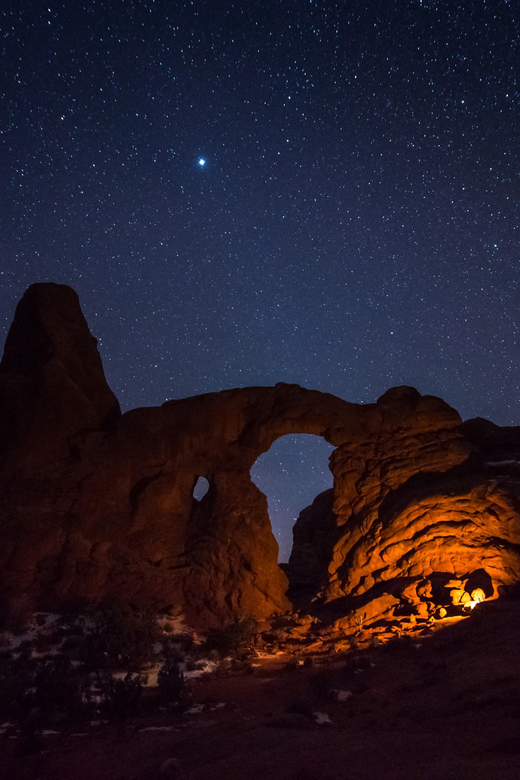
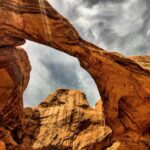
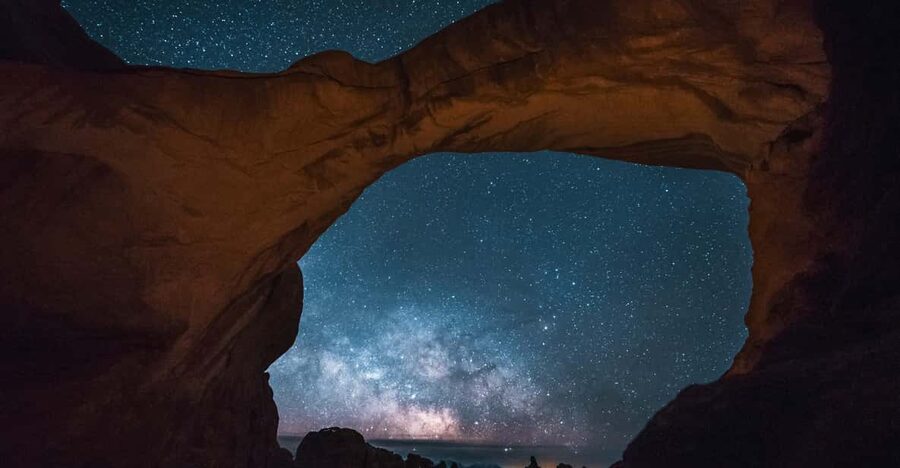
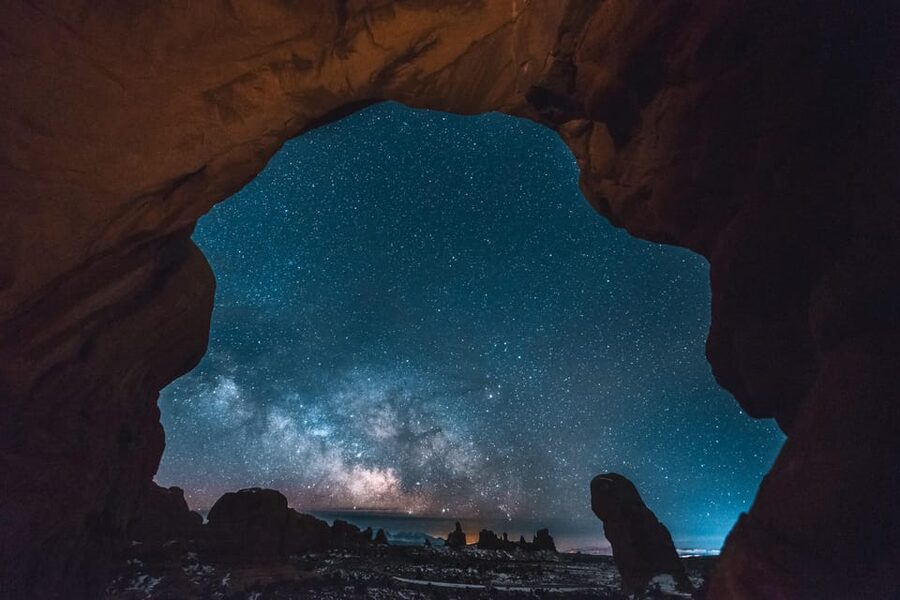
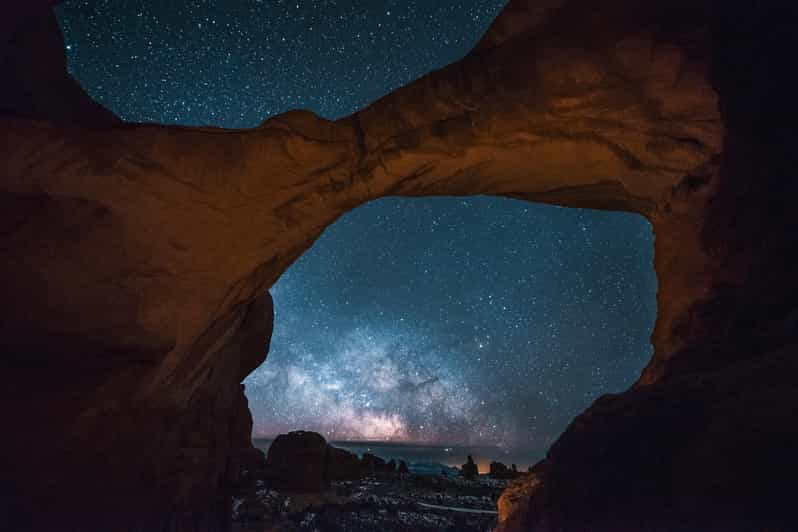
The tour’s highlight is time around Double Arch. This is the moment when your earlier lessons pay off, because you’ll finally concentrate your effort on a signature subject with the Milky Way (or nearby star fields) as your backdrop.
Before reaching the main highlight, you’ll have time to practice the skills you’re learning. That practice is not extra—it’s the difference between feeling confident at the big stop and feeling lost while everyone else is setting up.
When you arrive near Double Arch, your job is to slow down and work the setup methodically. Compose first, then start adjusting your camera (or phone) based on what you see. You might need to re-check your settings, and you might take more than one try. That’s normal. Long exposures and star photography rarely behave perfectly the first time.
The best part is the feeling of scale: you’re standing by dramatic sandstone, and the galaxy is looming large overhead. It can feel surreal in the best way. You’ll leave with images that are far more interesting than standard vacation snapshots, because you spent the tour learning how to capture the night sky intentionally.
Price and Value: Is $175 Worth It?
At $175 per person for a roughly 2-hour guided experience, this isn’t a casual add-on. But it can be good value if you care about getting real results—not just seeing stars.
Here’s what you’re paying for:
- A guide who teaches you how to use your camera for night sky photography
- A route and timing built around multiple Arches photo stops, not just one quick viewpoint
- Red LED headlamps and tripods (if needed), so you’re not hunting for gear at the last minute
- Optional DSLR rentals if you want better output without buying equipment for a one-time trip
- Small-group attention limited to 6 participants, which matters when you’re adjusting settings and need help fast
If you already know astrophotography well and you’re comfortable figuring everything out solo, a guided tour might feel less necessary. But if you want a structured learning path—plus help getting the camera and phone to perform—you’re more likely to feel like the cost is justified.
Also consider the alternative costs. Arches requires an entry pass (the standard vehicle pass is listed as $30), and that cost is not included. Transportation to the meeting point also isn’t included. So your full trip cost is more than the tour fee. Still, the guided instruction and the added photo opportunities can make it worth it for many people who want the best images with the least stress.
Who Should Book This Tour (and Who Might Want to Skip)
This tour is ideal if you want:
- A guided night hike that focuses on real astro-photography basics
- A dark-sky experience at a famous Arches location like The Windows and Double Arch
- Help that works for both cellphone photography and DSLR setups
- A small group setting where safety and setup aren’t rushed
It might not be the right fit if:
- You can’t manage an uneven, dark hike (it’s not suitable for wheelchair users and people with mobility impairments)
- Your group includes children under 6
- You’re hoping for a mostly seated, quick “look at the stars” experience rather than active walking and photo practice
If you’re the type who likes doing one or two things well—walking carefully, setting up a shot, and then trying again—you’ll probably love this. If you hate taking your eyes off the trail, you might still enjoy it, but you’ll need to follow the guide’s cues and accept that star photography takes patience.
Should You Book the Moab Windows Astro-Photography and Stargazing Hike?
I’d book it if your goal is to leave with night images you actually understand how to make. The mix of dark-sky location, hands-on instruction, and multiple Arches photo stops is exactly what you want if you’re serious about stargazing beyond a quick snapshot.
I’d think twice if you’re uncomfortable with walking in the dark over uneven ground or if you need fully accessible terrain. The route is part of the experience, and this program isn’t designed to be gentle in the way a paved viewpoint is.
If you bring the right shoes, water, and a charged phone, you’ll be set up to learn fast—and to enjoy the stars in a way you can’t replicate from a roadside pull-off.
FAQ
Where does the tour meet?
You meet at The Windows parking area in the first parking lot on the right. The tour ends back at the same meeting point.
How long is the experience?
The duration is 2 hours.
What does the tour cost, and what’s included?
The price is $175 per person. Included are the guide, walking tour, red LED headlamps, and tripods if needed.
Do I need an Arches entry pass?
Yes. The Arches entry pass is not included. A standard vehicle pass is listed as $30.
Can I rent a DSLR camera or lens?
Yes. You can request a DSLR camera and/or DSLR lens rental for an additional fee before the start of the tour. Lens and camera compatibility listed: Canon EF/EFS and Nikon F mounts.
What should I bring?
Bring a camera, hiking shoes, water, and a charged smartphone.
Is it okay to bring pets or kids?
Pets are not allowed. It is not suitable for children under 6.
Is the tour refundable if plans change?
Yes, you can cancel up to 24 hours in advance for a full refund.