REVIEW · SENARU
From Senaru: Mount Rinjani 2-Day Trek to Summit
Book on GetYourGuide →Operated by Rinjani Hero · Bookable on GetYourGuide
Two days, one serious volcano. This trek is built for big views and real mountain effort, with a night camp at the crater rim before a dawn summit attempt from 2639m up to 3672m.
I especially like the summit moment, where you’re set up to capture photos once you reach the top. And the route is timed so you’re not just hiking in the dark—you’re hiking for sunrise.
I love how the team takes the weight off your shoulders. Porters handle camping gear, and meals are served with hot drinks after hard climbing. I also like the comfort details: head lamps, trekking poles, camp chairs, and even a camp dining setup so you don’t have to carry that stuff yourself.
One consideration: the last section up to the summit can feel brutally steep, loose, and cold from wind, so you’ll need the right gear and a steady pace. Also, permits are limited—if you wait too long to register, you can get pushed to a different date.
In This Review
- What really makes this trek special
- Day 1 from Senaru to Sembalun: where the climb really begins
- Posts 1–3, the big food break, and the rim push
- Sleeping under the stars at Sembalun Rim
- Day 2 summit attempt: the 2:30 am wake-up and 3672m route
- Gear that feels thoughtful (and why that matters on Rinjani)
- Permits and the 240/day reality check
- Price and value: what $183 covers on this 2-day trek
- Who should book, and who should skip this summit attempt
- Should you book this Senaru-to-summit trek?
- FAQ
- How long is the trek from Senaru to the Mount Rinjani summit?
- What’s the price and what does it include?
- Is the Rinjani National Park entrance fee included?
- How do Mount Rinjani permits work?
- Can I register for permits using the ERinjani app myself?
- What time do you start the summit hike on day 2?
- What camping facilities are provided?
- What should I bring, and how heavy should my backpack be?
- Who is this trek not suitable for?
What really makes this trek special
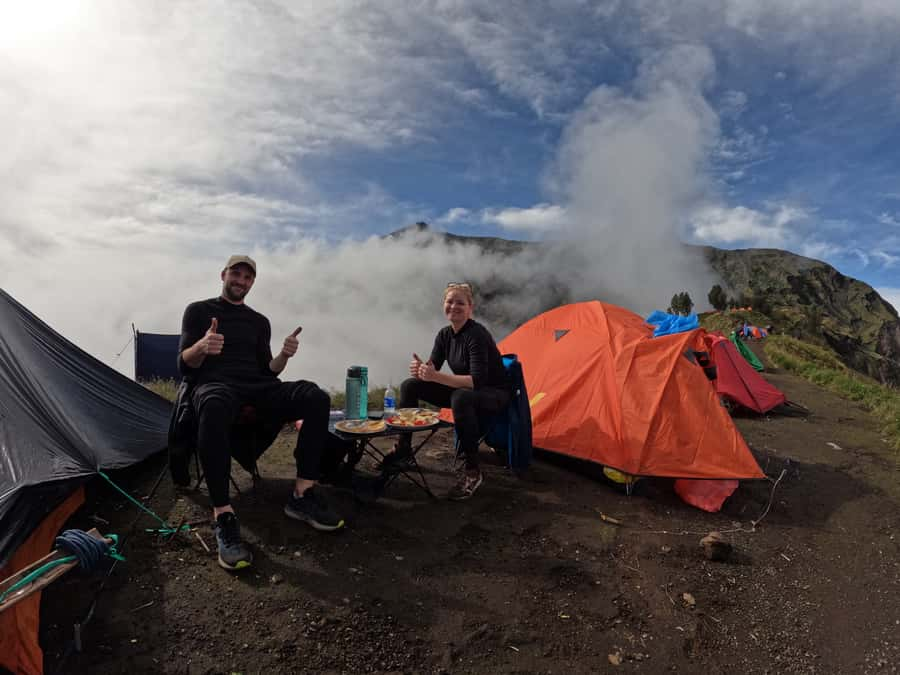
- Crater-rim camping at Sembalun: sleep under stars near Pelawangan Sembalun, then chase sunrise views the next morning
- A summit that comes with a photo moment: you reach 3672m and get time to capture the view
- Day 1 builds your rhythm: multiple posts (1, 2, 3) plus a long rim climb that sets up a calmer rest
- Warmth and camp comfort included: head lamps, sleeping bags, mats, pillows, tents, plus toilet tent
- Small group size: limited to 10 participants, so the pace stays human-sized
Day 1 from Senaru to Sembalun: where the climb really begins
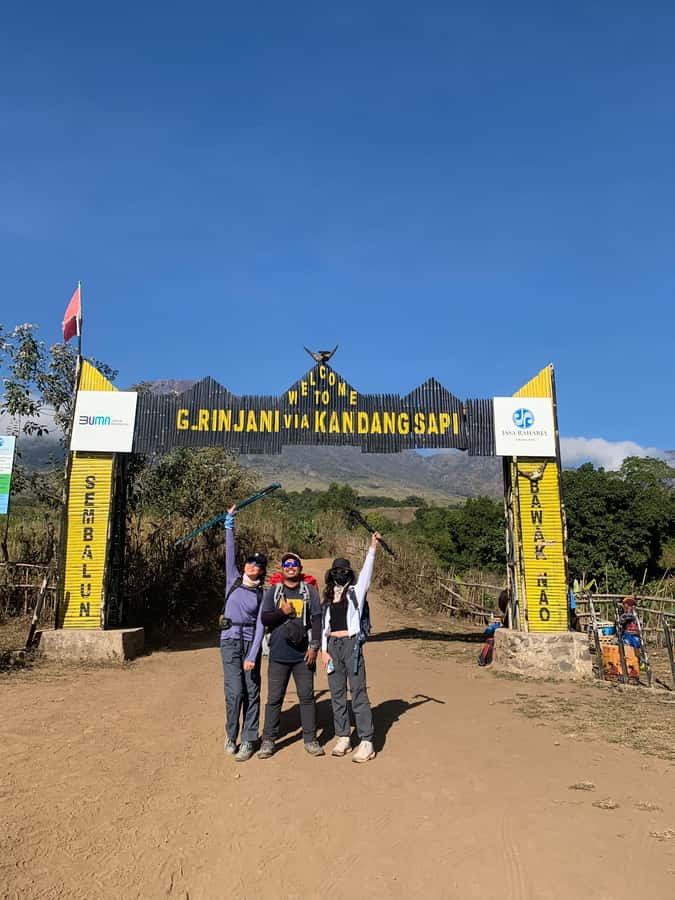
You start in Senaru, then get transferred to Sembalun village (the drive takes about 45 minutes to 1 hour). The goal of this first leg is simple: get you to the trailhead area early enough to make the day feel earned, not rushed.
You’ll arrive around 8:00 am and start with registration at the Rinjani Information Center at about 1051m. Then you move to Post 1 (Monitoring Post) at around 1300m. Expect roughly 2 hours of trekking for that stretch, with a short break at Post 1 (about 5 to 10 minutes) to reset legs and catch your breath.
Then the trail keeps climbing in steps: about 1 hour to Post 2 (Tengengean) at 1500m, followed by another short break (5 to 10 minutes). From there it’s about 1 more hour to Post 3 (Pada Balong) at 1800m.
What I like about this setup for you: it’s not one huge grind all at once. Those posts act like checkpoints for both your body and your timing, and they help you reach camp without burning out too early. You’re still working hard, but you’re working in chunks.
You can also read our reviews of more hiking tours in Senaru
Posts 1–3, the big food break, and the rim push
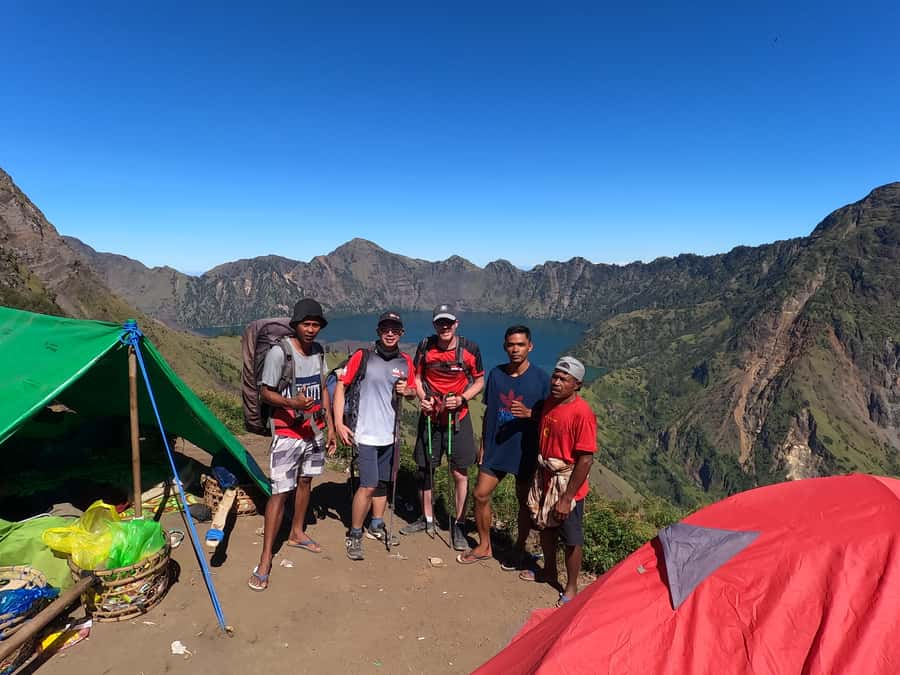
Post 3 is where the day shifts from steady climbing to “ok, now we fuel up.” You rest at Post 3 for about 2 hours. During that time, the guide and porters prepare lunch, and you also get a hot drink (tea, coffee, hot chocolate, or lemon tea). For a mountain trek, that matters more than people think—you need heat in your system, not just calories.
After lunch and rest, the route turns into the long climb to the Sembalun Crater Rim (Pelawangan Sembalun) at 2639m. You’re looking at around 3 hours for this segment, and it includes a prolonged steep climb. This is one of those parts where your form beats your willpower. Keep your breathing steady, take short steps, and let the terrain come to you.
Once you reach the rim, you camp at the crater edge area. This is where the trek becomes more than exercise. You get open views over Sembalun village and even a look at Segara Anak lake, plus wide sightlines that can include much of north Lombok. If the sky is clear, sunset here is often the kind of moment you remember long after your knees stop complaining.
Sleeping under the stars at Sembalun Rim
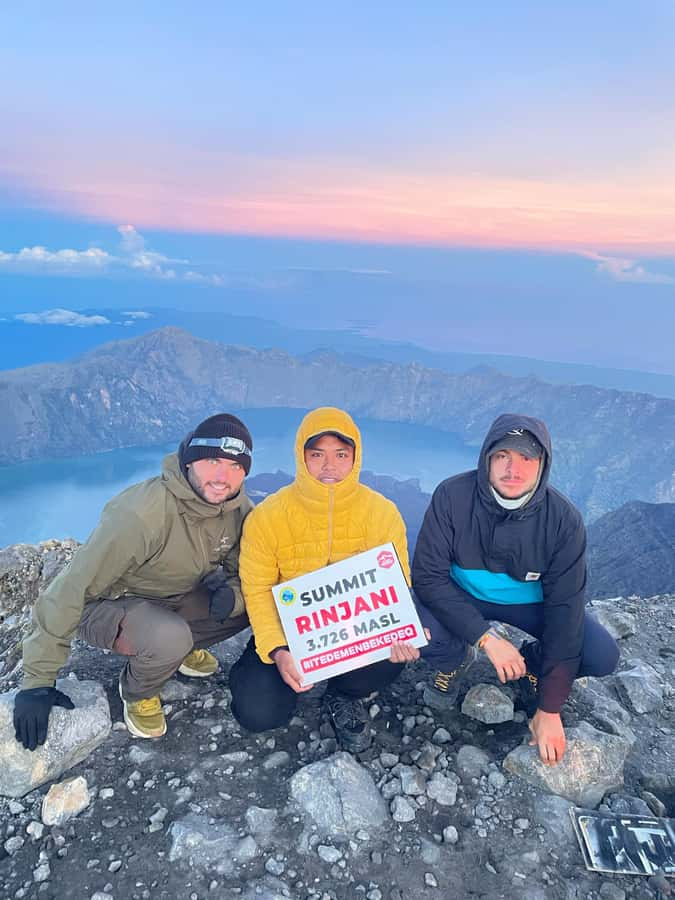
Camping at the crater rim is the heart of this two-day format. It’s not just that you get a campsite. It’s that you sleep close to the viewpoints that matter, so you’re not losing time to extra hiking later.
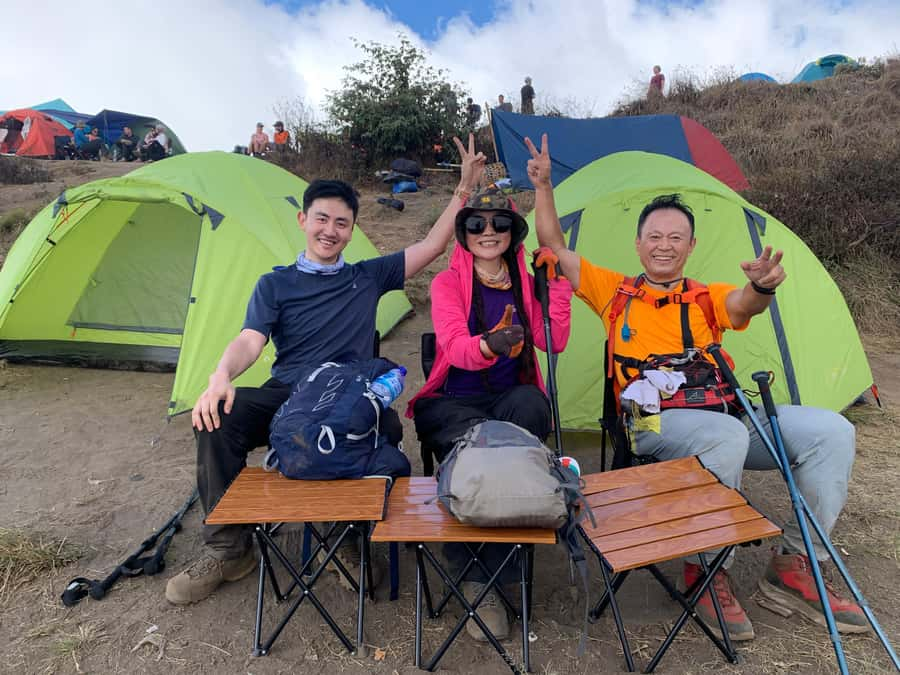
The package is designed to reduce your carry load. Camping equipment is included: double-size tents, camp chairs, sleeping bags, pillows, and mattresses. There’s also a toilet tent, which is one of those small details that makes a night like this feel civilized instead of chaotic.
You also get head lights. That’s essential because sunrise prep means moving before proper daylight. On this schedule, your “fun” hours happen early—your headlamp becomes your personal sunrise alarm system.
A practical tip: the rim can be windy, so don’t treat packing like a suggestion. Warm layers and gloves aren’t optional comfort items; they’re what keep you from rushing through the night hoping it ends quickly.
Day 2 summit attempt: the 2:30 am wake-up and 3672m route
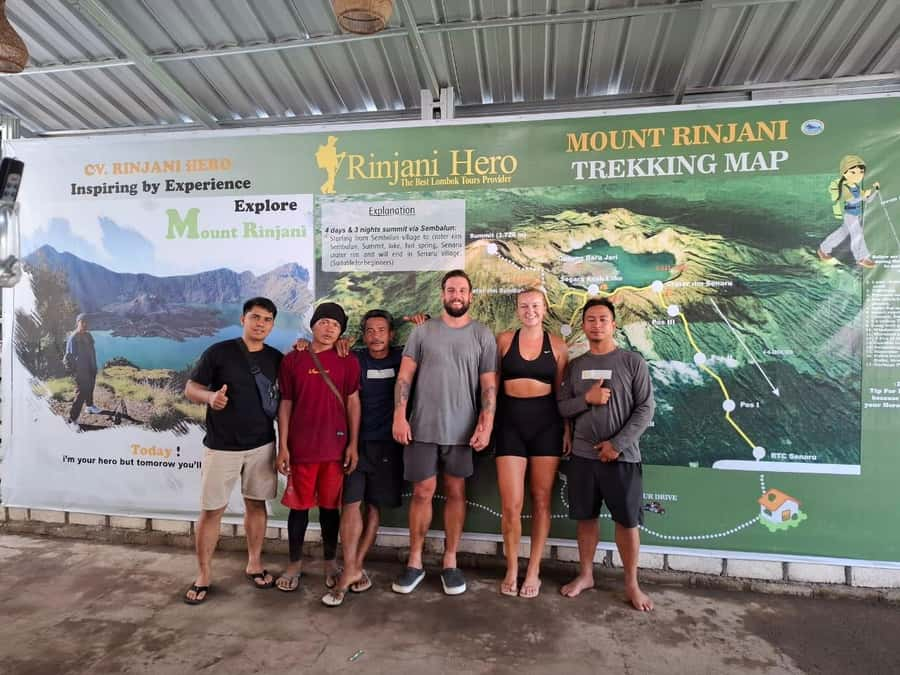
On summit day, you wake up at about 02:30 am if you want to catch the sunrise. After a light breakfast, you start hiking toward the summit at about 03:00 am.
Your target is Mount Rinjani’s summit at 3672m. The climb takes about 3 hours 30 minutes. The effort is divided into stages, which helps you mentally pace it:
- The first stage is a moderate climb for about 2 hours. This part is about rhythm. Don’t sprint. You’re saving energy for the tougher sections.
- The second stage is fairly easy but long. It can trick you into thinking the hard work is over, until it isn’t.
- The last hour is steep and difficult, with many loose stones. This is the section where you’ll feel it most: as you step forward, it can feel like the terrain shifts under you.
When you reach the summit, you get big island-spanning views. On a clear day, you can see Lombok, Bali, Mt. Tambora in Sumbawa, and Segara Anak lake. There’s also time to capture your moment with photos right at the top, so you’re not just stepping onto the summit and immediately scrambling back down.
After sunrise, you descend back toward the Sembalun Crater Rim and have breakfast there. Then you start the long descent to Sembalun village, which takes about 4 to 5 hours. Many people find the downhill mentally tougher than the uphill, even if the angle eases. Plan on careful footwork.
You usually stop for lunch at Post 3 or Post 2. Then you reach Sembalun village at about noon (around 1150m). The car is waiting to take you back to Senaru, and the trek finishes there.
Gear that feels thoughtful (and why that matters on Rinjani)
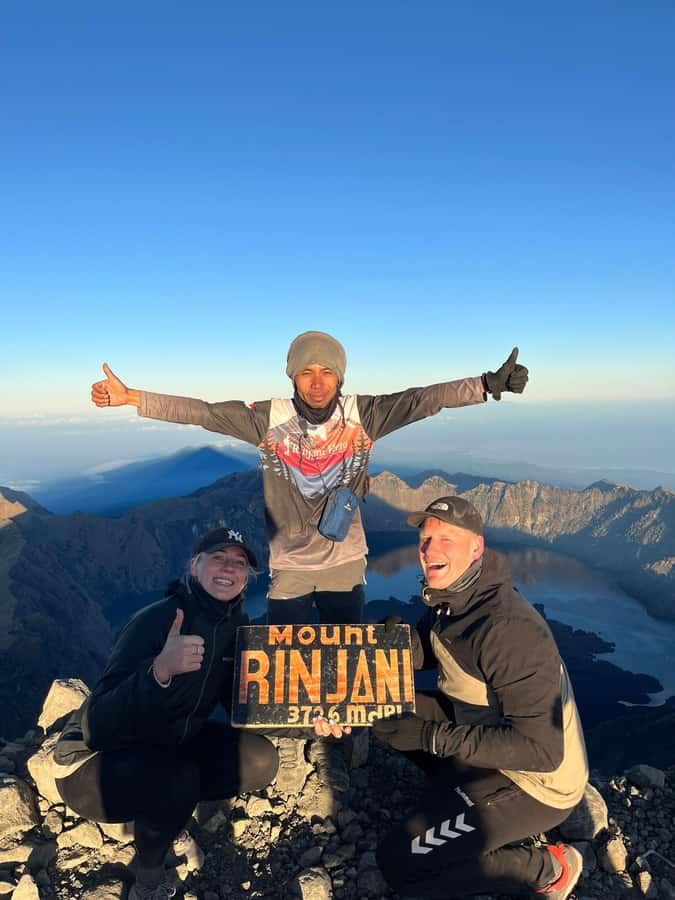
This trek stands out because it includes a lot of the “annoying stuff” that would otherwise add weight or hassle. It’s not just hiking poles and a tent.
Here’s what you get that changes your day:
- Trekking poles and sticks: helpful for steep sections and especially useful on the loose-stone summit approach and downhill
- Head lamp: crucial for the 03:00 am start and early-morning movement
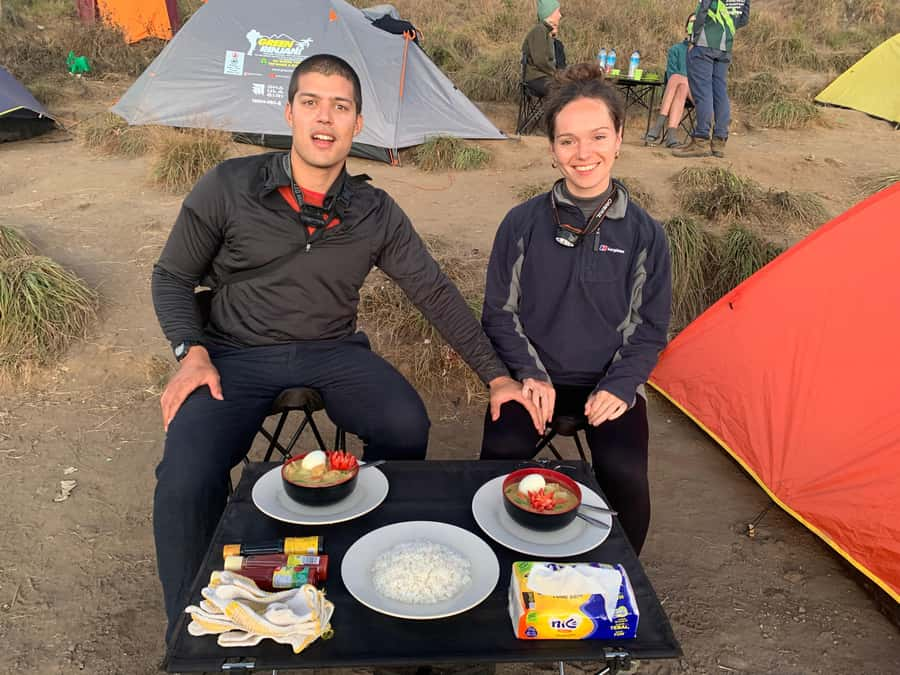
- Camp chairs and a camp dining setup (including a dinner table setup): you’ll eat and recover without sitting on the ground
- Sleeping bags, pillows, and mattresses: better rest means better stamina the next morning
- Rain coat: you’re not stuck figuring out shelter if weather turns
- Safe drinking water and included meals: less decision fatigue on days when you’re too tired to think
What you bring matters too. You’re advised to pack your personal trek items in a small backpack no more than 5 kilograms. That’s your personal carry, not your whole life. Bring essentials like hiking shoes, gloves, long pants, sun protection, insect repellent, and a charged smartphone for photos.
You also have the option to add an extra porter for personal belongings on request. That can be a nice compromise if you want a lighter main pack but still prefer carrying some personal items.
Permits and the 240/day reality check
This is the one part people underestimate: you can’t treat permits like a formality. Mount Rinjani national park permits are limited—only 240/day are available. If they sell out for your date, you may not be able to do the trek that day and you’ll need to reschedule.
Registration is done through the ERinjani app. You enter member details like passport number, full name, birthday, weight, height, and nationality. Then you pay directly via Indonesian bank to the government account. The permit cost is listed as RP 250K per person per day.
If you don’t want to manage the process yourself, you can contact a local guide to help with registration. With a limited daily quota, having someone handle the steps can save you stress.
Also note: the Rinjani National Park entrance fee is listed as not included. So build a budget that covers both your trek price and the park-related costs you’re responsible for.
Price and value: what $183 covers on this 2-day trek
At $183 per person for 2 days, this itinerary looks strongest when you consider what’s included and what isn’t.
What’s included:
- Guide and porters (including porter support for camping equipment)
- Meals and drinks (breakfast, lunch, dinner) plus safe drinking water
- Camping equipment (tents, sleeping bags, mats, pillows, toilet tent, chairs)
- Practical trekking support (head lamp, trekking poles/sticks)
- Insurance and a rain coat
What’s not included:
- National park entrance fee
- A small day pack (you’ll still need to carry your personal layer/treatments and essentials)
Value lens for you: you’re paying for a fully supported mountain night and a guided summit attempt, not just “someone to walk with.” The included camp setup is a big deal on a rim night where you’ll feel cold and wind. You’re also capped at 10 participants, which usually makes it easier for the guide to manage pacing and safety.
If your goal is to travel light and stop thinking about logistics, this kind of package can feel like good value.
Who should book, and who should skip this summit attempt
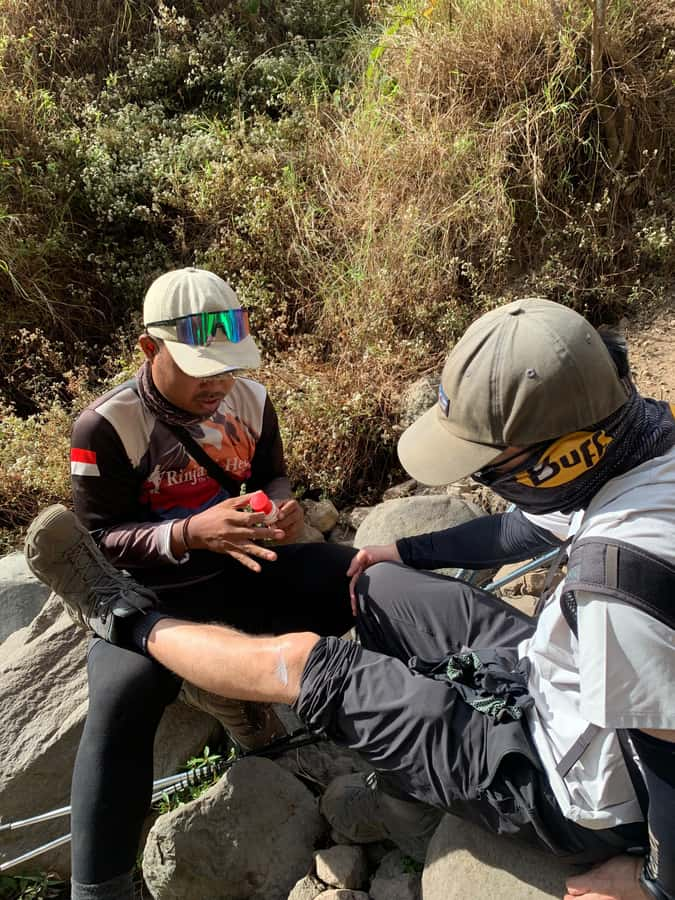
This trek is for people with solid stamina and comfort with altitude effort. It’s specifically not suitable for people who are prone to mountain sickness or who have height phobias. You’re also advised against joining if you have heart problems or diabetes, if you have altitude sickness, or if you don’t have trekking experience and low fitness levels.
It’s also listed as not suitable for:
- Children under 4
- Pregnant women
- People afraid of heights
- People over 70
Even if you’re fit, think hard about the conditions. The last hour to the summit includes loose stones and a steep angle. That’s where confidence in your footing matters.
One more practical note from real-world experiences: transport can be fast. If you’re getting picked up by driver, you can ask for slower, safer driving before you get in.
Should you book this Senaru-to-summit trek?
If you want a real Rinjani experience with crater-rim camping, sunrise timing, and summit access without bringing heavy camp gear yourself, this is a strong pick. The included equipment setup—head lamps, poles, camp chairs, and a proper camp setup—makes the two-day structure feel doable even when the mountain is not.
I’d book it if:
- You’re comfortable hiking long hours and starting before dawn
- You pack for cold wind and steep, rocky footing
- You can handle strict permit timing and you’re ready to register early
I’d hesitate if:
- You’re not confident in the cold or steep terrain
- You’re unsure about altitude, symptoms, or fear of heights
- You plan to register late and risk permit limits
If you’re prepared, this trek gives you exactly what most people want from Mount Rinjani: a summit day that’s timed for sunrise and a night at the rim that feels like the volcano is keeping you company.
FAQ
How long is the trek from Senaru to the Mount Rinjani summit?
The experience lasts 2 days.
What’s the price and what does it include?
It’s priced at $183 per person. Included are a trekking guide, porter support for camping equipment, meals and drinks (breakfast, lunch, dinner), safe drinking water, camping equipment, head lamp, trekking poles/sticks, insurance, and a rain coat.
Is the Rinjani National Park entrance fee included?
No. The Rinjani National Park entrance fee is listed as not included.
How do Mount Rinjani permits work?
Permits are very limited, with only 240/day available. If they run out for your date, you may need to reschedule. You can register via the ERinjani app or ask a local guide to help.
Can I register for permits using the ERinjani app myself?
Yes. You register through the ERinjani app by entering member details such as passport number, full name, birthday, weight, height, and nationality, then pay directly via Indonesian bank to the government account (RP 250K per person/day).
What time do you start the summit hike on day 2?
You wake up around 02:30 am and start hiking toward the summit at about 03:00 am.
What camping facilities are provided?
Camping equipment is included: double size tents, camp chairs, toilet tent, sleeping bags, pillows, and mattresses.
What should I bring, and how heavy should my backpack be?
Bring hiking shoes, gloves, long pants, cash, a charged smartphone, and a collared shirt. Your items should be packed in a small backpack no more than 5 kilograms.
Who is this trek not suitable for?
It’s not suitable for people with mountain sickness concerns or altitude phobias, people afraid of heights, people with heart problems or diabetes, people with altitude sickness, people without trekking experience, and people with low fitness. It’s also not suitable for children under 4, pregnant women, and people over 70.