REVIEW · ROGALAND
Stavanger: Preikestolen Winter Hike + Hot Lunch
Book on GetYourGuide →Operated by Explore Lysefjorden · Bookable on GetYourGuide
Preikestolen in winter is a totally different kind of day out. What makes this one work is the small-group pace with a trained guide who helps you move safely on snow and ice, then rewards you with the big Lysefjorden views from 604 meters up. I love two things most: the winter safety coaching (including traction and smart route choices) and the hot post-hike meal at Villa Rosehagen that lets you reset before heading back. The one drawback to plan around is that this hike is not for complete beginners—conditions are serious enough that you really need a solid hiking base and the right footwear.
You’ll start with convenient pickup around Stavanger, then spend the day out in the calm winter air instead of threading through summer crowds. And if weather shifts into fog, you’ll still get a memorable outing because the guide builds in time for the landscape to show itself (or at least for the mountains to feel mysterious in a good way). Just know: winter Preikestolen isn’t the place to wing it on your own.
In This Review
- Key Things That Make This Winter Hike Worth It
- Why Preikestolen Feels Different in January to March
- Stavanger Pickup to Trailhead: Less Waiting, More Walking Time
- Winter Safety and Seasonal Equipment: What the Guide Brings
- The Climb to Pulpit Rock: Timing, Effort, and the 604-Meter Payoff
- Quiet Side Routes and Extra Viewpoints (When Conditions Allow)
- The Descent Back Down: How You Finish Strong
- Villa Rosehagen Hot Lunch: Soup and a Proper Reset
- What You Really Get for $219: Value Breakdown
- What to Bring (and What to Skip) for Winter Traction
- Who This Tour Fits Best (and Who Should Rethink It)
- My Decision Guide: Should You Book This Winter Preikestolen Hike?
- FAQ
- How long is the full experience?
- Where are the pickup and drop-off locations?
- How long does it take to hike to Preikestolen?
- Is it safe to hike to Preikestolen without a guide in winter?
- What’s included for food and drinks?
- What winter equipment is provided?
- What language are the guides?
- What should I bring and wear?
Key Things That Make This Winter Hike Worth It
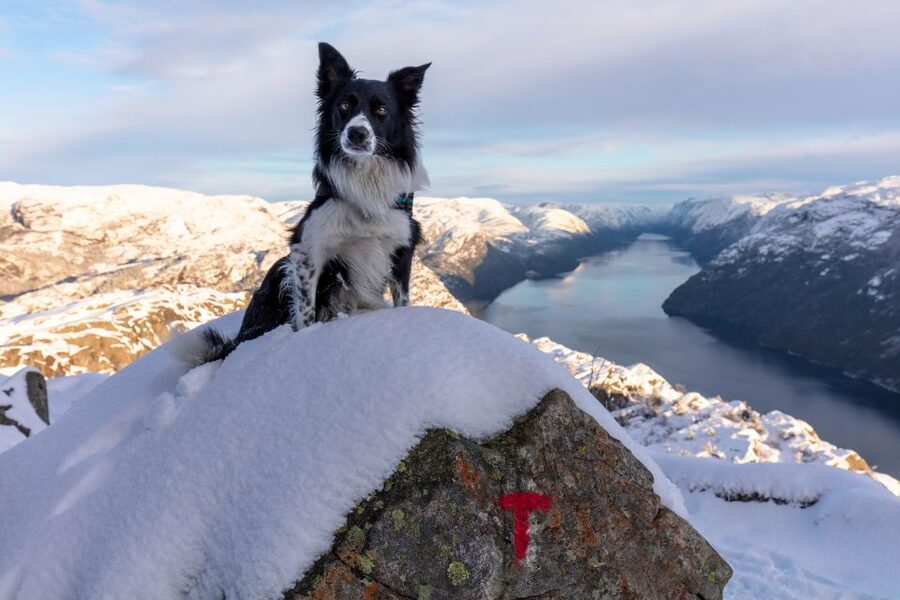
- Guide-led peace on the trail: You hike with a trained local leader and a small group, so you stay out of the loud, chaotic flow.
- Real winter support: Seasonal technical equipment and safety gear are included—important when the ground turns slick.
- A clear target, then side stops: You’re working toward the edge at Preikestolen, but the route can include quieter viewpoints along the way.
- Planned timing: Roughly 2.5 hours up and 2 hours down, plus breaks for clothing swaps, snacks, and photos.
- Hot lunch at Villa Rosehagen: A one-hour meal stop after the climb turns the day from tough into cozy.
Why Preikestolen Feels Different in January to March
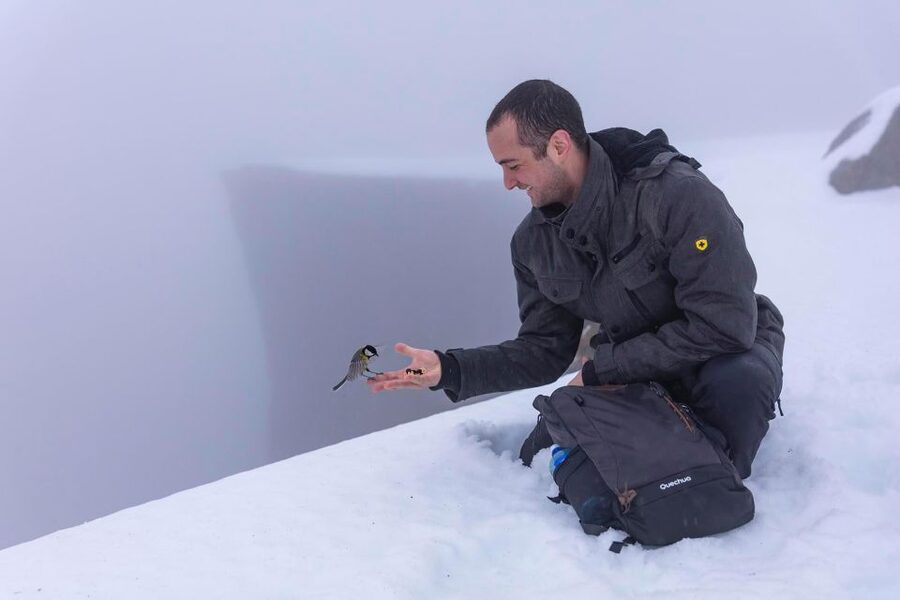
Preikestolen is already famous in fair weather. In winter, the place gets sharper, quieter, and more physical—snow and ice change everything about how you walk and how the views arrive. In the January to March window especially, going without a guide isn’t recommended, because the trail can become a fast-changing mix of frozen surfaces and weather.
That’s where this tour makes sense. The whole point isn’t just reaching the top. It’s getting there in a way that feels controlled. You’re not improvising routes or guessing traction. You’re following a guide who’s trained for winter movement and for the kind of day where fog might roll in, then thin out, then roll back.
A few more Rogaland tours and experiences worth a look
Stavanger Pickup to Trailhead: Less Waiting, More Walking Time
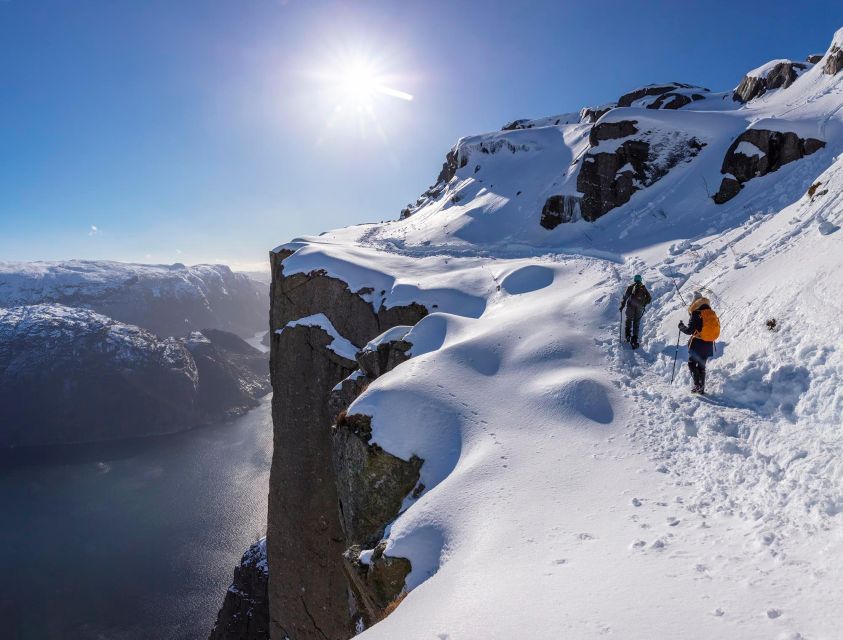
Your day starts with pickup from one of 13 designated Stavanger-area locations. The spots include major hotels like Victoria Hotel, Thon Hotel Maritim, and Radisson Blu Atlantic Hotel, plus stops like St. Svithun Hotell and St Petri kirke. This matters more than it sounds: you’re not wasting daylight on complicated transit.
After pickup, you drive about 40 minutes to the trailhead. That’s when things get practical. Restrooms are available at the start, and your guide uses that time to brief you on expected conditions and what to do for comfort on icy terrain—clothing layers, pacing, and where you should be careful.
Then the hike begins. With snow, the first part of the climb is often where you find your rhythm. The guide’s pacing is built for that—adjust layers, get stable footing, and then settle into the long climb without feeling rushed.
Winter Safety and Seasonal Equipment: What the Guide Brings

This is the non-negotiable part of winter hiking at Preikestolen. The guide carries winter safety basics like navigation tools and first-aid equipment, and you’re also provided seasonal technical equipment for the conditions.
In real-world terms, guides may help you with winter traction choices—some travelers mention things like anti-slip aids or crampons when ice needs extra grip. You’ll also get guidance on what kind of shoes and socks work best, because winter comfort is mostly about keeping your feet stable and warm rather than simply staying bundled up.
A few guides named in people’s experiences—like Erlend, Alan, and Stephan—come up repeatedly, and the common theme is the same: you feel looked after. It’s not just enthusiasm; it’s organization. You know where to step, when to pause, and how to handle sudden changes like a colder patch of snow or a gust of wind at exposed sections.
The Climb to Pulpit Rock: Timing, Effort, and the 604-Meter Payoff
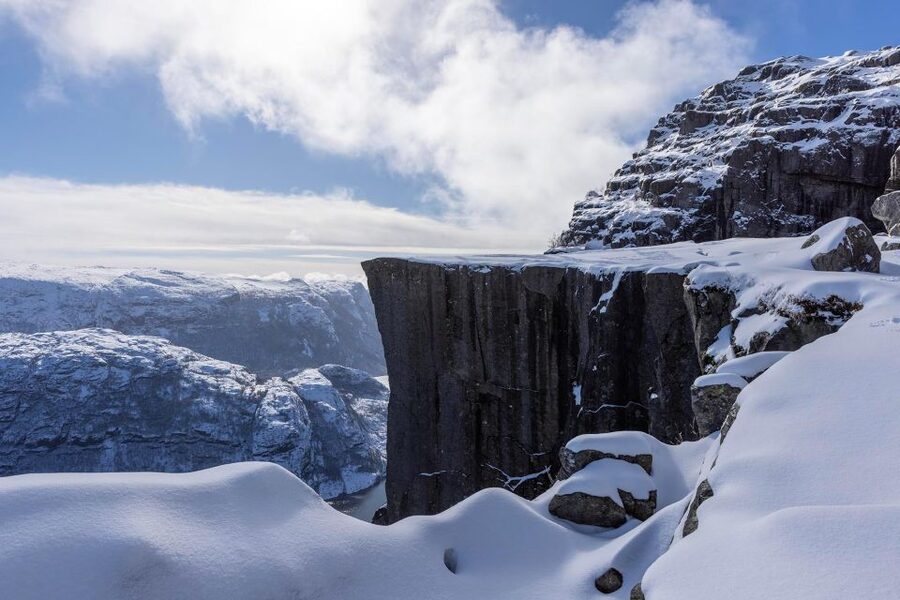
The hike runs about 6 hours total, with the climb to Preikestolen taking roughly 2.5 hours. That’s a big deal because it sets expectations. This isn’t a quick walk in the park. It’s a steady winter grind where traction and pacing matter.
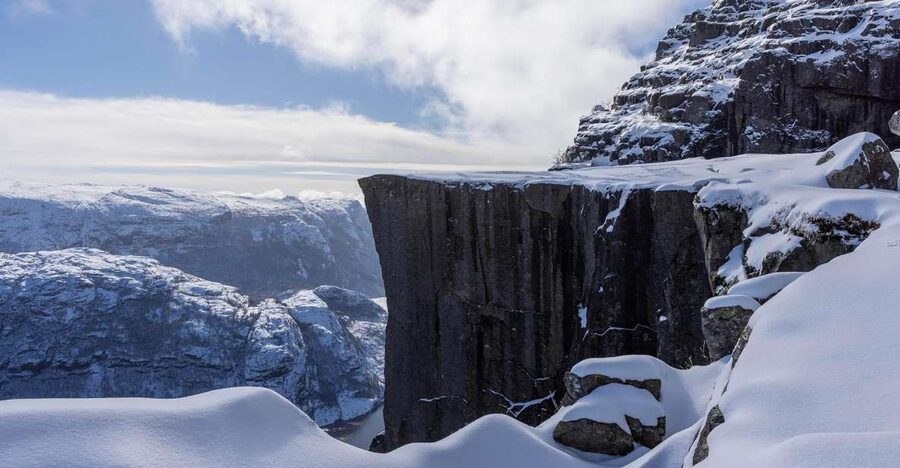
When you arrive, you’re at the dramatic edge: Preikestolen sits 604 meters above Lysefjorden. The sheer cliff face is the headline view, but the best part in winter is the feeling of space. Even when weather isn’t perfect, the scale of the fjord and the steepness of the viewpoint make the effort feel real.
Your guide helps you enjoy this moment properly. You’re not sprinting to the top and leaving in five minutes. There’s time to relax, soak in the panorama, and take photos.
One winter reality check: fog can happen. Several outings describe views appearing and disappearing, which can be frustrating if you want one clear postcard shot. The fix is simple: you go anyway, and you let the day breathe. In winter, the atmosphere is part of the experience.
Quiet Side Routes and Extra Viewpoints (When Conditions Allow)
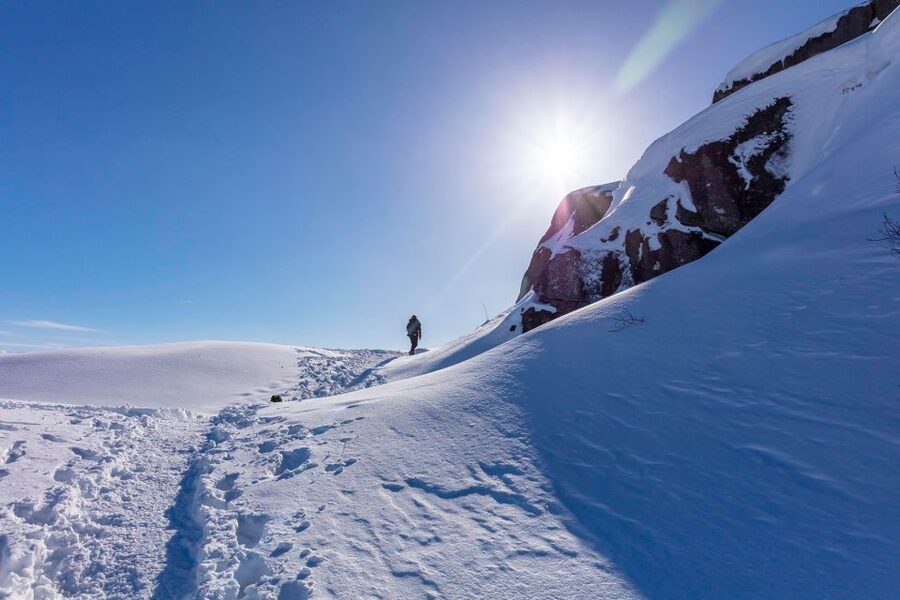
A smart winter guide doesn’t just follow the fastest line. This tour can include hidden or less-obvious stops along the way if conditions allow it. That’s how you get moments that feel more personal than standard sightseeing.
You’ll also notice that many groups report getting to spend time at viewpoints without the heavy feel of peak season. In winter months, the number of hikers drops, and the guide can plan the timing so you’re up near the top with fewer people around.
Also, don’t expect a one-size-fits-all hike. This is a small group capped at 8 participants, so the guide can adjust pace and route choices based on how you’re doing. If your group includes hikers with different levels, that flexibility can save the day.
You can also read our reviews of more hiking tours in Rogaland

The Descent Back Down: How You Finish Strong
Coming down is often where people underestimate winter hiking. Gravity helps, sure—but slick snow makes descent tricky. That’s why the tour sets aside time for it: the return takes about 2 hours back down to the parking area.
Your guide keeps the pace under control. You’ll take breaks when needed, and you’ll focus on stable steps rather than speed. The goal is a smooth finish where you’re tired in a good way, not stressed.
If the weather changes or conditions feel rougher than expected, a guide can route around the riskiest sections. People describe guides using alternative paths on winter routes, especially when ice or surface conditions require it. That’s exactly what a guide is for.
Villa Rosehagen Hot Lunch: Soup and a Proper Reset
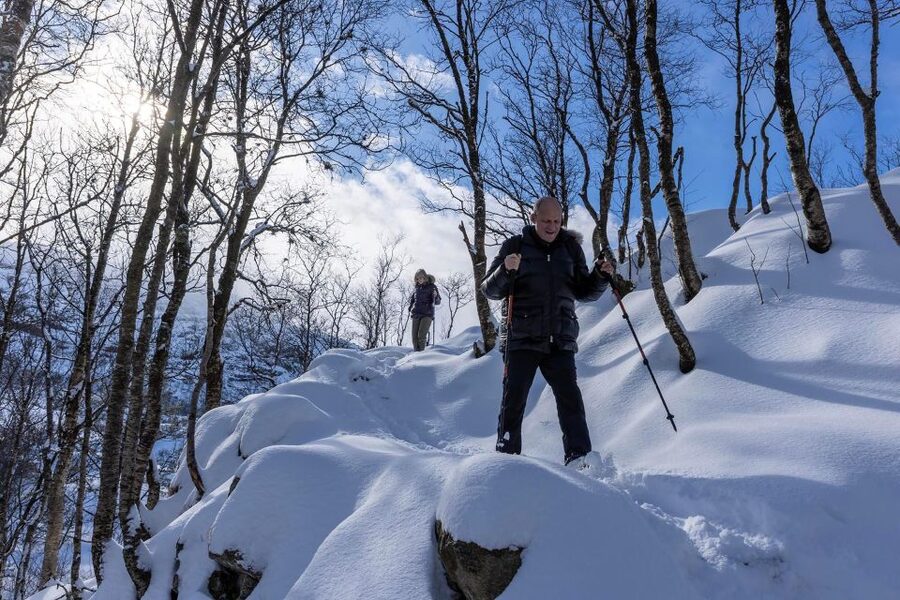
After the hike, you head to Villa Rosehagen for lunch. The stop lasts about 1 hour, which is long enough to warm up, eat something hot, and feel human again.
This meal is centered on soup, and dietary needs can be handled—just tell the operator ahead of time. In practice, you might see variations like tomato-based soup or fish soup, and some people report getting a sandwich alongside their meal (for example salmon). The exact menu can vary, but the core value stays the same: hot food in a historic setting, after a cold climb.
The tour also includes a small snack and a hot berry juice, so you’re not starting the last stretch of the climb empty-handed. By the time you reach lunch, it feels like a reward rather than a chore.
What You Really Get for $219: Value Breakdown
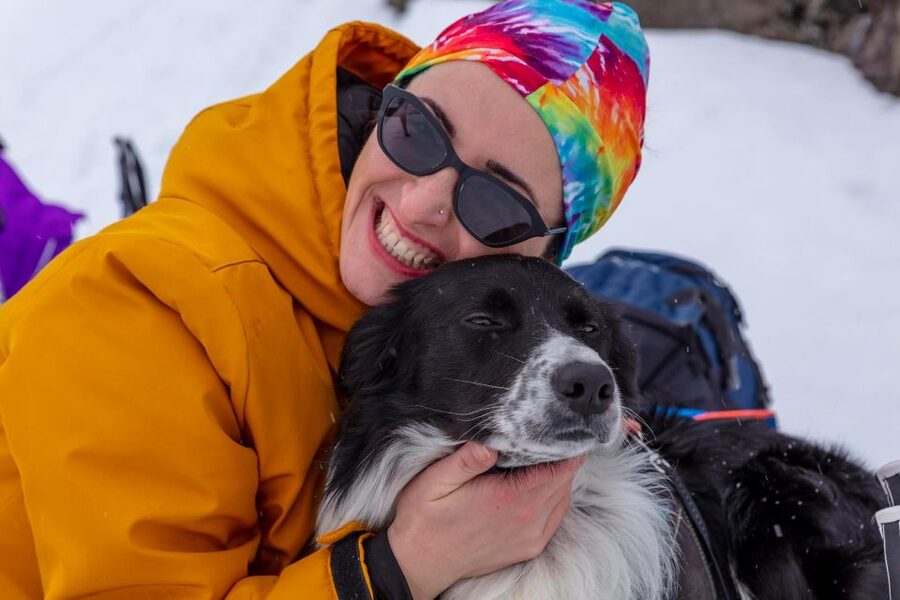
At $219 per person for an 8-hour day, it’s not a budget activity. But winter Preikestolen without help can become a safety gamble, and this price reflects that reality.
Here’s what’s actually included:
- Guided hike for winter conditions
- Roundtrip car transportation from Stavanger pickup points
- Seasonal technical equipment plus safety support from the guide
- 1 small snack and 1 hot berry juice
- Hot lunch (soup) at Villa Rosehagen
You’re also in a small group of up to 8, which usually means less waiting and more attention per person. For winter hiking, attention is worth money. It’s the difference between feeling confident on slick footing and constantly second-guessing each step.
What’s not included is also important: you’ll want to bring essentials or plan to rent/purchase gear on your own. The tour notes gear for rent/purchase is not included, including items like warm hat and gloves, rain-proof jacket, water-resistant pants, and hiking boots.
So the value question comes down to you: if you’re serious about hiking in winter and you want safety + local guidance + a hot meal already handled, this is good value for the effort. If you’re hoping to save money by improvising, you’ll feel the cost later—in stress and fatigue.
What to Bring (and What to Skip) for Winter Traction
This hike asks for winter-ready clothing and footwear. Bring:
- Warm clothing, gloves, and a hat
- Waterproof or rain gear
- Hiking shoes and socks that work in snow
- A daypack and water
- Snacks (even with provided snacks, you might want more)
- Waterproof bag for your essentials
Two small rules to take seriously: jeans aren’t allowed, and high-heeled shoes are a no. Both become slippery problems fast in winter.
Also remember the tour includes equipment, but it doesn’t replace your need for a real hiking setup. If your shoes don’t have the grip you need, winter traction will only get you so far.
Who This Tour Fits Best (and Who Should Rethink It)
This tour is described as suitable for people with hiking experience. If it’s your first hike, you should only book if you’re active—think at least one good cardio workout session per week.
It’s generally not suited for:
- Children under 6
- Pregnant women
- People under 100 cm (3 ft 3 in)
- People with low fitness
- Children under 15 kg (33 lbs)
If you’re the kind of traveler who plans layers, practices winter walking habits, and enjoys a physical day outdoors, you’ll like this. If you’re looking for an easy stroll, you’ll probably find the climb demanding.
My Decision Guide: Should You Book This Winter Preikestolen Hike?
Book this tour if you want the classic Preikestolen experience without the winter uncertainty. The guide-led format, included winter equipment, and the warm reset at Villa Rosehagen make it a smarter choice in January to March. You’ll also appreciate the small group size if you care about getting time at the viewpoint without feeling packed in.
Skip it—or at least reconsider the plan—if you don’t have hiking experience or you’re likely to struggle with icy footing and steady climbs. Winter Preikestolen is not the moment to test yourself.
If you can hike confidently and you pack for cold conditions, this is one of the better ways to see Lysefjorden from above while keeping your head clear and your steps steady.
FAQ
How long is the full experience?
The tour runs about 8 hours total, with around 6 hours for the guided hiking portion and about 1 hour for lunch.
Where are the pickup and drop-off locations?
Pickup and drop-off are available from multiple designated locations in the Stavanger area, including several hotels and also stops like St Petri kirke and Lagårdsveien 61. The guide uses marked cars and confirms pickups by location.
How long does it take to hike to Preikestolen?
The hike up to Preikestolen takes about 2.5 hours, and the return down takes about 2 hours.
Is it safe to hike to Preikestolen without a guide in winter?
For the January to March winter period, hiking to Preikestolen without a guide is not recommended due to snow and ice.
What’s included for food and drinks?
You get 1 small snack and 1 hot berry juice during the hike, plus a hot lunch with soup at Villa Rosehagen.
What winter equipment is provided?
The tour includes seasonal technical equipment, and the guide carries necessary winter safety and navigation gear.
What language are the guides?
The live guide is available in English and Norwegian.
What should I bring and wear?
Bring warm clothing, gloves, a hat, rain gear, hiking shoes, socks, water, a daypack, hiking pants, and snacks. Jeans and high-heeled shoes are not allowed.