REVIEW · FUNCHAL
Pico do Areeiro to Pico Ruivo (PR 1) – Hiking Tour in Madeira
Book on Viator →Operated by Madeira Adventure Kingdom · Bookable on Viator
PR1 to Ruivo is the Madeira hike you’ll remember. Doing it with a mountain guide keeps the day safe and straightforward, with no getting lost pressure in the middle of narrow paths and tunnels.
What I love most is the big-view payoff: the walk links Madeira’s highest points, then finishes with a 360° panorama from Pico Ruivo (1861m). I also like the structure of the day—pickup from Funchal/Caniço, a clear start time at 8:30am, and a group size capped at 15 so it stays manageable.
The main consideration is fitness. This is a strong, 10km route with a challenging 4-hour hike feel, steep sections near the top, and lots of ups/downs/stairs. If you have limited mobility or a health issue that makes steep trail tough, you’ll want to skip this one.
In This Review
- Key things I’d plan around
- How a guided PR1 hike saves you real stress (especially without a car)
- Pickup timing: be ready before 8:30am to keep the day moving
- Santana and the start area: why the day is built in sections
- Pico do Areeiro (1818m): the first altitude check and your first real views
- The PR1 ridge walk: Ninho da Manta and the conservation zone in action
- Approaching Pico Ruivo: tunnels, bridges, and the last steep push
- Descending to Achadas do Teixeira (1592m): where the real legs start talking
- Price and value: what $55.26 buys you (and what it doesn’t)
- What to pack and how to avoid the common mistakes
- Weather reality on Madeira: rain or shine, but safety comes first
- Should you book Pico do Areeiro to Pico Ruivo?
- FAQ
- How long is the Pico do Areeiro to Pico Ruivo hike tour?
- Where does pickup happen?
- Is there an extra fee during the tour?
- What language will the guide speak?
- Is this hike suitable for people with limited mobility?
- What happens if weather conditions are bad?
Key things I’d plan around
- 10km between the peaks with the route climbing toward Pico Ruivo and feeling steep near the end
- 360° views from Pico Ruivo—the reason most people do PR1 in the first place
- Guide-led navigation through tunnels, bridges, and narrow sections so you can focus on the scenery
- Nature conservation setting in the Natura 2000 network, with Freira da Madeira (an endangered bird) in the mix
- Small group hiking (up to 15) for a more relaxed pace and fewer bottlenecks
- Altitude weather risk: high clouds and rain can change fast, and the guide may adjust the hike if needed
How a guided PR1 hike saves you real stress (especially without a car)
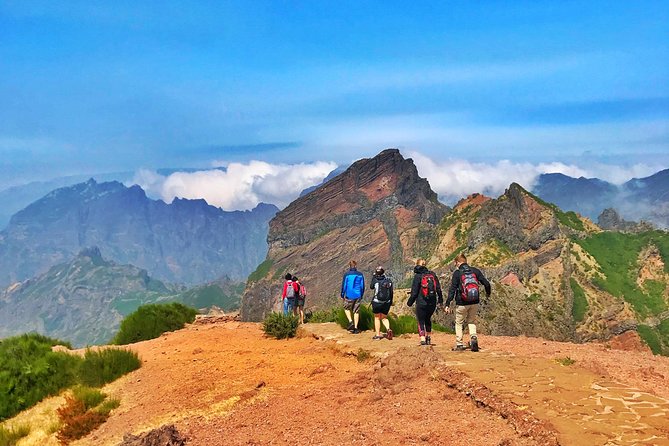
The Pico do Areeiro to Pico Ruivo trail is one of Madeira’s signature walks for a reason: it’s high, dramatic, and built for views that you just don’t get from towns or lookouts. But it’s also not a casual stroll. You’re on mountain paths where visibility can vanish in minutes, and where footing matters.
That’s why the guide component is a value point, not just a nice extra. Having an official mountain guide means you’re not working out the route while also managing altitude, changing weather, and narrowing sections. The day is planned so you hike in a safe, controlled way with the group staying together—exactly what you want when the trail gets tricky.
Another practical win: transportation is included from the center of Funchal and Caniço. If you don’t want to rent a car, deal with parking, or worry about getting back down after a long descent, this is the cleanest way to do PR1. You show up, you hike, and you’re brought back—simple.
You can also read our reviews of more hiking tours in Funchal
Pickup timing: be ready before 8:30am to keep the day moving
This tour starts at 8:30am, with pickup offered from designated hotels in Funchal and Caniço. Plan to be in the hotel reception area 10 minutes early. Guides wait about 5 minutes per person, and you’ll see vans that can be white (smaller) or grey (larger).
From the reviews I picked up on, the day-of communication tends to be organized and quick—often with messaging that keeps everyone synced. That matters because mountain weather is unpredictable, and you’ll want updates fast if timing shifts.
Once you’re on the bus, you’re not just getting a ride. You’re getting a schedule. That’s how you avoid the common hiking-day mess: arriving late, hiking at the wrong time, or showing up after the best visibility has already passed. You’ll also ride in an air-conditioned vehicle, which is a small comfort but a real one on Madeira mornings.
Santana and the start area: why the day is built in sections
The day touches Santana and then focuses on the mountain segment between Pico do Areeiro and Pico Ruivo, with the return route back toward Santana and then to your pickup area. Even without deep stops spelled out minute-by-minute, the structure is meaningful: it helps you handle the logistics without wasting time crisscrossing the island.
You start at the high point area near Pico do Areeiro (1818m). Before the hike kicks in fully, you can take a refreshment break at the local bar if it’s open. That’s more important than it sounds. A hearty start helps your body handle the steady climb and the altitude push.
Also, this is the kind of hike where you’ll be happier if you treat it like a plan, not a mood. The route is 10km and includes steeper segments, so having the pacing guided by the group and mountain guide keeps you from going out too fast at the top.
Pico do Areeiro (1818m): the first altitude check and your first real views
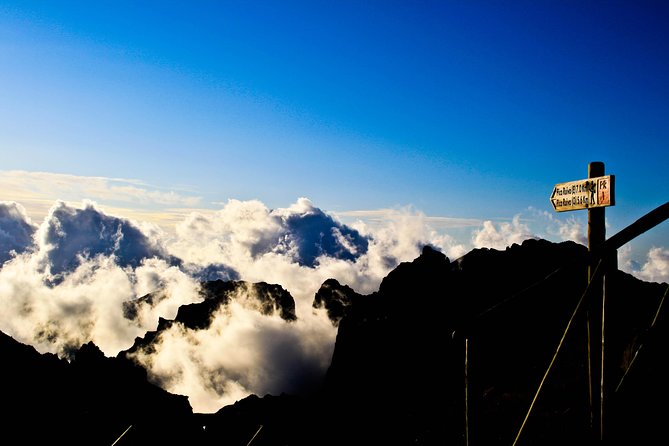
Pico do Areeiro is your launching point at 1818m, and the trail begins with that Madeira mountain feeling—cooler air, wind changes, and often more cloud play than you get down in Funchal.
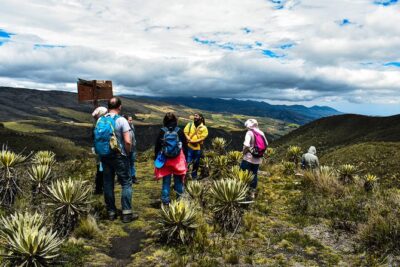
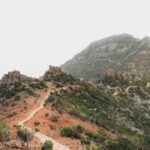
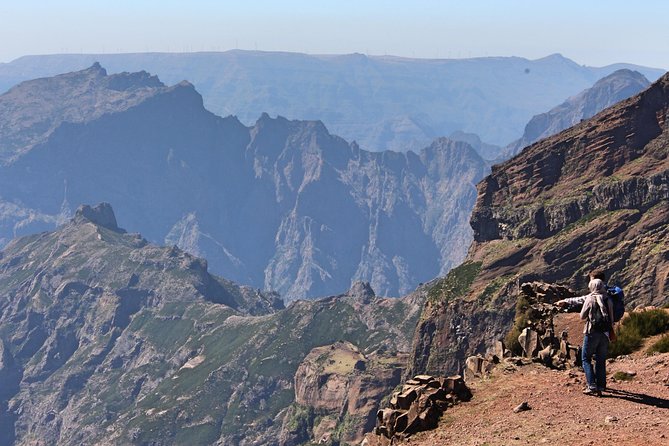
What you’ll notice early is that the walk is already about ridgeline views. The scenery isn’t a single lookout; it unfolds as you go. That’s a key difference from the quick photo stops around town. Here, the trail acts like a moving viewpoint.
If the bar is open, grab something light. The tour doesn’t include snacks or bottled water. In other words, don’t assume you’ll be able to buy what you need during the hike. The tour info even says it might be possible to buy food and drinks before the hike, but it’s not guaranteed—so treat that as a bonus, not a strategy.
And once the route starts moving, you’re also settling into the reality of PR1: you’re walking in a protected, high-altitude environment where conditions shift quickly. Even when it looks clear, you can get mist rolling through. Having the guide’s experience matters because they’ll know when to keep the group together and when to adjust pace.
The PR1 ridge walk: Ninho da Manta and the conservation zone in action
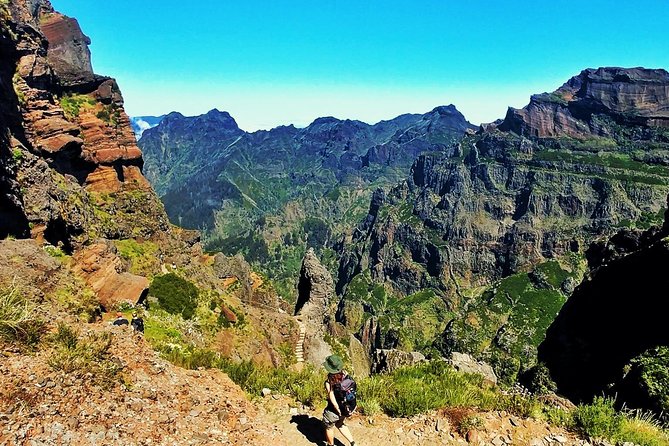
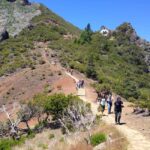
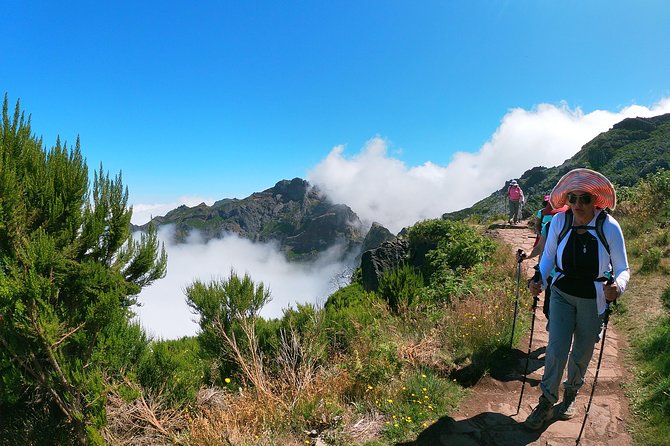
The trail between the peaks is where PR1 becomes more than just a climb. You pass through dramatic high-altitude terrain and reach Ninho da Manta, a spot known for views over:
- Fajã da Nogueira Valley
- Nun’s Valley
- Paul da Serra
This isn’t just about taking photos. It’s also a natural break point where you can steady your breathing and reset your legs before the steeper push toward Pico Ruivo.
A big part of why this trail feels special is the setting: it’s in the Natura 2000 Network, an important conservation area. The information highlights the endangered Freira da Madeira bird species, and it also points out ancient endemic trees like the centenary Urzes.
So what should you do with that information? Simple things. Stay on the trail, don’t shout, and avoid treating the area like a picnic zone. If you’re quiet, you’ll be more aware of how the place feels—wind, birdsong (when conditions allow), and that “high and protected” atmosphere.
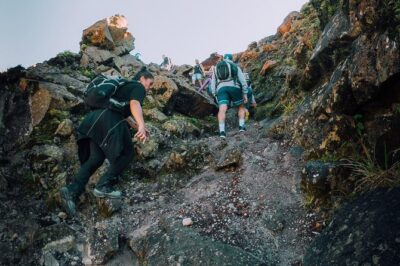
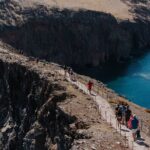
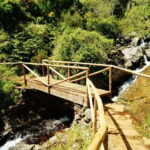
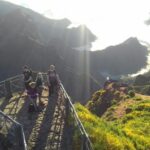
This section also includes the kind of trail work that keeps you paying attention: narrow paths, plus features like tunnels and bridges as you approach the higher zones. You’ll feel the route tightening as you climb, which is another reason this is best done with guidance rather than DIY stress.
Approaching Pico Ruivo: tunnels, bridges, and the last steep push
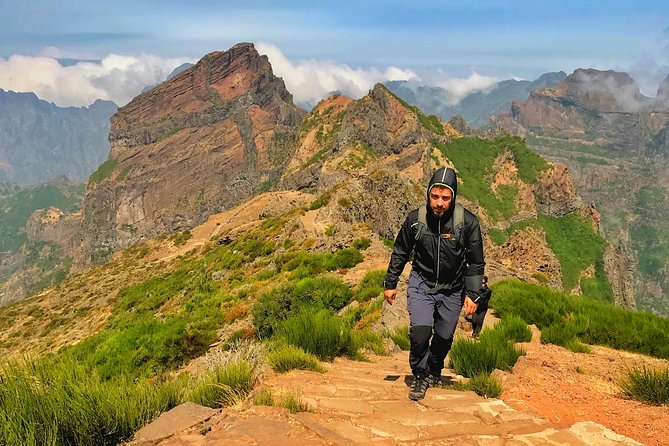
Getting to Pico Ruivo (1861m) is the headline moment. The route gains steepness as you near the top, and the description doesn’t hide the difficulty: there are tunnels, bridges, and narrow paths.
This is where you’ll want to pace yourself. If you blow past early and save nothing for the last stretch, the descent later can feel rough. The smarter move is to let the guide set the rhythm for the group and keep your effort steady, especially in the steep parts.
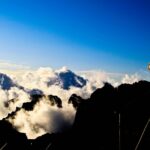
When you reach Pico Ruivo, the reward is a 360° panoramic view. This is one of those lookouts where the horizon is wide and layered, and where you understand why people plan their trip around this hike. If you’re lucky with weather, the visibility makes the valleys and the peaks read clearly. If clouds roll in, you still get the mountain drama—just less detail.
The guide’s job here isn’t just direction. It’s also timing. They’ll help you enjoy the top moment without rushing you off before the group is ready, and without letting the group spread out when the footing is important.
Descending to Achadas do Teixeira (1592m): where the real legs start talking
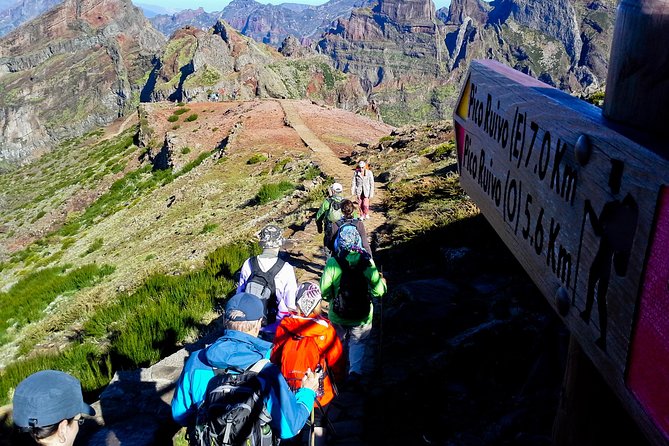
After Pico Ruivo, the hike finishes with a descent to Achadas do Teixeira (1592m). This is the part that feels “challenging yet rewarding,” which is exactly the right description. Downhills on rocky trail can be harder on your knees and calves than people expect, even when you’re not climbing anymore.
This section is also where your planning pays off: you’ll be grateful you ate before the hike and carried what you need, because the tour doesn’t include snacks or bottled water. If you’ve brought what you need, you can take the last stretch more comfortably.
Also, there’s typically a chance to stop at the end area. One review noted there was a cafe option for a drink and that public toilets cost 1€. I can’t promise costs at every visit, but it’s a good hint that the finish zone may have at least basic facilities.
And here’s the best mindset trick: treat the descent as part of the hike, not “the part after the good bit.” It’s still mountain trail. Walk it like it matters, and you’ll get to the end feeling accomplished instead of wrecked.
Price and value: what $55.26 buys you (and what it doesn’t)
At $55.26 per person, this tour isn’t trying to be cheap. It’s priced like a real guided hiking day. You’re paying for:
- an official mountain guide
- insurance as required by Portuguese law
- an air-conditioned vehicle
- transportation from center of Funchal and Caniço
- a group capped at 15 travelers, which helps keep the hike organized
What’s not included is also clear: snacks and bottled water. There’s also an extra 3€ cash fee paid to the guide that supports preserving and maintaining the trail and its natural surroundings. If you like hiking without guilt, that fee is at least a tangible way the day funds trail care.
So is it good value? For me, yes—if you want this hike done safely and cleanly without renting a car, and if you’re the type who appreciates a guide’s pace and trail know-how. If you’re a solo ultra-hiker with excellent map skills and you know how to handle sudden cloud and trail changes, you might compare costs. But for most people, guided PR1 is the easier route to the real payoff.
What to pack and how to avoid the common mistakes
This hike is high altitude and steep, so you’ll want basic mountain sense. The tour info lists that you should have strong physical fitness, and that it isn’t suitable for severe health issues or limited mobility. Treat that warning seriously.
Pack for variable conditions:
- Sturdy hiking shoes with grip for uneven stone and narrow trail sections
- A layer for the early morning chill and possible wind on the ridge (reviews mentioned it was chilly)
- Your own water and snacks, since purchases aren’t guaranteed mid-route
- Something warm enough for the top if clouds move in
One more tip: don’t count on convenience stores rescuing you. Even when there’s a bar at Pico do Areeiro if it’s open, and even if there’s a cafe option at the end, it’s still not included in the tour. The simplest plan is to carry what you need so you can focus on the hike.
Weather reality on Madeira: rain or shine, but safety comes first
At high altitude, Madeira weather can switch fast. This tour runs in a go/no-go way: it proceeds as long as it’s safe, and it may cancel or switch to an alternative hike if conditions become too hazardous. That’s a good policy because visibility and trail safety matter on PR1.
The key line here is your safety is the priority. So if it looks like fog might roll in, treat that as a normal part of the day—not a reason to panic. The guide will handle the safe decision-making.
Should you book Pico do Areeiro to Pico Ruivo?
Book it if you want the classic PR1 experience with less hassle: guided navigation, included pickup, a realistic schedule, and the big 360° payoff from Pico Ruivo. It’s also a great choice if you’re short on time and don’t want to manage a car.
Skip it if you’re not ready for steep trail work. The route includes ups/downs/stairs, gets steeper near the top, and involves tunnels, bridges, and narrow paths. If your fitness is limited or your mobility is restricted, it’s not the right day.
My final take: this is a guided mountain day that turns “sounds hard” into “I can handle this” because someone is managing the route, timing, and safety. If you show up prepared and treat the descent seriously, you’ll come away with one of Madeira’s most memorable viewpoints.
FAQ
How long is the Pico do Areeiro to Pico Ruivo hike tour?
The total duration is about 6 hours, with the challenging hiking part described as a 4-hour hike experience.
Where does pickup happen?
Pickup is available from the center of Funchal and Caniço for guests staying at designated hotels.
Is there an extra fee during the tour?
Yes. There is a 3€ cash fee paid to the guide to help preserve and maintain the trail and its natural surroundings.
What language will the guide speak?
The tour is offered in English. A multilingual guide may lead the tour, but English is used when your preferred language isn’t available.
Is this hike suitable for people with limited mobility?
No. The tour requires strong physical fitness and is not suitable for individuals with severe health issues or limited mobility.
What happens if weather conditions are bad?
The tour operates in rain or shine as long as it’s safe. If conditions become too hazardous, it may be canceled or replaced with an alternative hike. If canceled due to poor weather, you’ll be offered a different date or a full refund.