REVIEW · BANFF NATIONAL PARK
Columbia Icefield: Guided Glacier Hike
Book on GetYourGuide →Operated by Icewalks · Bookable on GetYourGuide
Cold ice, big views, real science. A guided walk onto the Athabasca Glacier makes the Columbia Icefield feel close up, not like a postcard. I like that you get a friendly, involved guide such as Pete or Troy, and you learn what you’re actually seeing. I also like the hands-on setup: micro-spikes, poles, and rental gear so you can focus on the trail instead of guessing what to wear.
Just keep one thing in mind: the hike is at about 2000m, and you may feel short of breath, especially if you run out of breath easily on hills. Also, it’s not for people with certain medical limits or mobility needs.
In This Review
- Key Points You’ll Care About
- Why This Glacier Hike Feels Better Than a Bus Ride
- The 3-Hour Schedule: What Happens From Start to Finish
- The Gear Setup That Makes the Ice Feel Manageable
- Included gear (you don’t need to pack it)
- What you should bring anyway
- Safety on Crevasses: You’re Not Guessing Here
- Ice Features You’ll See (and What They Actually Mean)
- Crevasses
- Mill wells (waterfalls into the depths)
- Meltwater streams
- Icefalls (from a safe distance)
- What You Learn on the Trail: History Meets Real-Time Change
- Meeting Point Details That Prevent a Ruined Start
- Where to go
- What you should look for
- What not to do
- Price and Value: Is $96 a Fair Deal?
- Who This Tour Fits Best (and Who Should Skip It)
- Should You Book the Columbia Icefield Glacier Hike?
- FAQ
- How long is the Columbia Icefield guided glacier hike?
- How far will I walk?
- How much elevation gain is there?
- Is climbing equipment or technical climbing experience required?
- What gear is included in the tour?
- What should I bring myself?
- Where do I meet for the tour?
- Who is the tour not suitable for?
Key Points You’ll Care About
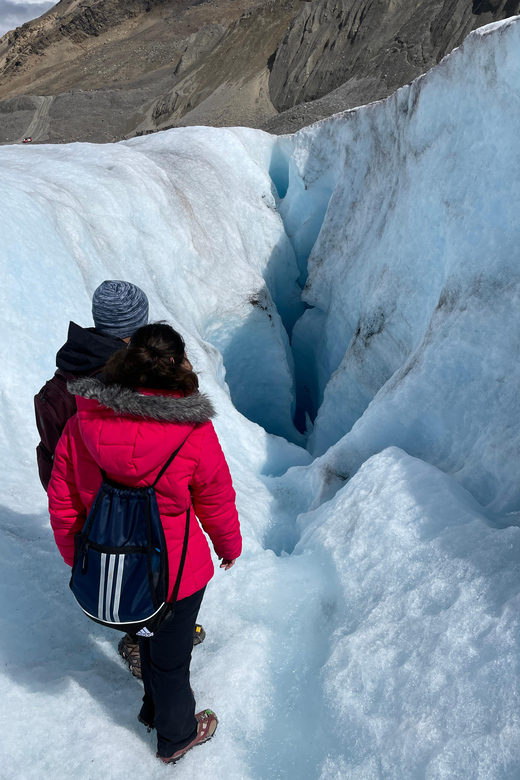
- You walk right onto the Athabasca Glacier on a 5 km roundtrip route with 200m of gain
- Safety-first traction: micro-spikes (crampons for added grip) are included
- Equipment and weather gear are provided, so you’re not scrambling at the last minute
- Guides explain the science behind crevasses, meltwater, and ice formations
- You get time at the interesting features (not just quick photo stops)
- Not technical climbing, but you still need steady hiking ability and a moderate effort level
Why This Glacier Hike Feels Better Than a Bus Ride
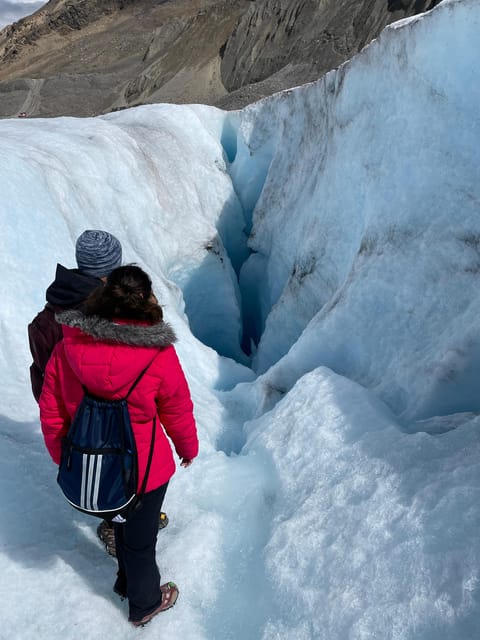
This is one of those rare tours where the main event happens on foot, not from behind glass. You’re not just looking at the Columbia Icefield; you’re stepping onto the ice itself as part of a guided glacier walk.
The value here isn’t only the views. It’s the way the guide turns the chaos of cracks and shadows into something you can understand. When a guide like Pete is funny and focused on the details, the whole experience clicks: you see crevasses and meltwater and you know what they mean. Another guide like Troy keeps the pace comfortable and makes the science feel doable, not like a lecture.
For me, the second win is how prepared you are. You don’t show up with guesswork. You get the traction and the core gear, then you head out shuttled a short distance to the trailhead.
One possible drawback: the tour is moderate and involves walking on uneven, icy terrain. If you’re sensitive to cold or you get winded quickly, it’s smart to plan carefully.
The 3-Hour Schedule: What Happens From Start to Finish
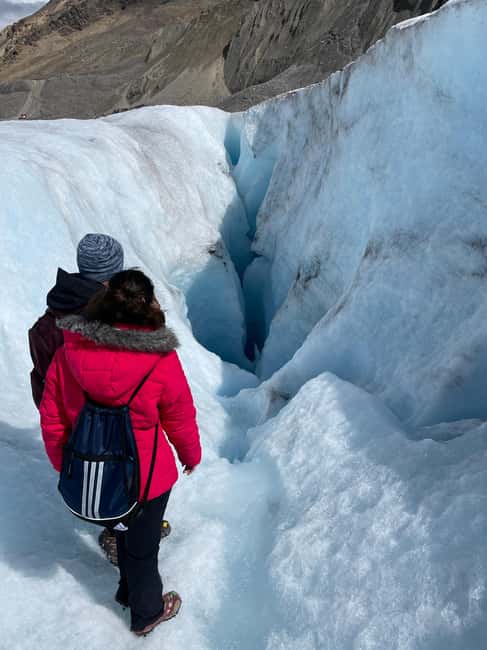
You’re looking at about 3 hours total. Tours usually run in the morning and in the afternoon, so you can pick a time that fits your day.
Here’s the flow, step by step:
1) Meet at the IceWalks area (north side of the highway).
You’ll park near the Icefield Information Centre and Glacier Gallery lot, then locate the black trailer and white vans with the IceWalks logo at the T-junction between overflow RV parking and visitor parking. You’ll also want to remember what you shouldn’t do: don’t park in the Glacier View Hotel lot, and don’t go into the building.
2) Quick shuttle to the trailhead.
After you’re set up and checked in, you’ll be shuttled a short distance. This matters because you’re spending your energy on the ice, not on long transfers.
3) 5 km roundtrip walking tour with 200m of gain.
You’ll hike about 5 km total (roundtrip) with around 200m elevation gain. It’s not a casual stroll, but it’s also not technical climbing. Think steady hiking on icy ground with guidance throughout.
4) Time on the Athabasca Glacier.
The heart of the tour is when you walk onto the Athabasca Glacier, part of the larger Columbia Icefield. This is when the guide’s interpretive program comes alive. You’ll see and learn about multiple ice features—crevasses, meltwater streams, mill wells, and icefalls from a safe distance.
5) Back to the meeting area.
When the tour ends, you return from the glacier walk to the area where you started.
That pacing is a big reason the experience feels satisfying. You’re not just walking to a single view and leaving.
The Gear Setup That Makes the Ice Feel Manageable
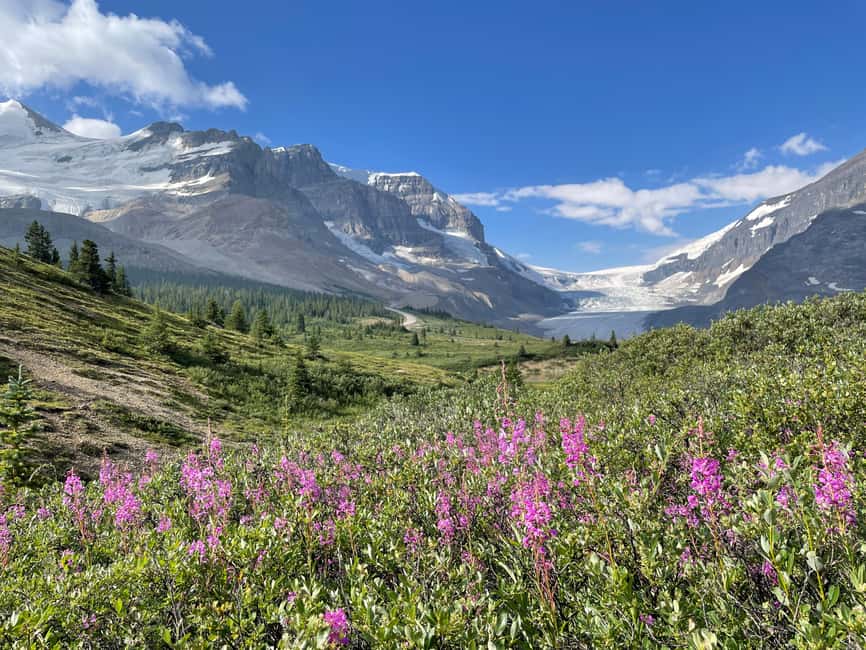
The tour includes a lot of the “unknowns,” which is huge when you’re dealing with glacier conditions.
Included gear (you don’t need to pack it)
- Micro-spikes (crampons-style traction for added grip)
- Rain gear (if conditions require it)
- Hiking poles
- Hiking boots
- Gloves
- Hats (if you don’t have your own)
- A guide plus transport from the meeting point to the trailhead
What you should bring anyway
- Snacks
- Thermal clothing
Even though boots, gloves, and hats are included, your comfort will depend on your layers. Rental gear helps, but thermal clothing is what keeps you from going cold fast at 2000m and on icy surfaces.
Practical tip: wear layers you can adjust. Glacier weather can change quickly, and you’ll be moving.
Safety on Crevasses: You’re Not Guessing Here
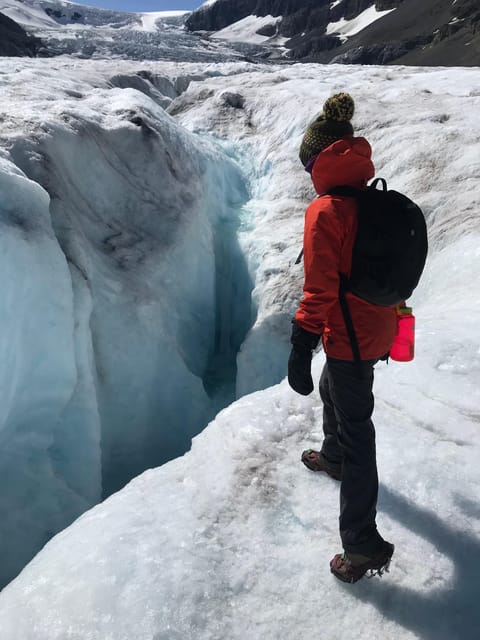
The tour is guided by an ACMG-certified guide, and that certification matters for one key reason: crevasses and snow bridges are not obvious from the surface.
This tour is built around safe movement. You follow the route the guide sets, and you get shown where the interesting formations are from positions that keep you away from the sketchier edges. The tour description also emphasizes navigation around crevasses, and the equipment is provided specifically for traction and stability.
You’ll likely spend time seeing features up close, including the sight of deep crevasses and meltwater pouring over the edge. That’s the payoff of going with a guide: you can look, learn, and understand what you’re looking at without turning the walk into a risky solo mission.
Ice Features You’ll See (and What They Actually Mean)
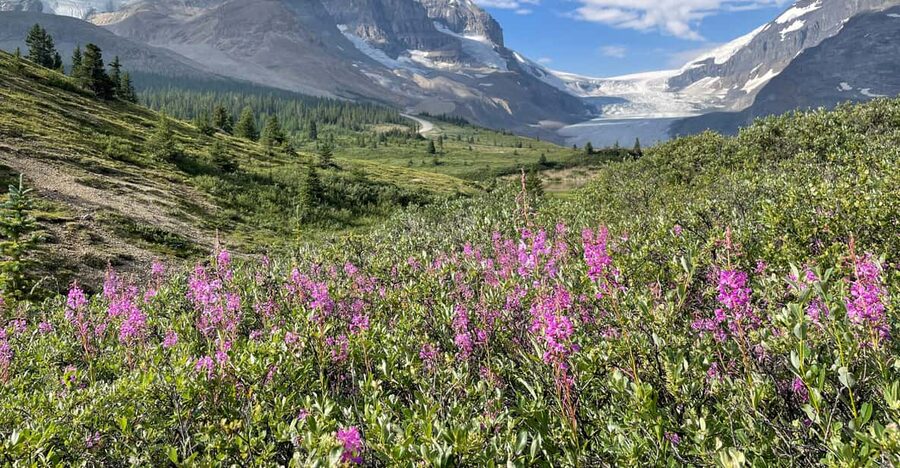
This isn’t just a hike with pretty scenery. The guide points out multiple glacier formations, and it helps you understand why glaciers look the way they do.
Here are the big features you should expect:
Crevasses
You’ll peer into deep crevasses. These are dramatic cracks in the ice that show how the glacier moves and reshapes itself. Seeing them in person gives you a real sense of scale—much more than any photo.
Mill wells (waterfalls into the depths)
Mill wells are one of the coolest visuals you’ll hear about. They’re where meltwater drops down through openings in the ice. When you watch how water follows gravity into the glacier’s interior, the glacier starts to feel like a living system, not a frozen museum.
Meltwater streams
You’ll spot meltwater streams. This is glacier runoff in motion—proof that ice isn’t static, even when it looks solid and unmoving.
Icefalls (from a safe distance)
Icefalls can look like frozen waterfalls. You’ll explore them from a safe distance, which is exactly how you should experience them. They’re visually intense, but safety beats hero shots.
In interviews and descriptions like this, the emphasis is always on learning the features through an interpretive program. In practice, that means the guide connects what you see to glacier behavior and mountain weather—so you leave with more than a few photos.
What You Learn on the Trail: History Meets Real-Time Change
You’ll get an interpretive program about the glacier and the surrounding mountain environment. The goal isn’t to turn you into a glaciologist.
Instead, you’ll learn:
- how the glacier formed and how it changes
- why meltwater matters
- how ice features connect to the glacier’s movement
This matters because when you know what you’re looking at, the whole walk feels more meaningful. You start spotting patterns—where water shows up, how cracks align, and why certain ice shapes are stable while others look precarious.
The guides in the reviews also stand out for how they explain things in an approachable way. Whether it’s Pete keeping the group engaged with humor or Corin taking extra care on slippery hills, the common thread is clarity.
Meeting Point Details That Prevent a Ruined Start
Logistics can make or break the first hour of any tour. For this one, the meeting point is very specific.
Where to go
From HWY 93, turn into the Icefield Information Centre and Glacier Gallery parking lot on the north side of the highway (opposite the glacier).
What you should look for
At the T-junction between overflow RV parking and visitor parking, find the:
- black trailer
- white vans with the IceWalks logo
What not to do
- Don’t go into the building.
- Don’t park in the Glacier View Hotel parking lot.
If you’re arriving by car, this is the moment to slow down and double-check. You’ll be glad you did when everyone else has already gotten ready.
Price and Value: Is $96 a Fair Deal?
At $96 per person for about 3 hours, this isn’t a cheap add-on. But it can be a good value because so much is included that you’d otherwise have to figure out or pay for.
Here’s what you’re getting that drives the price:
- a guide plus certified glacier safety expertise
- micro-spikes for traction
- rental footwear and gloves
- rain gear and hiking poles
- transport to the trailhead
Most importantly, you get to actually walk on the Athabasca Glacier. That’s the part a bus ride can’t replicate. The reviews strongly lean toward this being the better choice over the big bus option, and I get why: when you’re on foot, you have more time at the features, and you’re not stuck watching through distance.
If you want the glacier experience to feel personal and educational—rather than a quick pass-through—this price starts to make sense.
Who This Tour Fits Best (and Who Should Skip It)
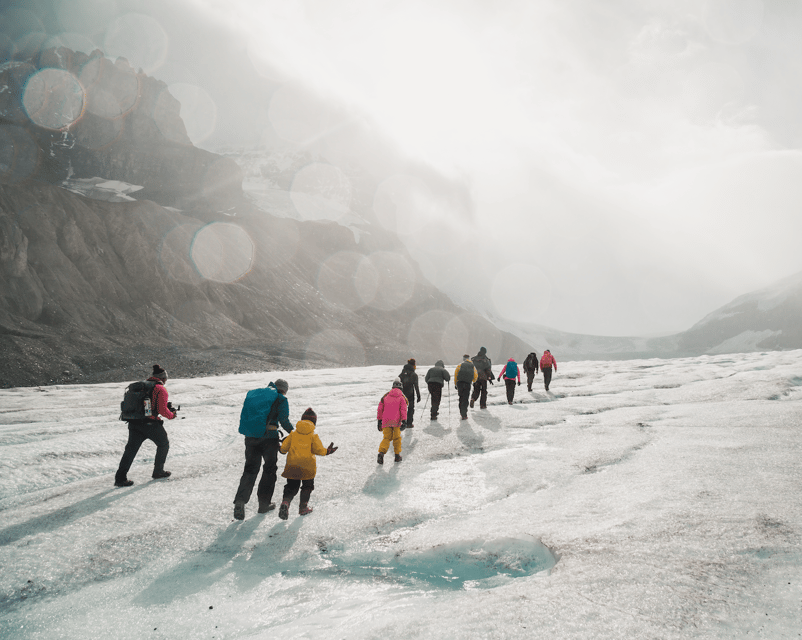
This tour is described as moderate difficulty. It’s suitable for young children ages 7–16 if they enjoy hiking and staying active. It also fits active seniors who can handle hills at altitude.
It may be a bad match if you:
- are under 7
- have mobility impairments
- use a wheelchair
- have heart problems
- have a pre-existing medical condition
- have low fitness
- are over 75
- are feeling unwell or especially sensitive to cold
Also, you’re operating at around 2000m, and shortness of breath can happen. That doesn’t mean you can’t go—it means you should be honest about your body’s limits.
If you’re in doubt, err on the side of safety and skip it. Glacier terrain isn’t the place to push past your limits.
Should You Book the Columbia Icefield Glacier Hike?
Book it if you want a guided, gear-supported walk onto the Athabasca Glacier with an interpretive program and enough time to actually see crevasses, meltwater, mill wells, and icefalls.
Skip it if you’re looking for a low-effort viewpoint only. This tour is for people who can hike a moderate route, stand and walk on icy ground, and handle altitude around 2000m. It’s also not a fit for wheelchair users or people with certain medical limits.
If you do book, prepare smart:
- bring thermal layers and snacks
- wear clothing that can handle cold and wind
- take the elevation seriously and move at a steady pace
- pay attention to the meeting point directions so you start on time
FAQ
How long is the Columbia Icefield guided glacier hike?
The duration is 3 hours.
How far will I walk?
It’s a 5 km roundtrip walking tour.
How much elevation gain is there?
There is about 200m of elevation gain.
Is climbing equipment or technical climbing experience required?
No technical climbing experience is required.
What gear is included in the tour?
The tour includes a guide, micro-spikes, rain gear, hiking poles, hiking boots, gloves, and hats if you don’t have your own.
What should I bring myself?
Bring snacks and thermal clothing.
Where do I meet for the tour?
Meet at the Icefield Information Centre and Glacier Gallery parking lot off HWY 93. Look for the black trailer and white vans with the IceWalks logo at the T-junction between overflow RV parking and visitor parking on the north side of the highway.
Who is the tour not suitable for?
It’s not suitable for children under 7, people with mobility impairments, wheelchair users, people with heart problems, people with pre-existing medical conditions, people with low level of fitness, people who are over 75, or people who have a cold.